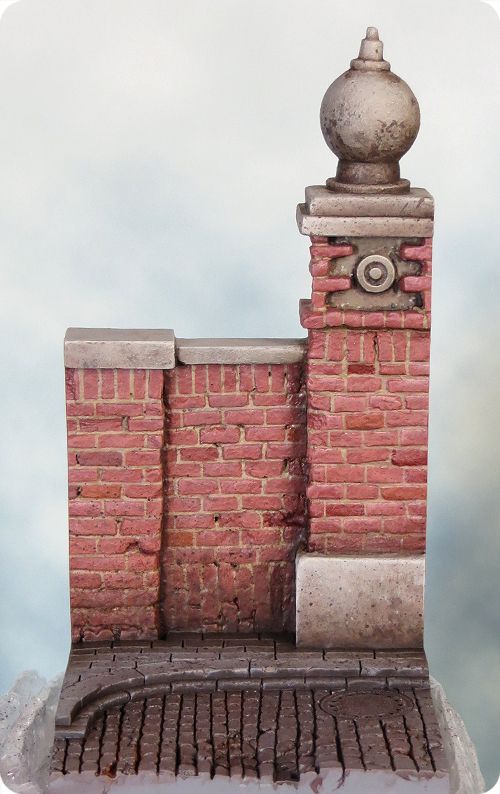
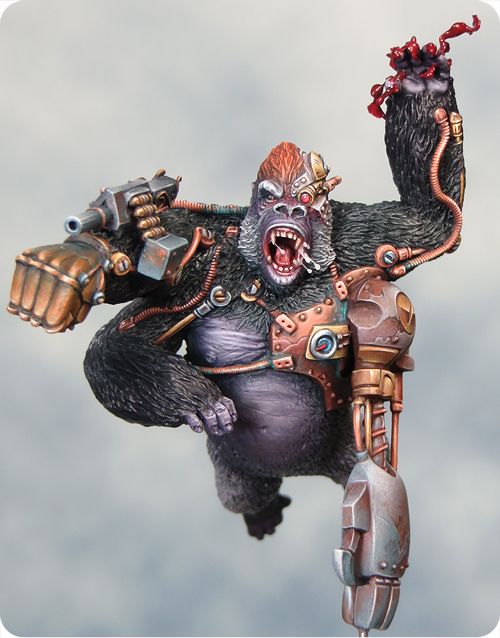
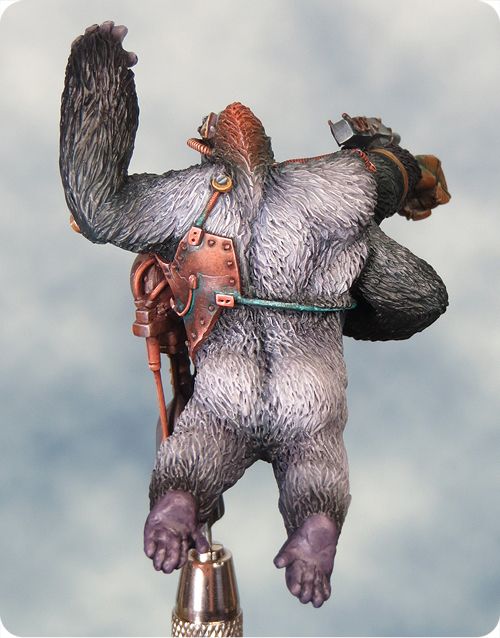
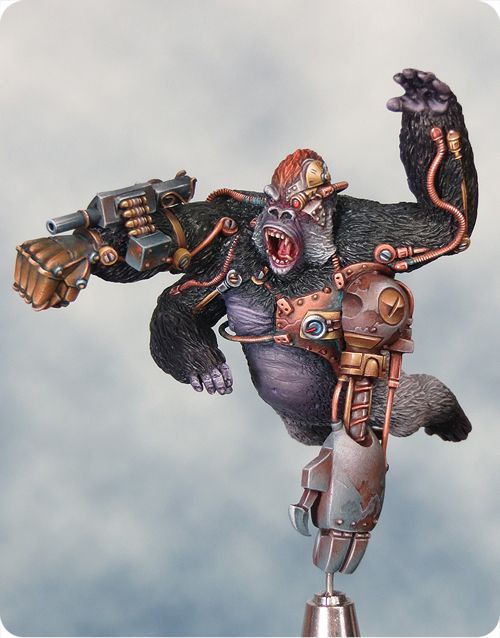
My painting style is for the most part very tightly controlled and that can be both good and bad. You need to know when to relax and let the paint do it's thing. Painting a bases is often the time to do exactly that so I've been pushing paint around and having a lot of fun in the process.
I've been dirtying up Chee-Chee's base and to do that I've employed washes, glazes, dry brushing, stippling, splattering and sponging. It's all been very satisfying and I'm beginning to get a pleasing depth and richness to the textures by layering all these effects.
Friday, 31 January 2014
Tuesday, 28 January 2014
Chee-Chee Part 11a - Getting messy all over again!
I've had a lot of feedback about the blood effect on cool mini and as a result I've had a rethink about how to tackle it.
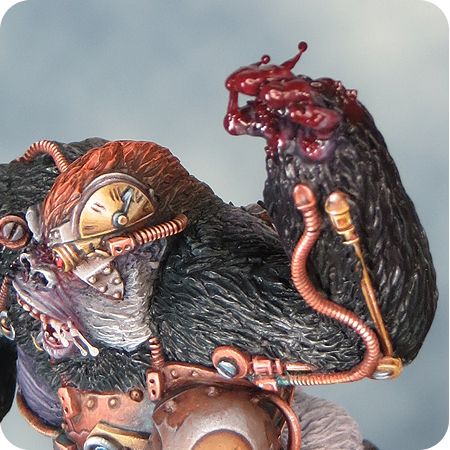
To that purpose I've removed most of the old blood (that was fun!) and reworked the effect. I may add a bit more gore to the arm (I think it can take it) but I'll give it some thought as I don't want the gore to dominate the mini.
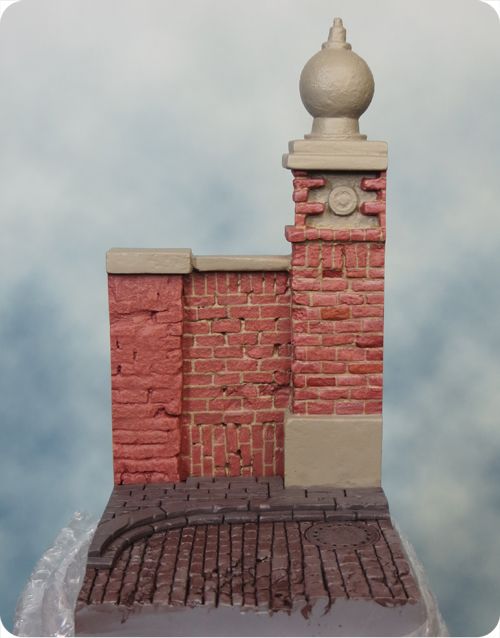
I've also started to paint the base. It's all too clean looking at the moment but that will change.
To that purpose I've removed most of the old blood (that was fun!) and reworked the effect. I may add a bit more gore to the arm (I think it can take it) but I'll give it some thought as I don't want the gore to dominate the mini.
I've also started to paint the base. It's all too clean looking at the moment but that will change.
Friday, 24 January 2014
Chee-Chee Part 11 - Getting messy!
Some painting projects call for taste and subtlety but I'm probably on safe ground when I say that a giant, mutant, cyborg gorilla isn't one of them!
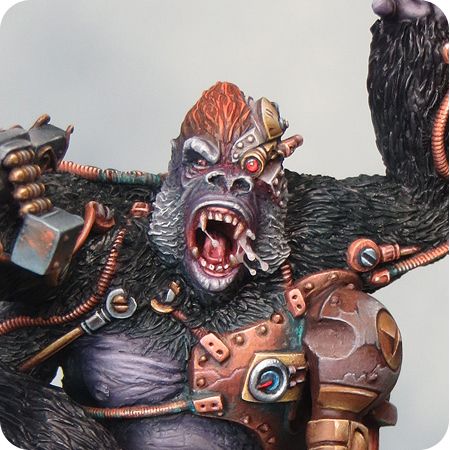
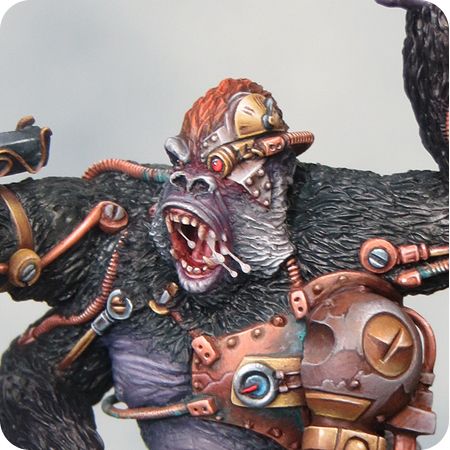
I've always intended to add a few extra gruesom touches to Chee-Chee once the painting was done but I wasn't sure how far to go. Right from when I first saw the mini I've seen Chee-Cee as being in a rabid fury quite literally tearing his victims apart. I've decided to go all the way with my initial ideas and turn the horror right up.
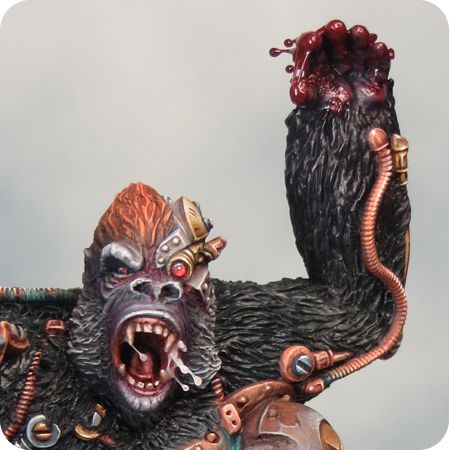
I've used a similar method to how the one I used for the slime on my Hellion's whip to add drool to Chee-Chee's mouth.
I cut each hair to size and glued it in place with a dot of PVA wood glue. That's the really fiddly bit!
I then built up the drool with a 50/50 mix of GW and vallejo water effects mixed with a dot of ivory paint. It's just a matter of taking your time to build up the layers and letting each one dry before you add the next.
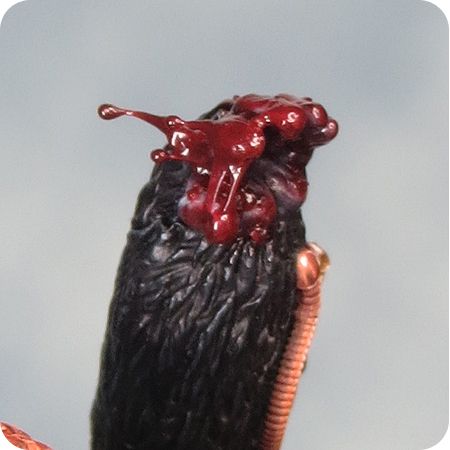
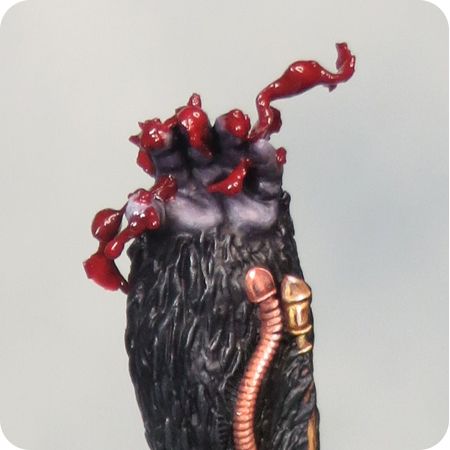
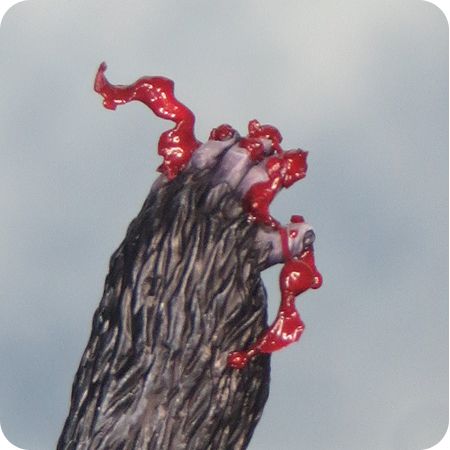
I wanted Chee-Chee to be bloody handed and I decided to go for full on gore with a meaty bloody mess clinging to his fingers. Once again this method makes good use of water effects but this time I've also used UHU glue. I mixed the glue up with some blood coloured paint and then stretched out the resultant gloopy mess and let it set up a little. I pulled off small pieces and stretched them out further. This gave me translucent rubbery lumps and strips that I could combine with my blood mix to build up the gore.
I've always intended to add a few extra gruesom touches to Chee-Chee once the painting was done but I wasn't sure how far to go. Right from when I first saw the mini I've seen Chee-Cee as being in a rabid fury quite literally tearing his victims apart. I've decided to go all the way with my initial ideas and turn the horror right up.
I've used a similar method to how the one I used for the slime on my Hellion's whip to add drool to Chee-Chee's mouth.
I cut each hair to size and glued it in place with a dot of PVA wood glue. That's the really fiddly bit!
I then built up the drool with a 50/50 mix of GW and vallejo water effects mixed with a dot of ivory paint. It's just a matter of taking your time to build up the layers and letting each one dry before you add the next.
I wanted Chee-Chee to be bloody handed and I decided to go for full on gore with a meaty bloody mess clinging to his fingers. Once again this method makes good use of water effects but this time I've also used UHU glue. I mixed the glue up with some blood coloured paint and then stretched out the resultant gloopy mess and let it set up a little. I pulled off small pieces and stretched them out further. This gave me translucent rubbery lumps and strips that I could combine with my blood mix to build up the gore.
Wednesday, 22 January 2014
WAMP Awards 2013
Well this is a very nice surprise!
My Dark Eldar came second in the Painted Sci-Fi category of the Wamp Awards 2013. To be honest I hadn't realised that I was a finalist untill quite late in the day and when I saw the other finalists in the painted Sci-Fi category I really didn't fancy my chances at all!
Congratulations to all the winners.
Check out all the results of the WAMP Awards 2013, here.
Monday, 20 January 2014
Chee-Chee Part 10
The past week has seen some positive painting action and as a result I've managed to achieve significant progress on Chee-Chee. I've continued to make some (admittedly subtle) tweaks to the details but the major development has been in painting the fur. I've now pretty much finished the bulk of the painting with little more than some adjustment and refining of the details left to do. Of course the minute I declare Chee-Chee finished I'll spot (or have pointed out to me) something that needs attention but at least the end is in sight. Then I can turn my attention to painting the plinth.
Photographing Chee-Chee has made me very aware of how much of a difference the angle of view make to a minis appearance. This is something I'm going to have to consider very carefully when it comes to gluing Chee-Chee onto the plinth. I want to get the most interesting and dynamic composition out of the mini that I can.
Subscribe to:
Posts (Atom)