

I've always intended to paint up the lamppost on Chee-Chee's base as though it were heavily corroded. Having found some good reference online I decided to add on real texture rather than just going for a painted effect as I think this will give a bit more realism.
Step 1.
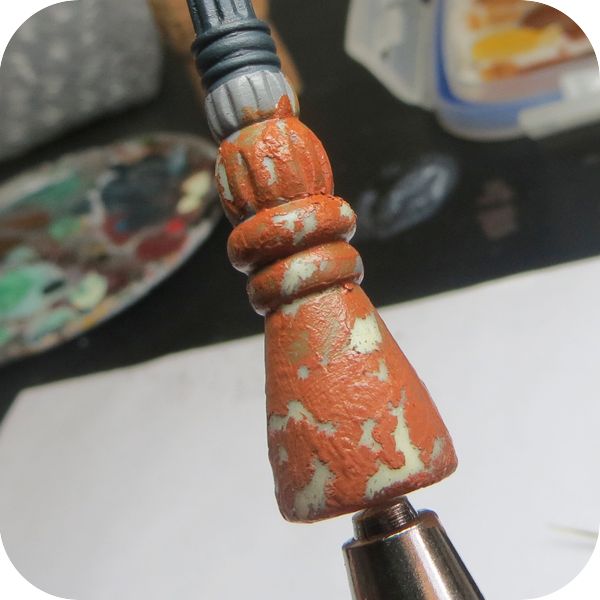
I wanted to create the look of heavy paint that's being popped off by the rust forming underneath it so I daubed some brown crackle paint onto the base of the lamppost. I then left it to dry out and do its thing. Once dry the crackle effect wasn't brilliant but it did mean that the paint chipped off in a very pleasing way when I scraped at it with a metal sculpting tool.
Step 2.
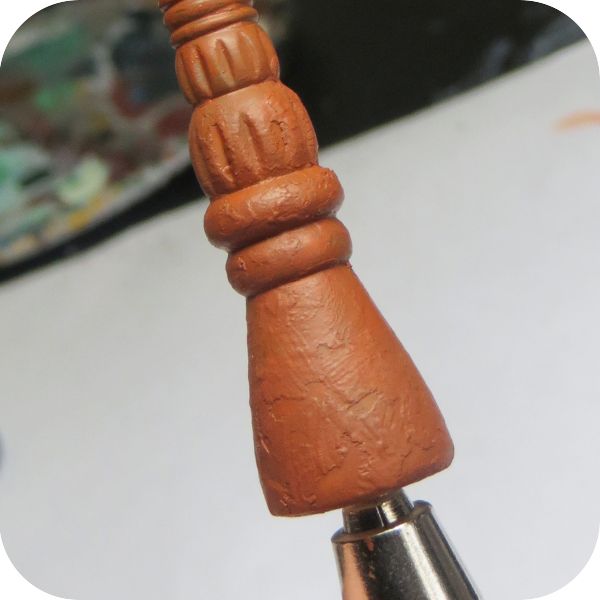
I base coated the rusty areas in a mix of Mournfang Brown and blazing orange.
Step 3.
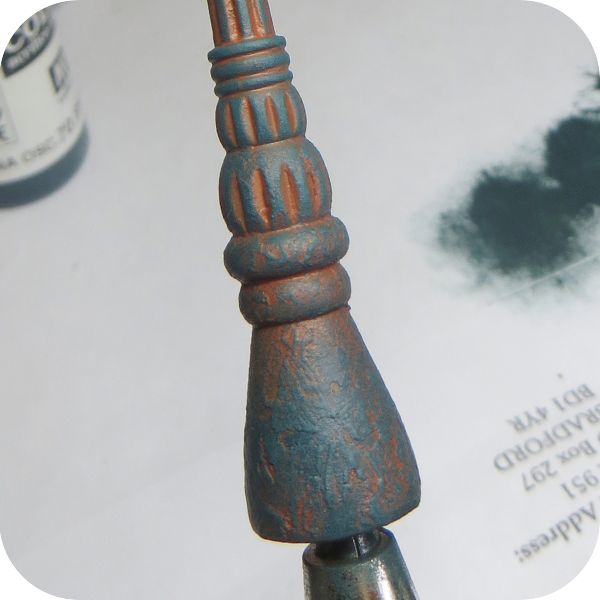
I first dry brushed Vallejo Dark Sea Blue over the base colour and then a lighter mix of Dark Sea Blue, Hawk Turquoise and a mid grey over that. This gives me the paint colour for the lamppost and begins to define the textures.
Step 4.
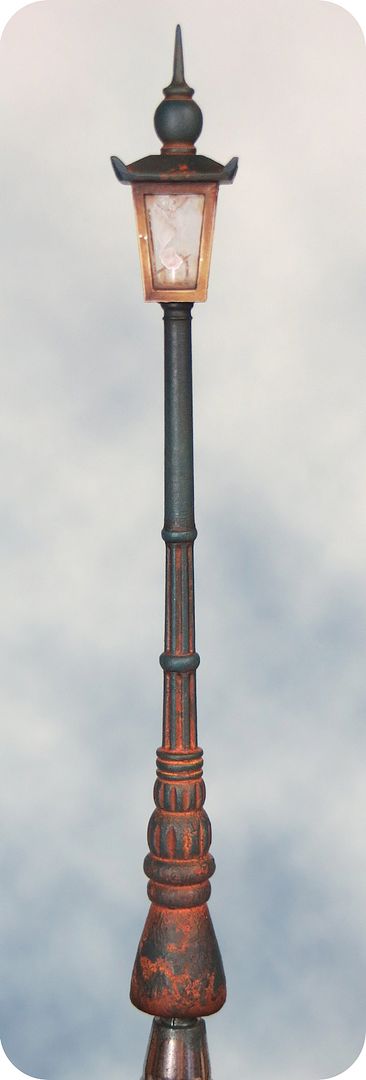
This step is achieved with washes of Blazing Orange, Iyaden Darksun and Mournfang Brown. I worked in lots of stages sometimes letting the paint dry completely and sometimes adding a little more colour to already wet areas. Working wet on wet enables the colours to bleed together. Once I was happy with the effect I added a layer of paint splatters (Rhinox Hide) and glazed over a little dilute Agrax Earthshade.
Wow, good work! Thanks for the tutorial.
ReplyDeleteA really great tutorial! At the total picture I am only wondering if there shouldn't be a bit more rust on the highest part of the pole. to me it looks like your going from a lot of rust to almost no rust in a very little length. but anyway a real nice effect the thing you did with the texture paint at the first step is a real good tip! quite useful for vehicles too i think.
ReplyDeleteAces!
ReplyDelete