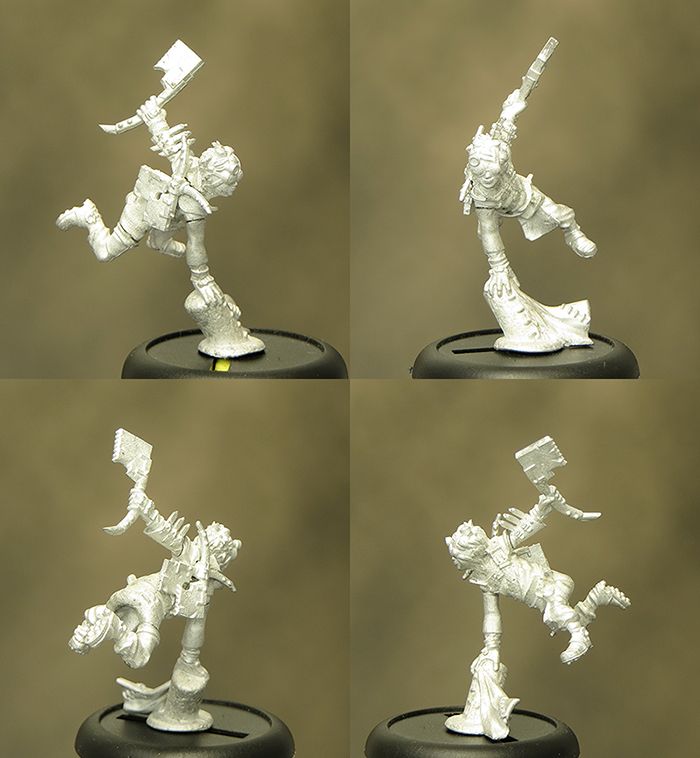
Now that I’m back to work my painting schedule has returned to the usual stolen hours in the evenings and at weekends, so the pace has slowed a little. However, before my holiday, I had already established my colour palette and achieved some significant progress that has laid down the foundation for the rest of the job.
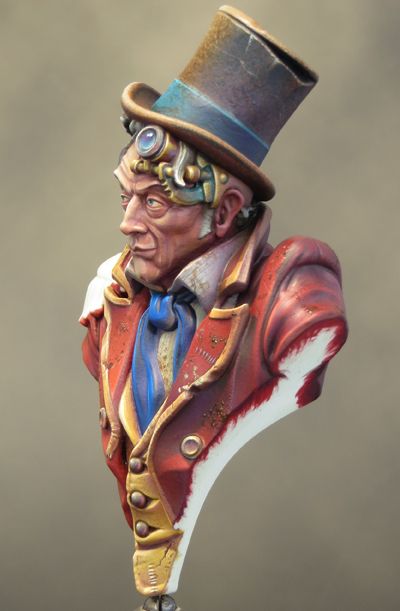
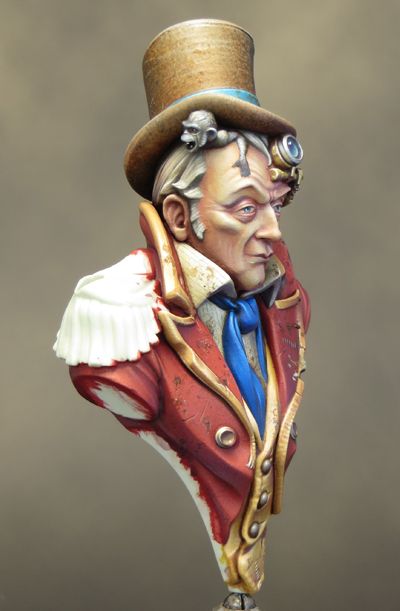
Recently I have been painting the mechanical lens and monkey under Uncle John’s hat. I’d intended to use true metallics but my gut instinct has been to paint NMM instead. Somehow it feels more in keeping with how the rest of the model is turning out. Both of these areas are relatively detailed compared to the rest of the bust and I struggled to get the definition I wanted in my paint job. After two days I broke out a new paintbrush and had an instant solution to my problems!
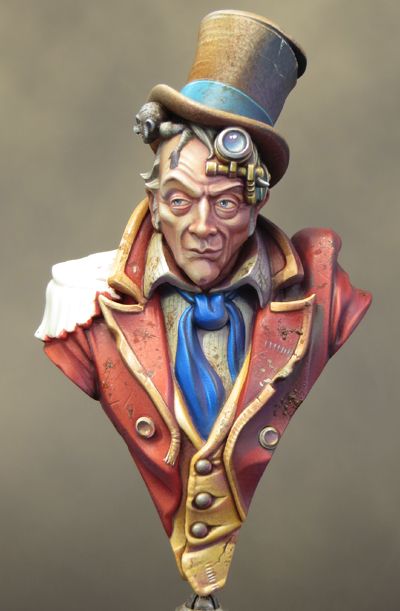
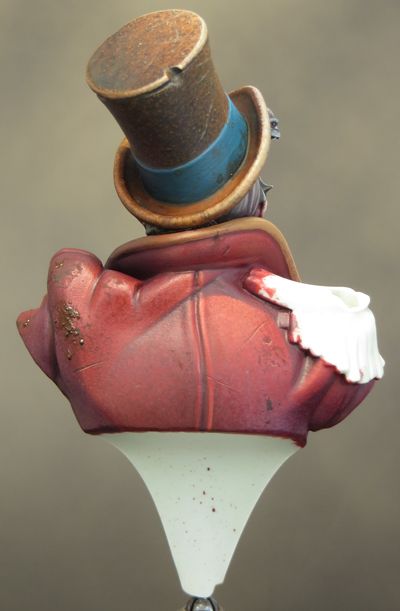
With the lens and monkey painted, I could finally turn my attention to the jacket. This is a key element of the bust, as its red colour will provide one of the strongest visual elements. Several areas had been left unresolved, as I needed to see them against the red to finalise their appearance, so I was keen to get started.
I was feeling a little cautious as red can be a notoriously difficult colour to work with. I mixed up a pot of a deep red for my base colour and base coated the jacket with it. The next stage was to block in the shadows using a red/purple/brown mix. With this groundwork established I could work on the mid tones and highlights. After a little trial & error I figured out those colours that seemed to work best and carefully built up the highlights. Broadly speaking I used a red/orange to orange/yellow mix, as I wanted to avoid taking the highlight into pink tones. With this done I went back in to enrich the mid-tones with red /purple glazes and stippling.
I was pleased with the colour I’d achieved but the jacket was looking a bit bland. It wasn’t until I began to paint the gold braiding onto the jacket that the red colour seemed to come alive! At this stage I was able to have a little fun and mess things up. I’ve always wanted to paint Uncle John as dirty and decrepit with all sorts of (literally) crap over his clothing. After all the man has a monkey living under his hat – you probably don’t want to get downwind of him!
The dirt has been built up with a combination of stippling, sponging and pigments. I’ve also used a variety of finishes from matt to gloss to convey a feeling that some stains are ‘fresher’ than others.
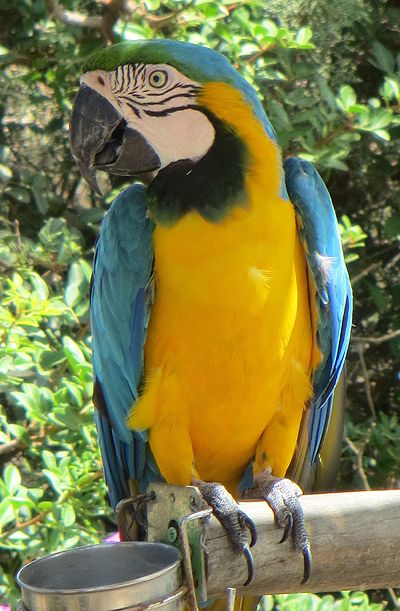
There is still a fair bit of work to do and a lot of little tweaks and adjustments as the overall scheme comes together but it feels like I’m on the home stretch. There is only one major element left to tackle but I’m well prepared. While I was on my holiday I went to Paphos Zoo and couldn’t believe my luck when my feathered friend below ‘posed’ (he really did) for photos. Needless to say I’ll be making full use them.