Showing posts with label step-bystep. Show all posts

Friday, 31 August 2012

Making textured plaster plaques for a scenic base

It's time to make a scenic base for my Pie Clown. Rather than using any pre-made moulds or ready cast pieces I decided to make my plaster scenery from scratch. I've always rather liked using plaster to create scenic bases as It's lightweight, relatively strong and very easy to carve. It is also very fast to work with. Both the pieces for this base took under an hour to texture up starting from the blank plaques. 


First of all I needed to cast up a couple of blank plaster plaques to fit onto the resin plinth I had chosen. One will form the pavement the other a wall.

I began by rolling out some plasticine to an even thickness. To do this I used a couple of pieces of balsa wood and a wooden dowel. While it isn't essential to have the plasticine all of an even thickness it does help to achieve a better result.
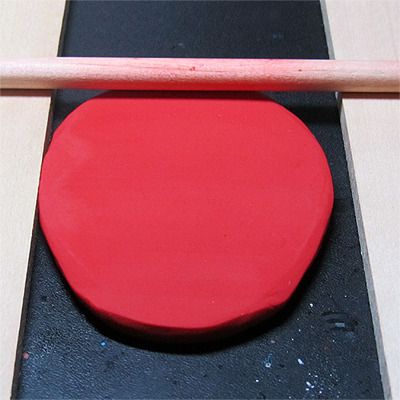

Using a straight edge and a scalpel (or craft knife) I cut the plasticine into four strips.


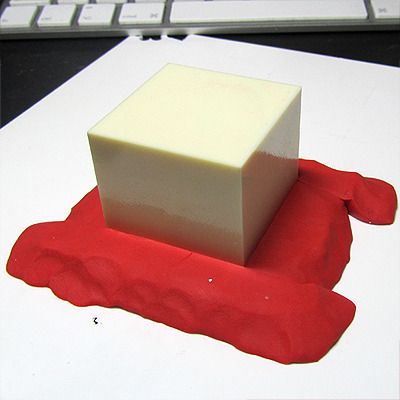
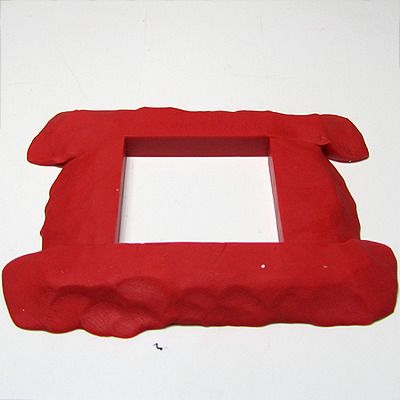
Using a piece of plasticard as a base and my plinth as a guide. I built a mold using the plasticine strips. Place the cut edges of the plasticine against the sides of the plinth one at a time and gently press them into place. 
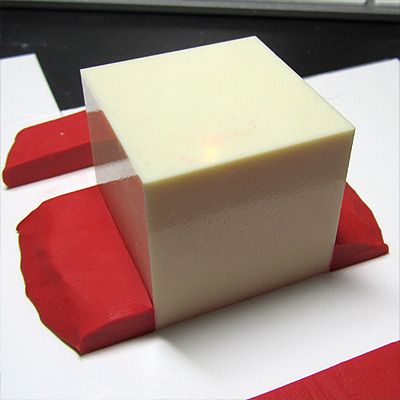

When all four sides are done make sure the corners are sealed and then carefully remove the plinth.


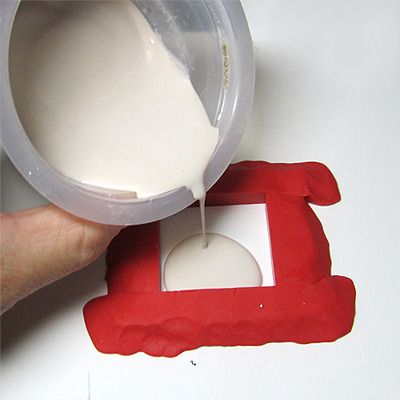
Mix up your plaster as per the instructions and (on a level surface) carefully pour into the mold to the required thickness.
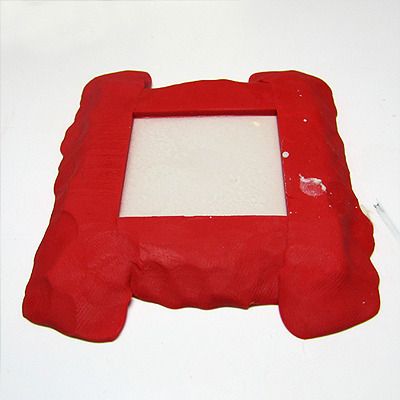

Once the plaster has set (be patient & dont poke it!) carefully peel away the plasticine and the plaster plaque should pop free of the plasticard. Now let the plaster dry out over night. Depending on the thickness set plaster can take a long time to fully dry out. Although you can carve it when slightly damp I'd recommend that you make sure it's fully dry before you do any gluing or painting.
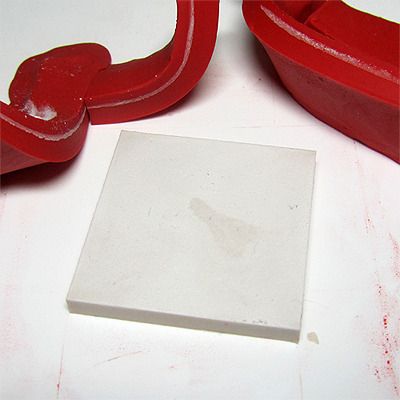

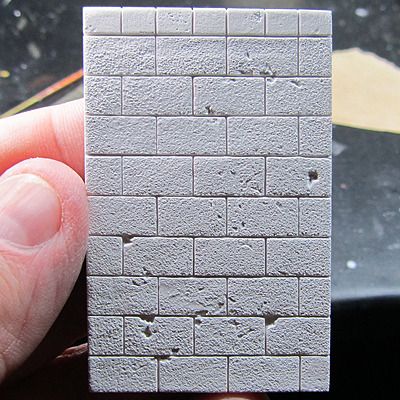
The plaster plaque probably won't be perfect so carefully sand the edges to remove any flash. I then began to inscribe a brick pattern onto the plaster using a pointed stylus (in this case a piece of brass wire filed to a blunt point).


With the basic brick pattern inscribed I then added some texture and damage using a variety of tools. A stiff paintbrush is particularly useful for softening out some of the hard edges. To get an overall rough texture I placed a piece of course sandpaper rough side against the plaster and burnished it. The texture was then impressed into the plaster. I used a stone out of the garden as a texture stamp  to create some random looking chips and dents. 


It's well worth casting up a few spare plaques and trying out a variety of tools and techniques as a wide variety of finishes could be easily created.


Working with plaster can be a very messy business and sanding/carving plaster will create a lot of dust. Don't forget to follow all the usual safety precautions to protect your eyes and lungs.

Wednesday, 27 July 2011

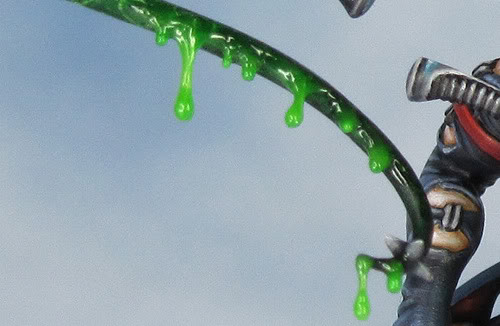
A step-by-step guide to adding slime and drips to a miniature.


The method described bellow is the one I’ve used to add the drips of poison to my Hellion’s whip. There are many variations on the method and materials that can be used so this is very much my own take on things.

Step 1.
In order to get a nice long drip with a curve to it and a blob at the end their needs to be some kind of support/armature onto which the drip can be built. In theory you can build up the effect without one but it would take a lot more time and the final result might be quite fragile.
For my drips I used a hair to provide that support. There are other materials that could be used, for example very fine fishing line, but a hair is easy to get hold of and it’s a renewable resource. Tragically it just so happens that I now have a few white hairs in my beard so these were the obvious choice.
So first things first...ouch!

Step 2.
Glue the hairs in place. This is the really fiddly bit. On my Hellion I used clear glue and for the example here I’ve used super glue. On both the hairs had a tendency to shift position as the surface tension of the glue pulled them out of place. Use as little glue as possible and apply it with something fine like a pin. Let the glue get completely dry before you move onto the next stage.

Step 3.
Now you can start to build up the drips. To get things started off I’ve used clear glue. Squeeze a little out onto a piece of scrap paper and leave it to begin drying. Once it has started to thicken up it will be easier to get a blob to form on the hair. What you are aiming for if a coating of glue on the shaft of the hair and a little blob about to drip off the end. Apply the glue with a pin and once again leave it to dry. If possible support the model in a position that helps the blob of glue to dry on the very end of the hair.... get gravity to do the work for you. 

Step 4.
This bit takes time, as the drip needs to be built up with multiple coatings. It is best to let each coating dry thoroughly before applying the next. They tend to shrink a little as they dry and if you rush thing you will have less control over the final result. For my drips I’ve used Games Workshop’s water effects tinted with a tiny dot of green paint. I’ve applied this with a fine brush giving each drip an even coat and then applying it more thickly where I want volume. As with the glue it is easier to get the thicker areas to build it if you let the water affects begin to set just a bit before you apply it.

Step 5.
Keep on building up the drips with successive coatings until you are happy with the result. As well as forming a blob on the end build up some thicker areas and a few small blobs and drips at the base.

If you don’t need your drips to be clear or translucent you could build them up with successive coats of paint alternatively you could use PVA woodworking glue. This is what I used to create the slime on my Nurgle Predator. I’ve also experimented with using Araldite Rapid epoxy glue but this needs to be done with extra care, as it’s hard to control and very permanent once set.

UPDATE: a few years have passed since I first used this technique, and I’ve added some refinements that have enhanced the finished effect. You can see them HERE
 
Useful Links: 
The guys over at massive voodoo are a huge source of inspiration and ideas. The following articles were particularly useful to me with regards to finding out how to create drips and slime.