
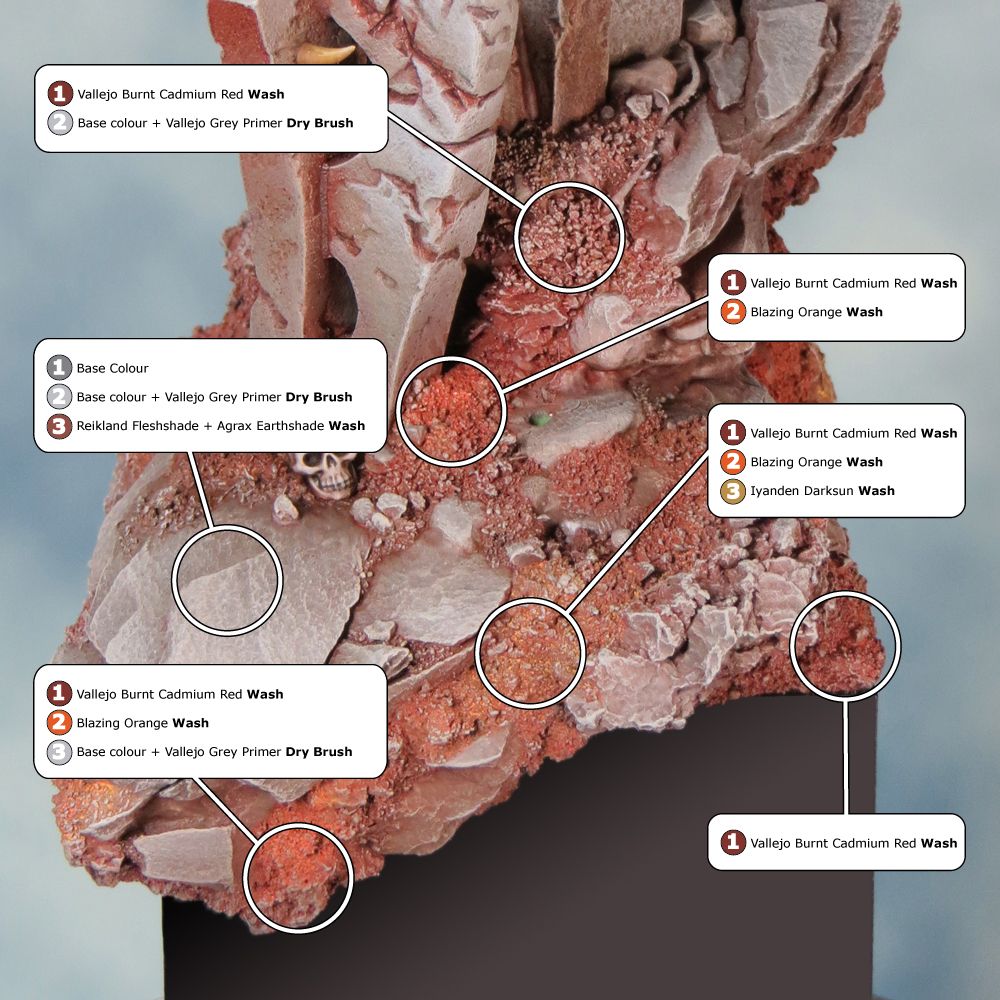
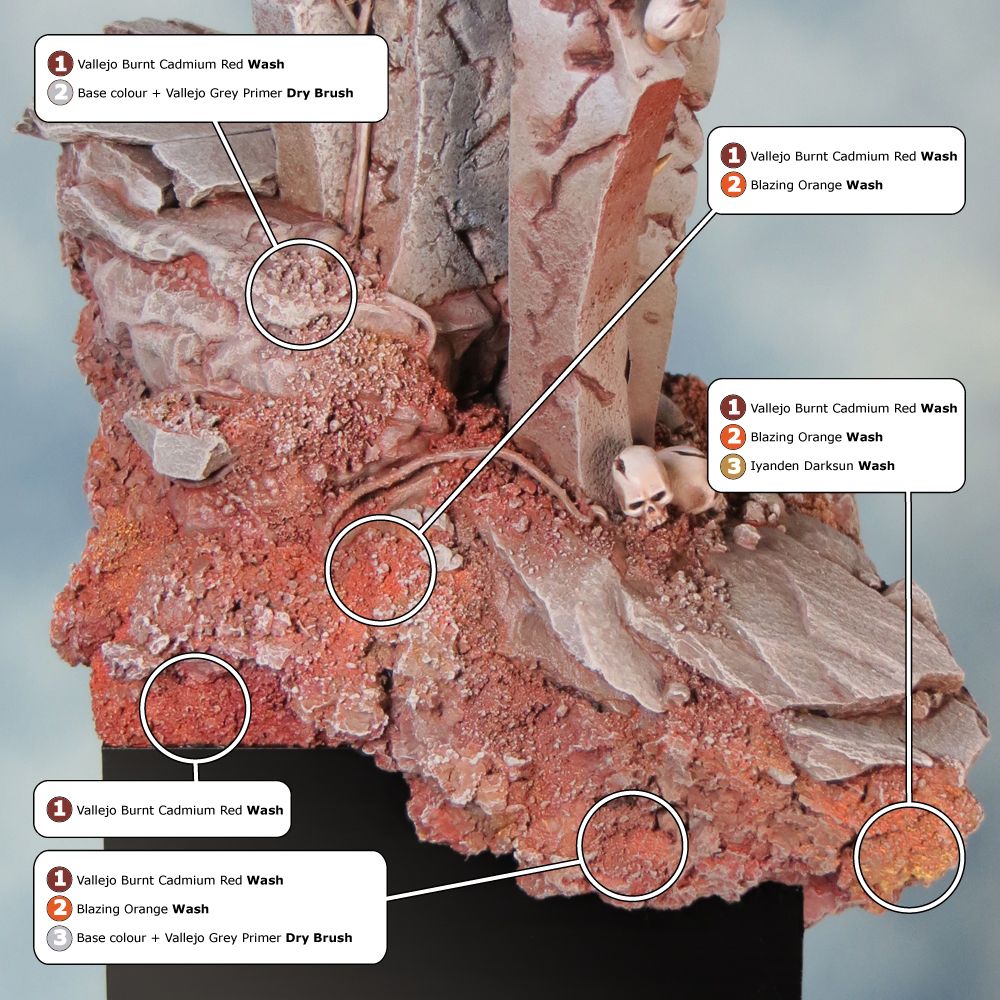
Base Colour:

Calthan Brown & Astronomican Grey mix
1st Highlight/Drybrush:

Base colour mix + Vallejo Grey Primer
Wash colours (in no specific order):

Blazing Orange


Iyanden Darksun
2nd Highlight/Drybrush:
Base colour mix + Vallejo Grey Primer using increasingly lighter mixes than the 1st highlight
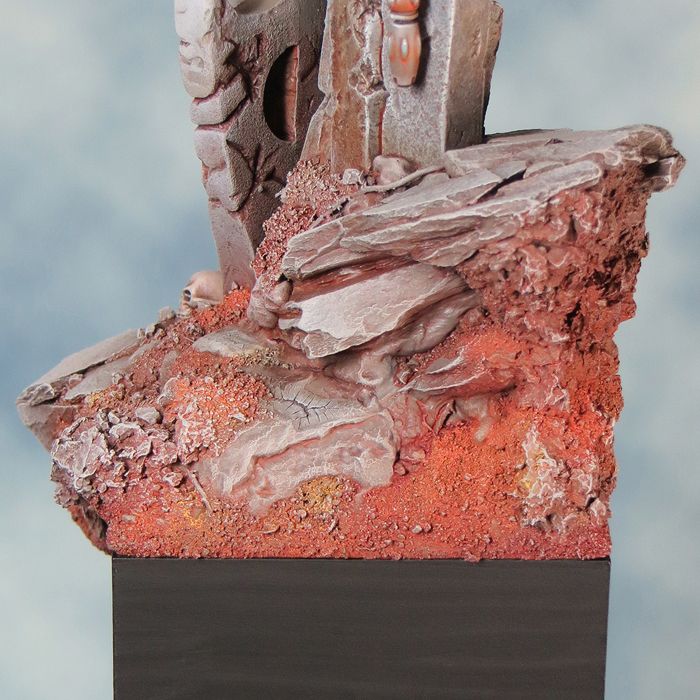
The entire base was painted with the base colour and then dry brushed all over with the 1st highlight colour. Thereafter the coloured washed and highlights are applied in various combinations. As usual I diluted my washes quite heavily and built up several layers of each.
Now lets look at how these colours and techniques look in combination on the base.
 |
| click image to enlarge |
 |
| click image to enlarge |
For a visual learner like myself, I really enjoyed this presentation.
ReplyDeleteCheers
Dave
This is outstanding and I cannot get my eyes to believe that it's not real stone! Fantastic work!
ReplyDeleteI have lots of cork and have used it for rocks (no painting applied though).
Michelle :o))
Hello !
ReplyDeleteThank you for the recipe. :)