Monday 30 June 2014

Squarg the Frog Rider - Part 7 (The reins of terror)

The reins for Squarg’s frog comprised of five very small parts that needed to be fixed into place very accurately. With the bulk of the painting done, it was time to take the plunge and get gluing. It all added up to a tense evening! 

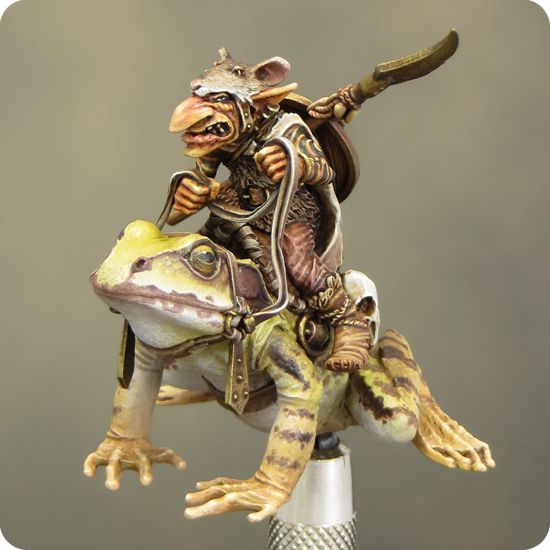
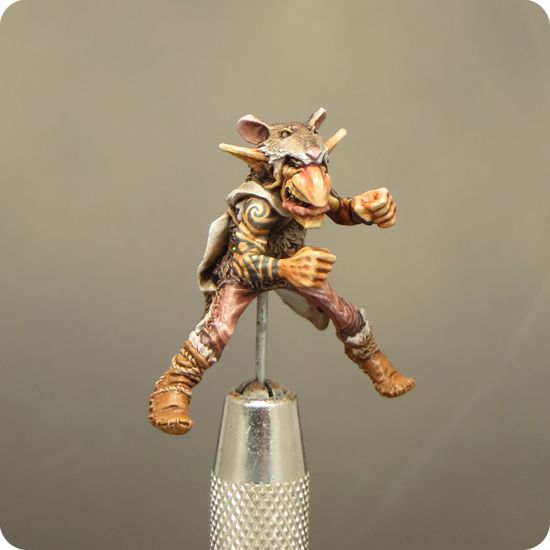
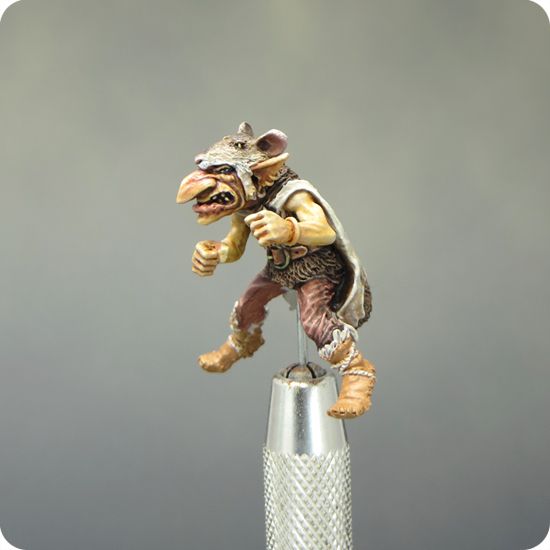
Before I fixed anything in place I did a lot of test fitting to see what worked best and to get my head around where and how best to hold the parts while fixing. 
A pair of needle nose tweezers were invaluable to hold the parts and get then into position. I put a tiny dot of super glue onto the reins at the point where they make contact with the frog. I used a pin to apply the super glue as this gave me more control on the quantity and positioning. Once the superglue was fully set I put a little diluted PVA wood working glue into the joins to reinforce then. 

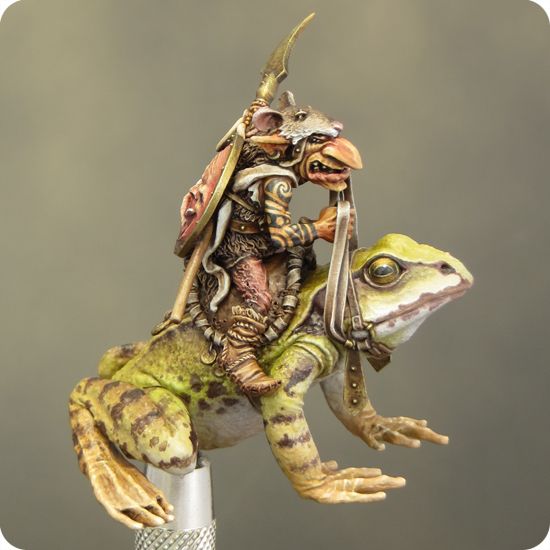
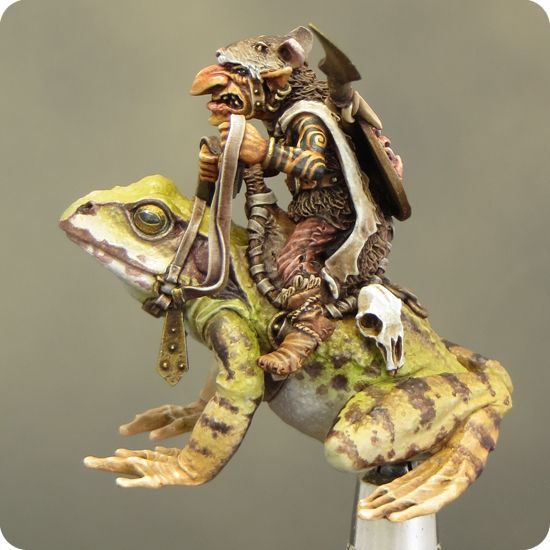
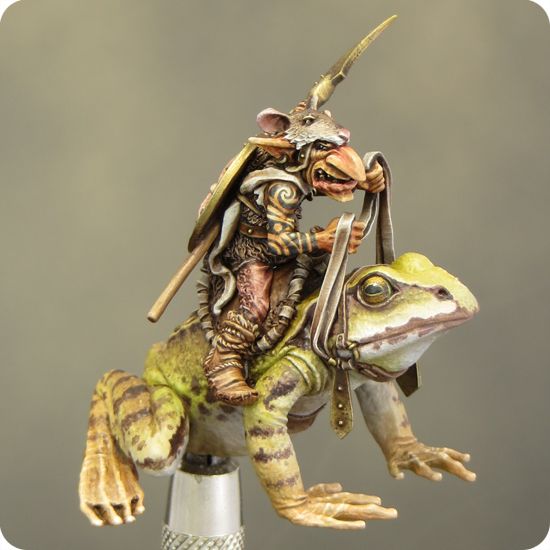
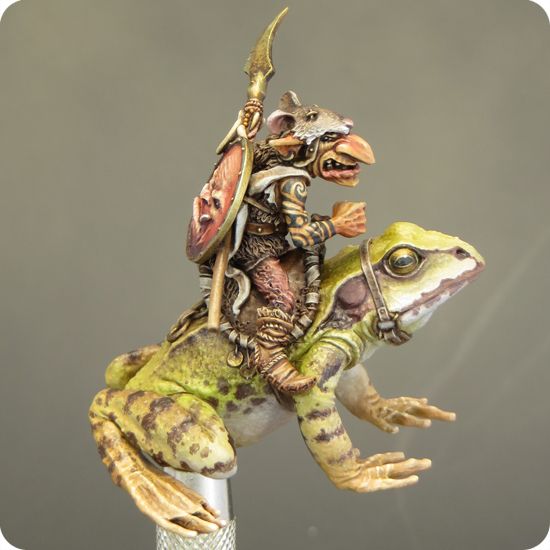
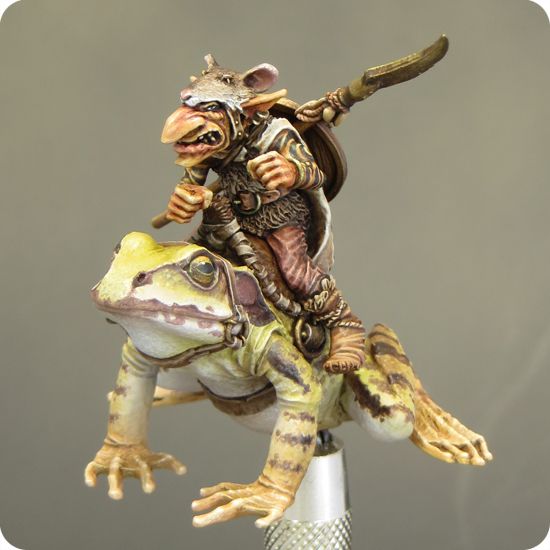
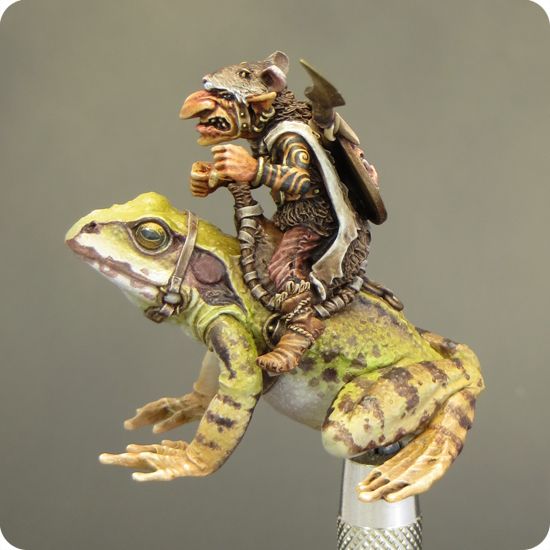
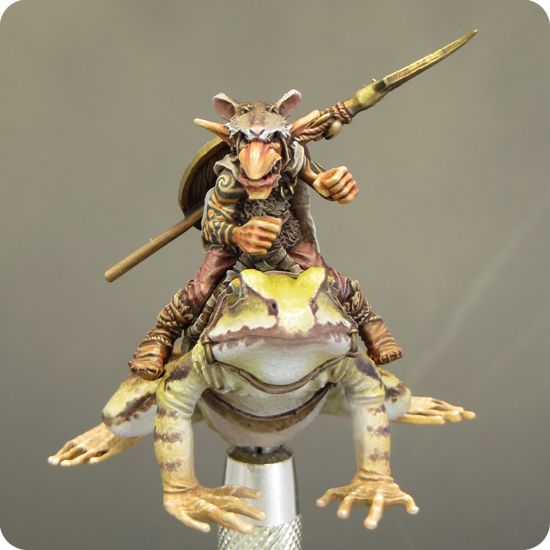
This was a horrible fiddly job. It took me a couple of tries to get a result I was happy with but it was well worth the effort. The reins are just as beautifully sculpted as the rest of the mini and give a feeling of completeness to the pose and composition that was lacking before their addition. 
Painting the reins was a straightforward job that needed to be carried out with a little care and attention to detail. It’s important to resist the temptation to speed up as the mini approaches completion. Mistakes can be easy to make in the eagerness to get things finished. 

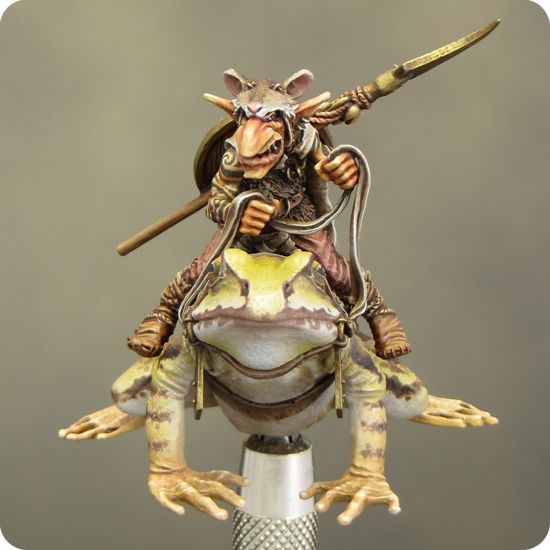
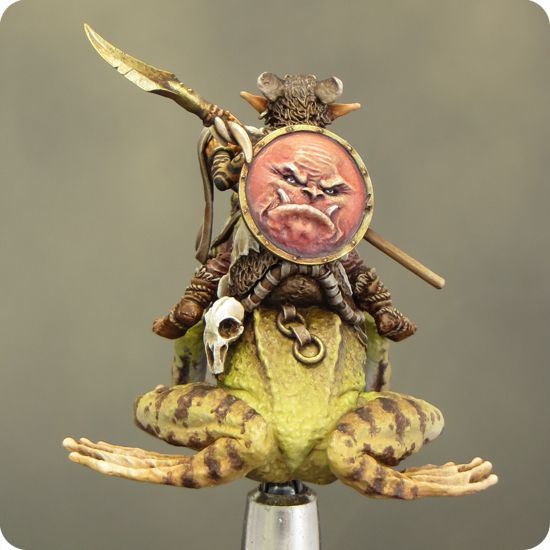
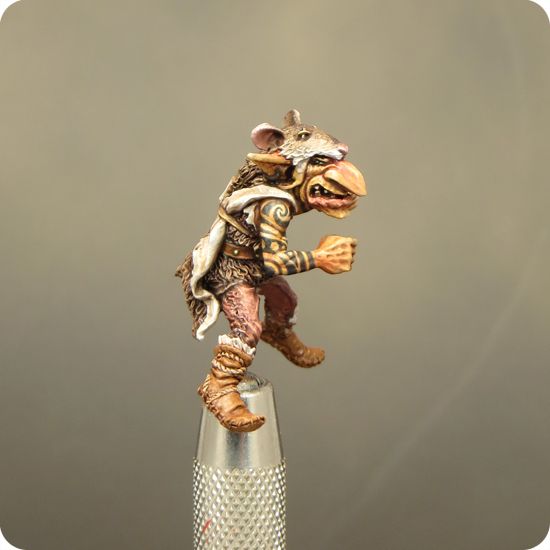
There are a few tiny touches and details that I might add to Squarg’s paint job but for the time being he is done. It’s now time to turn my full attention to his plinth. 


Tuesday 24 June 2014

Squarg the Frog Rider - Part 6

It's been a crazy week but I've managed to keep on painting Squarg in the evenings and I've made some real progress.

for the most part the work on Squarg has been a matter of finishing off and refining the details; and a lot of those details needed to be picked out in metallics. Metallics are just as tricky to work with as I remember, I decided to use airbrush-friendly paints (Vallejo Model Air and Scalecolour) as they have very fine pigments and this helped to achieve a smooth, lump free, finish.

The parts that I was painting in metallics were all small and fiddly, so they probably weren't a very good testing ground. But things worked out OK, with a little perseverance. I'm now feeling a bit more confident to tackle larger areas of metallics which is just as well as they will feature on my next project.

I've also been experimenting with some new colours for flesh tones. For the most part these have all been Vallejo colours and although I like most everything about them they have a tendency to dry with a shiny finish. In some places this became so bad I couldn't see what I was painting! The soloution was to paint a very thin layer of Vallejo mat medium over the shiny areas. I've found that this dries (eventually) to a dead flat finish that, to my eyes, has less shine/sheen than mat varnish.

With the majority of the painting done on Squarg it was time to get him mounted onto his frog. The finishing touches and final adjustments will be best done on the assembled mini when I can balance everything out. I also have to add the reins and paint them which promises to be extremely fiddly work but will finish the mini off very nicely.


Wednesday 11 June 2014

Squarg the Frog Rider - Part 5

This week I've focused my attention on getting Squarg's tattoos painted. I felt he needed a bit more detail and pattern on him to bring him up to a level with the frog. I first considered adding some stripes or maybe checks to his trousers. This idea didn't feel quite right to me as Squarg's clothing and equipment look fairly primitive and appear to be made from various skins he has hunted and processed himself. Tribal tattoos seemed to be the answer as they brought an extra level of detail and felt in keeping with the tone and character I was aiming for.

I didn't want solid black tattoos so I went for a diluted blue/black mix using GW washes. I hoped this would help to get a softer more faded look by using transparency.  The end result is a little darker than first intended but I'm satisfied with the tattoos so that's OK.

Painting the tattoos was a bit of a fiddle as it wasn't really possible to pencil in any guidelines so they were painted completely freehand. The edges were tidied up with a little of the flesh tone and this made a huge difference to the clarity and definition of the design.


Thursday 5 June 2014

Squarg the Frog Rider - Part 4

It's been a little while since I last updated with any painting progress but I have a good excuse. I've just been off for a break in Rome and have walked my feet off taking in some of the wonderful history that city has to offer. It also offers very good ice cream, so I took in rather a lot of that too!

I may have been immersed in the glories of Imperial Rome but 'Project Squarg' wasn't entirely forgotten. I've been firming up my ideas for how I will add interest to Squarg's base. Moss, water and ferns will all play a part and I managed to take a couple of reference pictures that will come in very handy.


Now I'm back home I've been getting into the swing of things again, and have made a little more progress on painting Squarg. I'm really looking forward to painting some tribal tattoos on his arms but before I can do that I've had to focus my attention on his costume.