Showing posts with label Blacksmith Miniatures. Show all posts

Wednesday, 29 April 2015

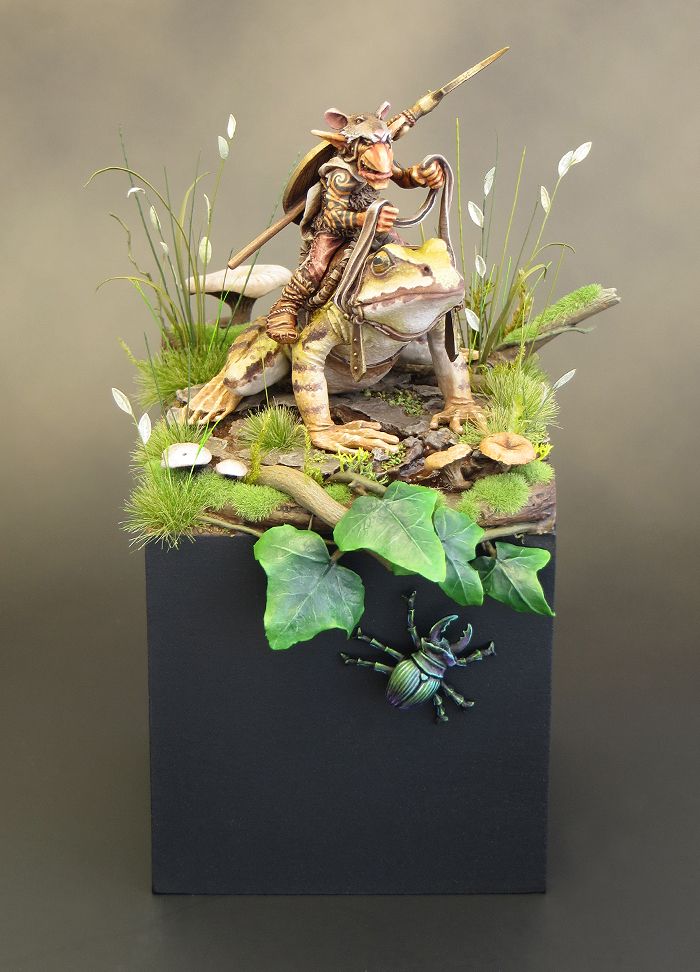
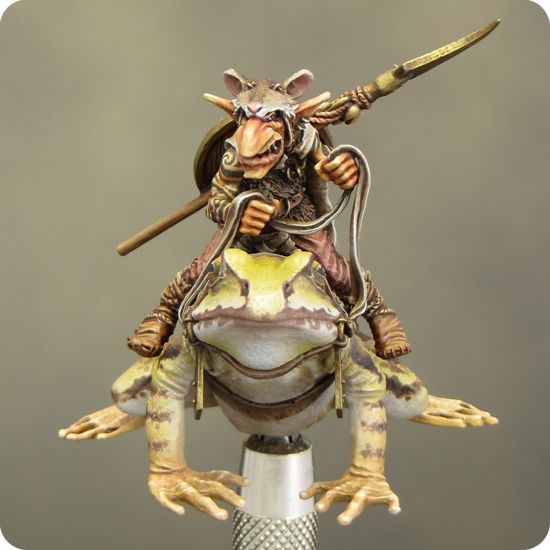
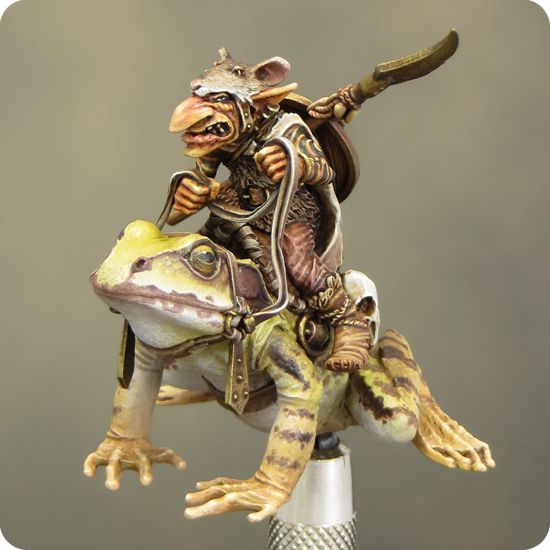
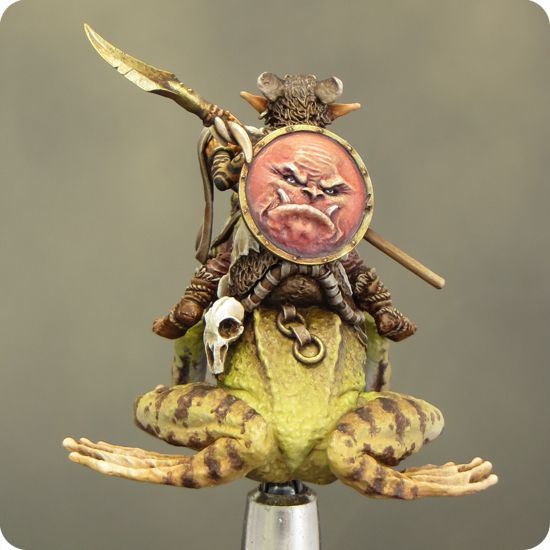
From Zero to Hero - revisiting Squarg for Salute 2015


When Squarg came away from Euro Millitaire without even a ‘commended’ to his name I was deeply disappointed. To be honest, I felt that that was in no way a fair assessment of the mini but, as I said at the time, ‘that’s the way the cookie crumbles’ and the best thing to do was move on and get painting. 

I’m normally extremely reluctant to go back and make changes to a ‘finished’ mini. That’s not to say that I consider my work to be perfect! But I think it’s far more positive and productive to take the lessons learned and apply them to future projects. However, I decided that Squarg was a special case. 


 Although I didn’t seek any feedback I heard from several friends that there had been some comments about Squarg from the judges at Euro. Feedback is only ever going to be of use if you take it with an open mind and I was in no fit state at the time. 

The first thing that reached my ears from several sources was that the frog should have looked wet. The second was that Squarg’s back feet were not properly fixed to the base.

With the passing of time I was able to get Squarg out of the cabinet and reconsider him objectively. I still felt that Squarg was one of my best pieces and he deserved a fair crack of the whip. But only a fool refuses to consider feedback. 

The issue of how wet the frog should look was something I’d given a lot of thought to when I first painted him. I made tests with different finishes in an effort to achieve a suitably moist appearance but I decided to leave well alone. Shiny finishes looked tacky and unrealistic while satin finishes were not noticeably different from the natural sheen of the paint that I’d used, a mix of Vallejo & GW. The decision I made was right. I’m still perfectly happy with it and I stand by it. 

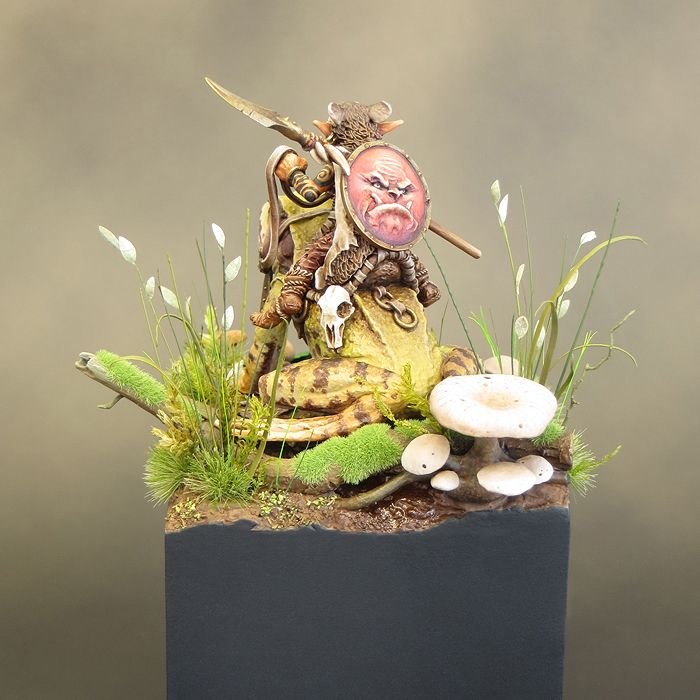
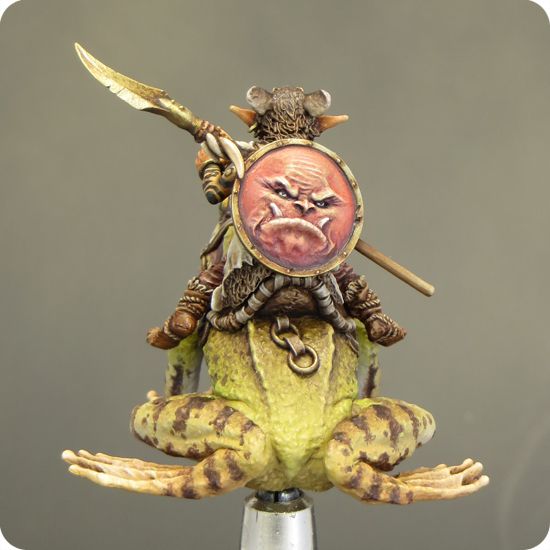
The back feet were a different matter. I knew that Squarg’s feet had been properly fitted to the base. I’d gone to great pains gently heating them so that they could be reshaped to fit the contours of the base. But what I’d missed was that they hadn’t stayed that way for very long! In particular there was a noticeable gap between Squarg’s back left foot and the base! 

I think the most likely explanation is that the original (very flat) shape of Squarg’s feet reasserted itself when I used a hairdryer to speed up the drying of some washes I’d applied to the base. And while in hindsight the gap looks obvious, I had totally missed it at the time. 

All well and good but what should I do about it? There was no way I would be attempting to reheat and bend the foot again, so I decided to fill the gap with something. After consideration that ‘something’ was more grass and moss. 

I had the Friday before Salute free to work on Squarg’s base and it was an extremely nervous day! I proceeded slowly by very carefully testing out several options before I had my solution. The use of a soft material meant that I could safely work it deep into the gap and then tease it back out for a natural effect. In the end I was very pleased with the result. The gap was no longer apparent and the new grass and moss looked like it had always been there. 


The extra grass and moss didn’t just fill up the gap in my opinion the base looked better with them. This led me to consider the overall appearance of the base and so I decided to increase the amount of green on the base. 

I did this in several ways:


1.
I added a few more strands of tall grass at the back of the base. On reflection the old grass formed two distinct clumps – one in each back corner and I wanted to soften these out


2.
I tinted the leaves on the tall grass at the back with a warmer shade of green that toned in with the frog’s flesh colour. I think that before the leaves were too pale and cool in tone


3.
I went back over much of the ground surface with glazes of green ink


4.
I added a mix of green ink, paint, PVA glue and baking soda to specific areas of the ground. This created areas of a fine, slightly soft, grainy texture that really helped to give the ground a damp marshy look. 


The actual change to the appearance of the base is subtle but it has a dramatic effect. With the overall increase of green the individual plant elements are slightly less distinct and now work better together as a whole. The base also now has a damper look to it more appropriate as the environment for a frog. 

I was far less nervous at Salute this year than is usual for me. That’s due to the event being more familiar rather than any growth in confidence. In the case of Squarg, I very much wanted him to do well but I really had nothing to lose as he couldn’t do any worse than he had done at Euro. 

Winning both First Place in his category and Best in Show is marvellous and I’m very proud of the achievement. 

I’ve experienced both the extreme highs and lows of competitive painting with this one mini and it’s a slightly odd experience with each tempering the other. 

In the end, I think the lesson Squarg has taught me is try not to be too overwhelmed by either success or failures because positive things can be found in both if you look for them.

Monday, 27 April 2015

Salute 2015

With Mole done and dusted I had a little time to consider some other entries for Salute. So I was busy all day Friday making some adjustments to Squarg's base - that was very nervous work, but it was well worth the effort. I’ll post in more detail about Squarg’s base, the changes I made to it and why I made those changes, in the near future.

When the big day arrived it found me in a calmer frame of mind than in previous years. It might just be possible that I’m finally getting used to entering painting competitions and I have my nerves under better control!

Salute seemed to be bigger and busier than ever but the venue had much more space this year and that made for a more enjoyable overall experience. As usual the day seemed to go very quickly with the painting comp, stands, games and socializing (always the best thing about these events) making for a busy time. Before I’d managed to get round and see everything it was time for the painting competition results.


Uncle John made it through to the finals. Mole got First Place in Science Fiction Single Figure and, to my utter delight, Squarg got First Place in Fantasy Creature or Vehicle. But that's not the best of it because Squarg also won Best in Show! Needless to say I'm a very happy bunny.

Tuesday, 15 July 2014

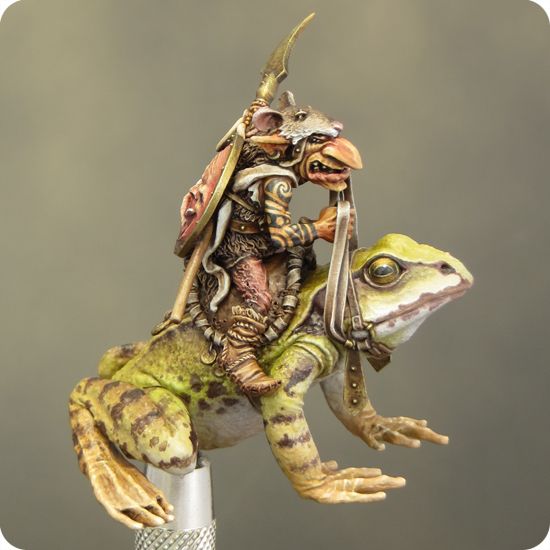
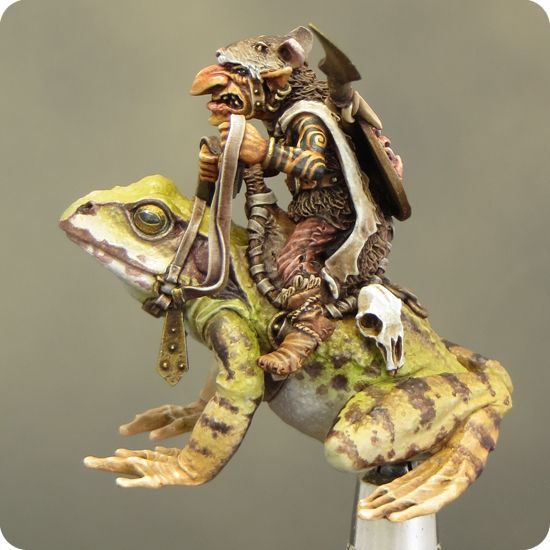
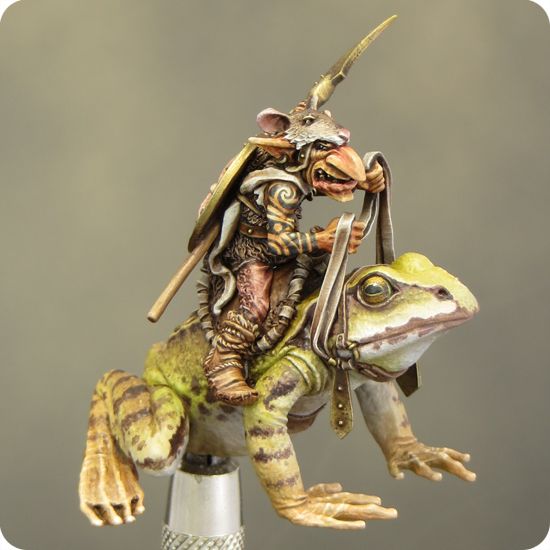
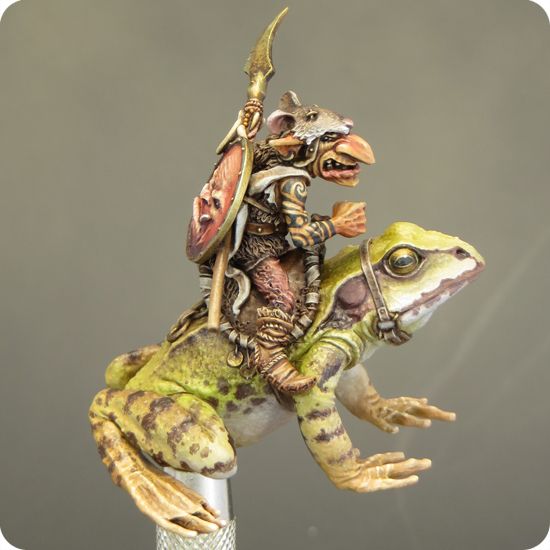
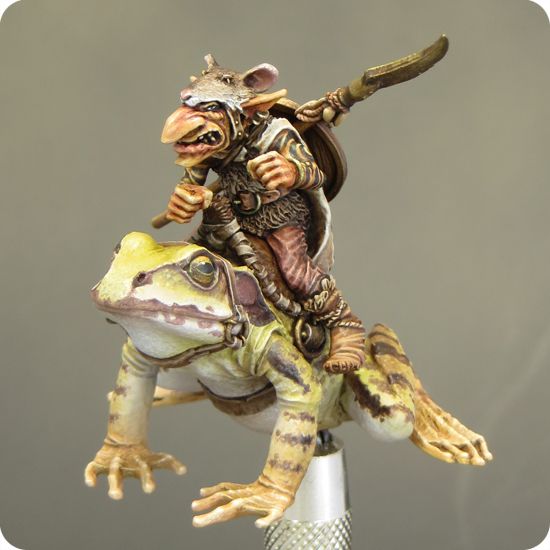
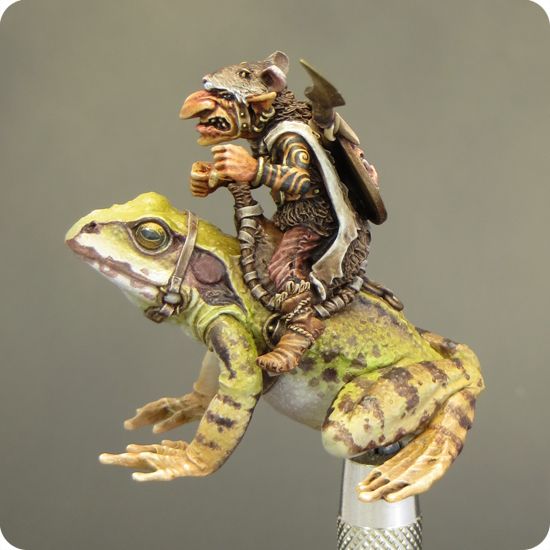
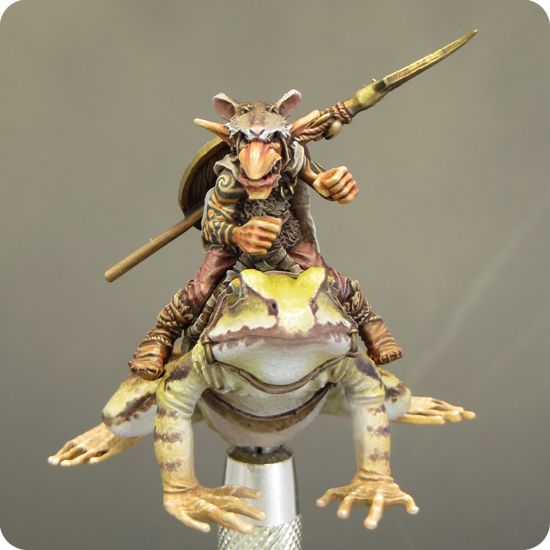
Squarg the Frog Rider - Finished


 Following an intense but productive weekend of painting and modelling Squarg is finished! I’ll follow up later this week with a posting on how I built up the base. It features a few tricks and techniques that are well worth sharing.


Thursday, 10 July 2014

Squarg the Frog Rider - Part 8

I should probably have titled this post "Oops I did it again!” 
I began work on Squarg’s base right at the start of this project and the majority of the construction was complete as I painted the frog. The intention was to develop all the elements of the project simultaneously so that everything would come together as a balanced and harmonious composition. So much for good intentions! 
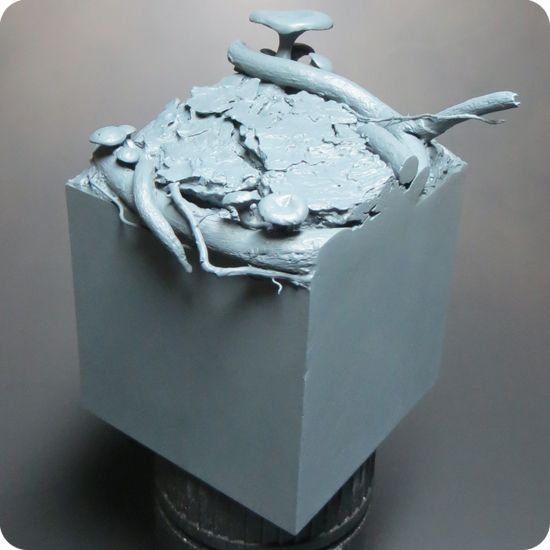
Once the frog and rider were painted, I could see that the base I’d made was totally out of proportion with them. It looked far too big and blocky for what is a relatively small and compact mini. I’ve decided to scale back the size and scope of the base. This base isn’t intended to be a scene or diorama. It needs to show off the mini and present it to its best advantage and, once again, when it comes to the base, I prefer a ‘less is more’ approach. 
One day I’m going to remember that before I start construction on another grandiose base! 
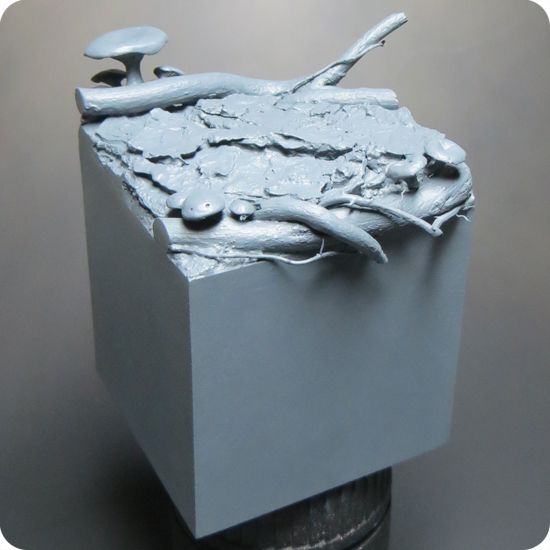
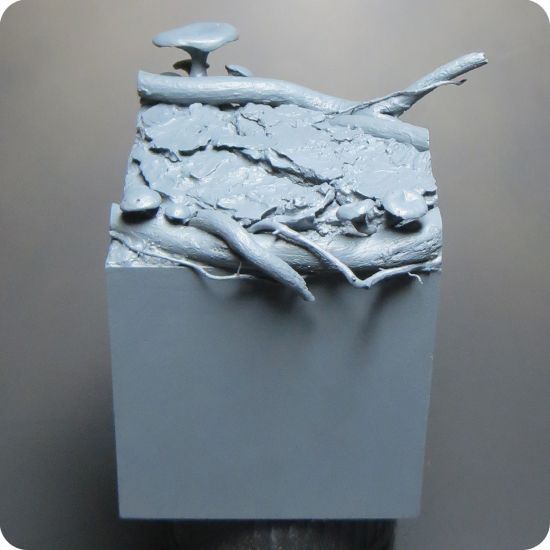
The new base, like the old one, is constructed from bits of tree bark, roots and resin mushrooms. Unlike the old one it allows Squarg & his frog to be the dominant element of the composition, and I feel it’s far better for it. 

Monday, 30 June 2014

Squarg the Frog Rider - Part 7 (The reins of terror)

The reins for Squarg’s frog comprised of five very small parts that needed to be fixed into place very accurately. With the bulk of the painting done, it was time to take the plunge and get gluing. It all added up to a tense evening! 

Before I fixed anything in place I did a lot of test fitting to see what worked best and to get my head around where and how best to hold the parts while fixing. 
A pair of needle nose tweezers were invaluable to hold the parts and get then into position. I put a tiny dot of super glue onto the reins at the point where they make contact with the frog. I used a pin to apply the super glue as this gave me more control on the quantity and positioning. Once the superglue was fully set I put a little diluted PVA wood working glue into the joins to reinforce then. 

This was a horrible fiddly job. It took me a couple of tries to get a result I was happy with but it was well worth the effort. The reins are just as beautifully sculpted as the rest of the mini and give a feeling of completeness to the pose and composition that was lacking before their addition. 
Painting the reins was a straightforward job that needed to be carried out with a little care and attention to detail. It’s important to resist the temptation to speed up as the mini approaches completion. Mistakes can be easy to make in the eagerness to get things finished. 

There are a few tiny touches and details that I might add to Squarg’s paint job but for the time being he is done. It’s now time to turn my full attention to his plinth. 


Tuesday, 24 June 2014

Squarg the Frog Rider - Part 6

It's been a crazy week but I've managed to keep on painting Squarg in the evenings and I've made some real progress.

for the most part the work on Squarg has been a matter of finishing off and refining the details; and a lot of those details needed to be picked out in metallics. Metallics are just as tricky to work with as I remember, I decided to use airbrush-friendly paints (Vallejo Model Air and Scalecolour) as they have very fine pigments and this helped to achieve a smooth, lump free, finish.

The parts that I was painting in metallics were all small and fiddly, so they probably weren't a very good testing ground. But things worked out OK, with a little perseverance. I'm now feeling a bit more confident to tackle larger areas of metallics which is just as well as they will feature on my next project.

I've also been experimenting with some new colours for flesh tones. For the most part these have all been Vallejo colours and although I like most everything about them they have a tendency to dry with a shiny finish. In some places this became so bad I couldn't see what I was painting! The soloution was to paint a very thin layer of Vallejo mat medium over the shiny areas. I've found that this dries (eventually) to a dead flat finish that, to my eyes, has less shine/sheen than mat varnish.

With the majority of the painting done on Squarg it was time to get him mounted onto his frog. The finishing touches and final adjustments will be best done on the assembled mini when I can balance everything out. I also have to add the reins and paint them which promises to be extremely fiddly work but will finish the mini off very nicely.


Wednesday, 11 June 2014

Squarg the Frog Rider - Part 5

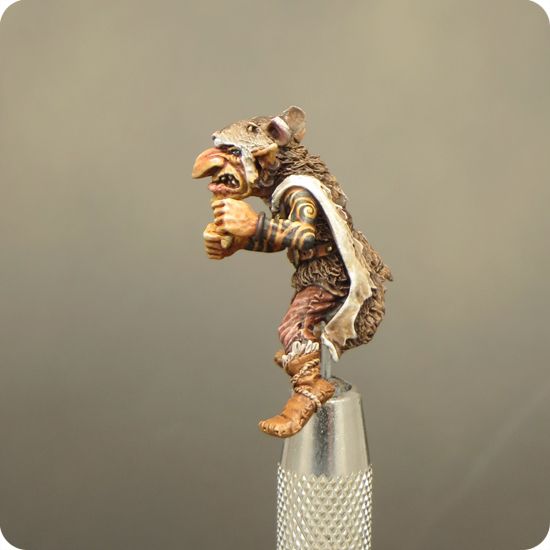
This week I've focused my attention on getting Squarg's tattoos painted. I felt he needed a bit more detail and pattern on him to bring him up to a level with the frog. I first considered adding some stripes or maybe checks to his trousers. This idea didn't feel quite right to me as Squarg's clothing and equipment look fairly primitive and appear to be made from various skins he has hunted and processed himself. Tribal tattoos seemed to be the answer as they brought an extra level of detail and felt in keeping with the tone and character I was aiming for.

I didn't want solid black tattoos so I went for a diluted blue/black mix using GW washes. I hoped this would help to get a softer more faded look by using transparency.  The end result is a little darker than first intended but I'm satisfied with the tattoos so that's OK.

Painting the tattoos was a bit of a fiddle as it wasn't really possible to pencil in any guidelines so they were painted completely freehand. The edges were tidied up with a little of the flesh tone and this made a huge difference to the clarity and definition of the design.


Thursday, 5 June 2014

Squarg the Frog Rider - Part 4

It's been a little while since I last updated with any painting progress but I have a good excuse. I've just been off for a break in Rome and have walked my feet off taking in some of the wonderful history that city has to offer. It also offers very good ice cream, so I took in rather a lot of that too!

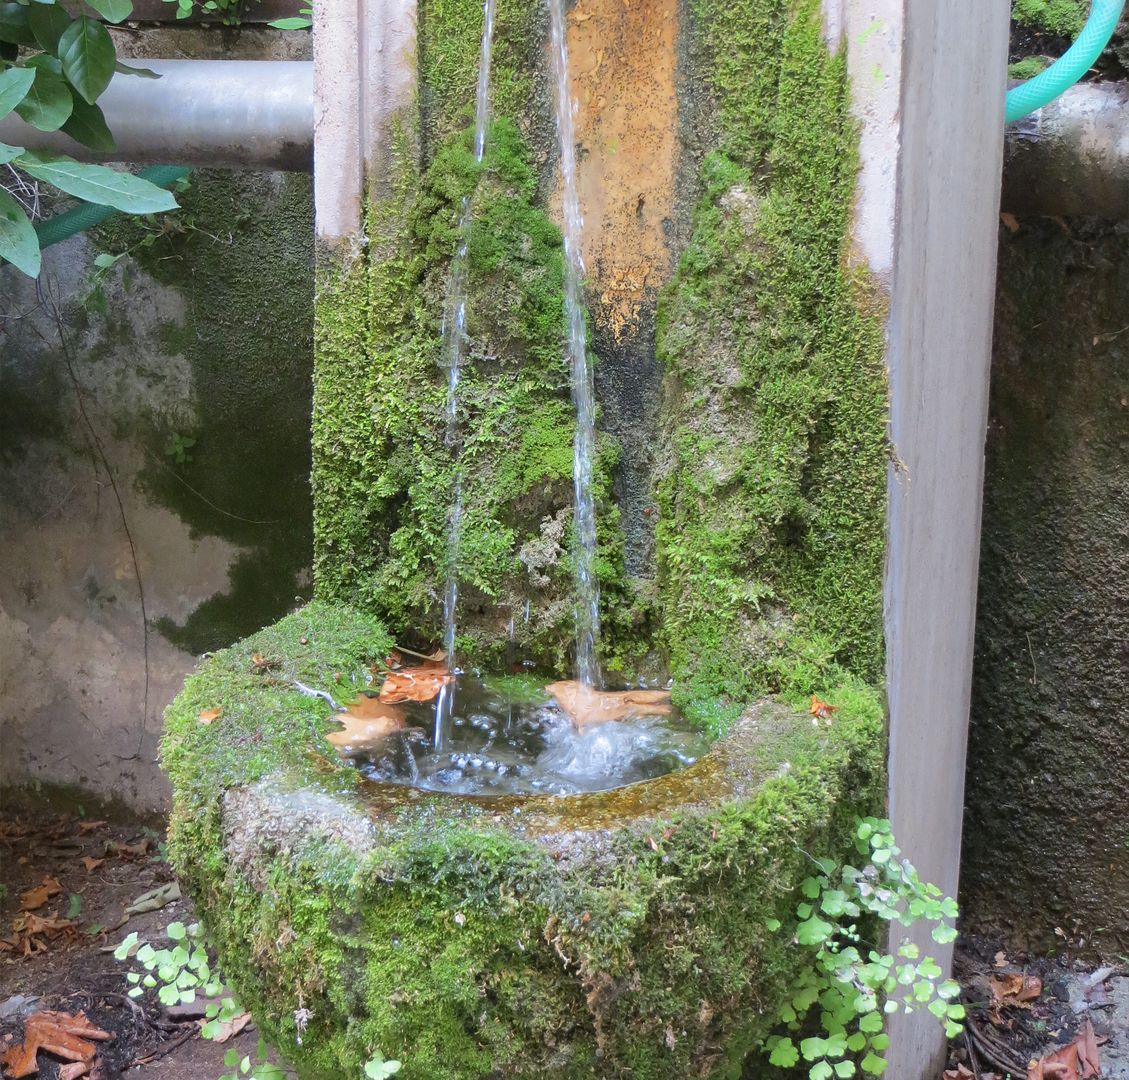
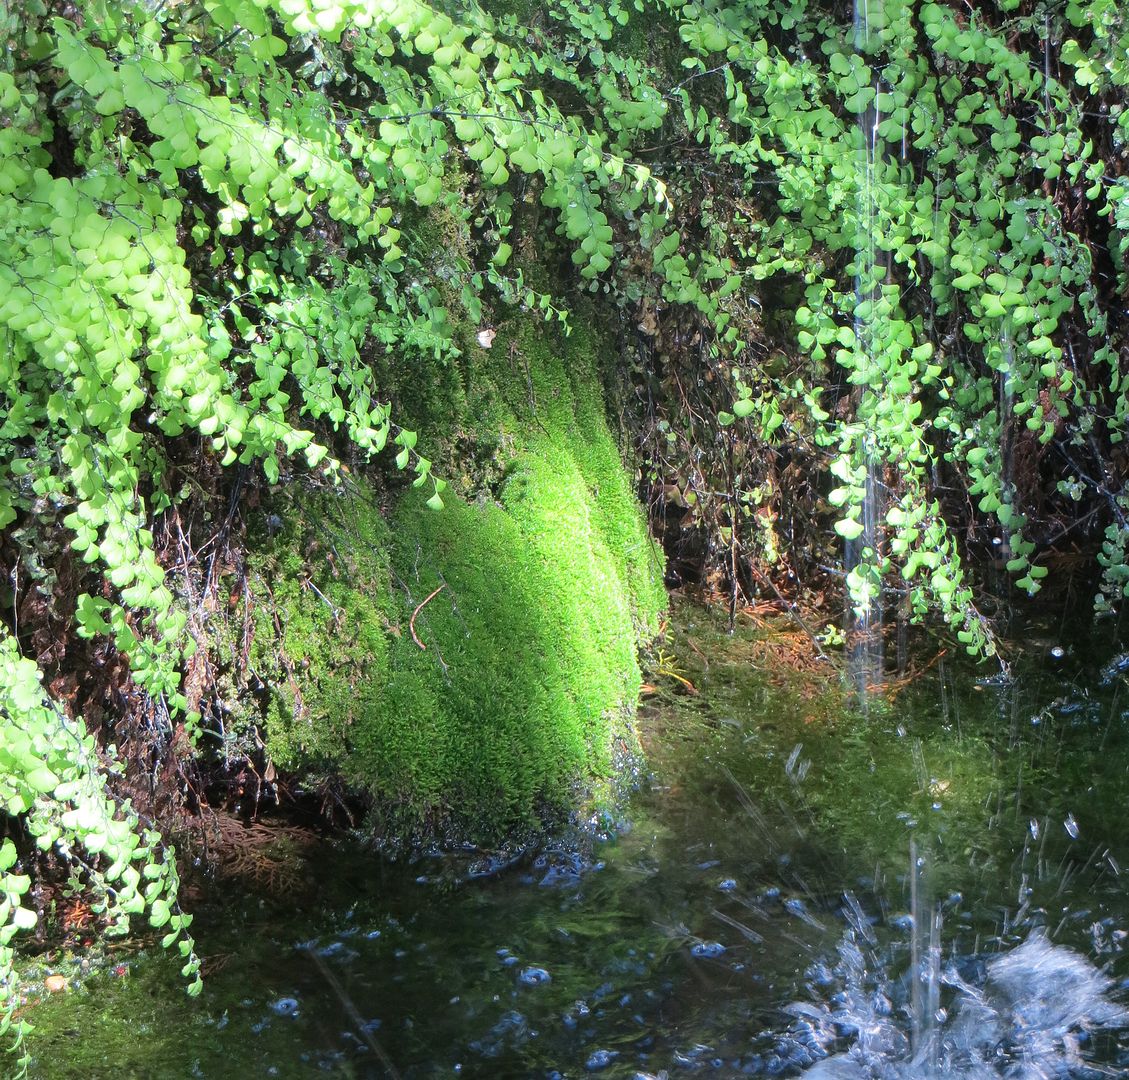
I may have been immersed in the glories of Imperial Rome but 'Project Squarg' wasn't entirely forgotten. I've been firming up my ideas for how I will add interest to Squarg's base. Moss, water and ferns will all play a part and I managed to take a couple of reference pictures that will come in very handy.


Now I'm back home I've been getting into the swing of things again, and have made a little more progress on painting Squarg. I'm really looking forward to painting some tribal tattoos on his arms but before I can do that I've had to focus my attention on his costume.


Tuesday, 20 May 2014

Squarg the Frog Rider - Part 3

With the frog all but done, I’ve turned my attention to it’s rider – Squarg.
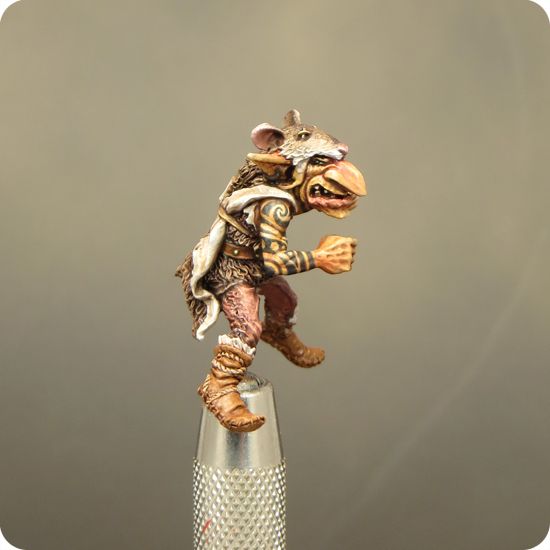
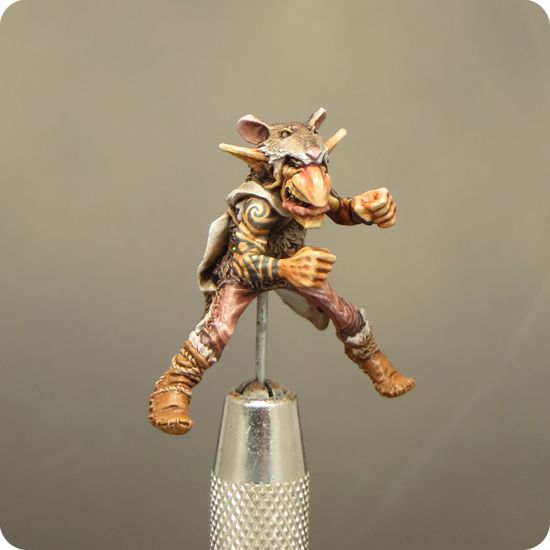
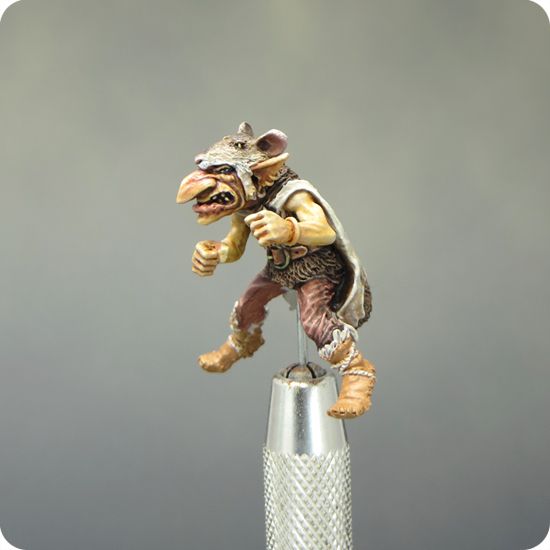
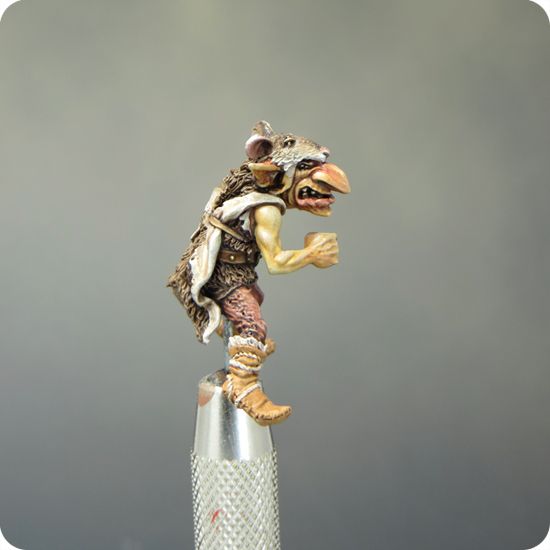
I decided to paint Squarg with a yellow/brown flesh tone. In part to contrast with the frog and in part because I used to paint all my GW Night Goblins this colour back in the 1980’s. I’ve never understood the received wisdom that all Orcs and Goblins should be green!
I started off painting Squarg’s flesh in a similar way to that of the frog by building up layers of translucent colour. Once I’d reached a flesh tone I was happy with, I built up some stronger highlights and shadows to give his features definition. As I was doing this I also worked some red tones into his nose, ears and lips. This prevents the flesh looking monochrome and helps to give it life.
At this stage I felt there was still something missing, so I enriched some of the shadows around the eyes and nose with purple. This made a huge difference! Although the colour doesn’t look purple on the mini it’s presence made the face come alive.
It’s a basic application of colour theory to use complimentary colours (yellow & purple in this case) to liven up a colour scheme. What really surprised me was how effective such a subtle application of colour turned out to be!


Thursday, 8 May 2014

Squarg the Frog Rider - Part 2

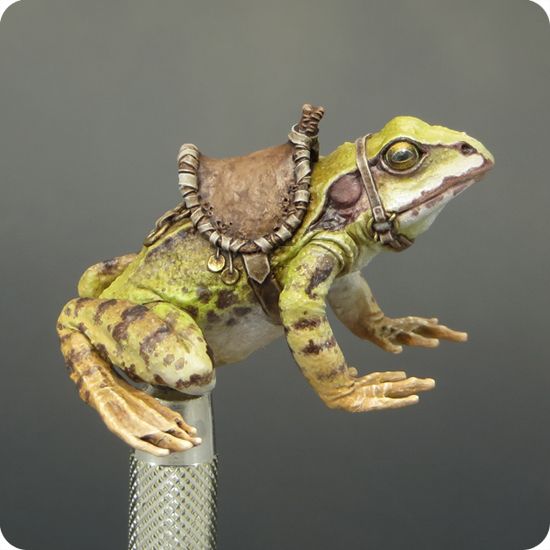
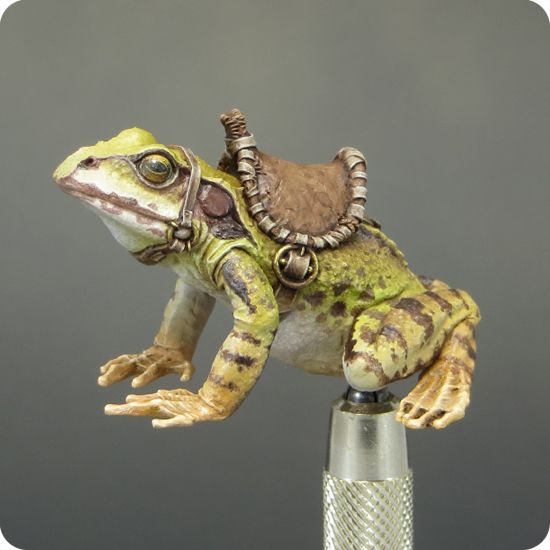
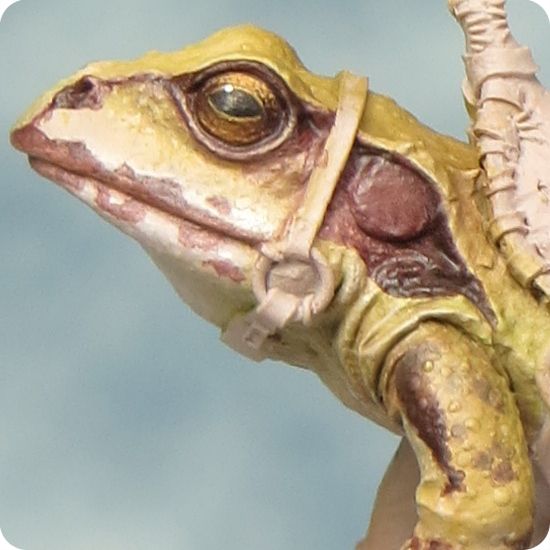
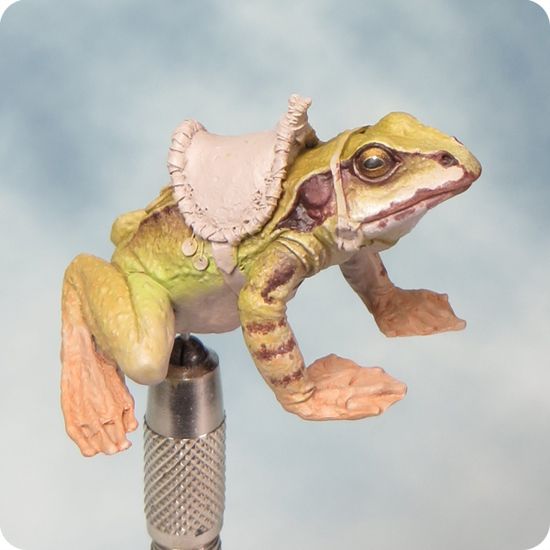
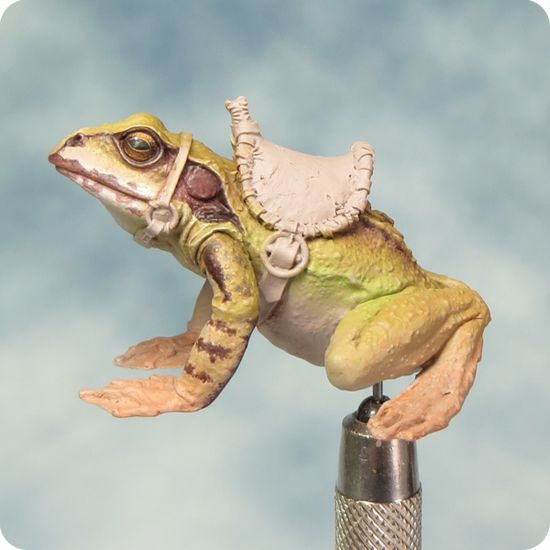
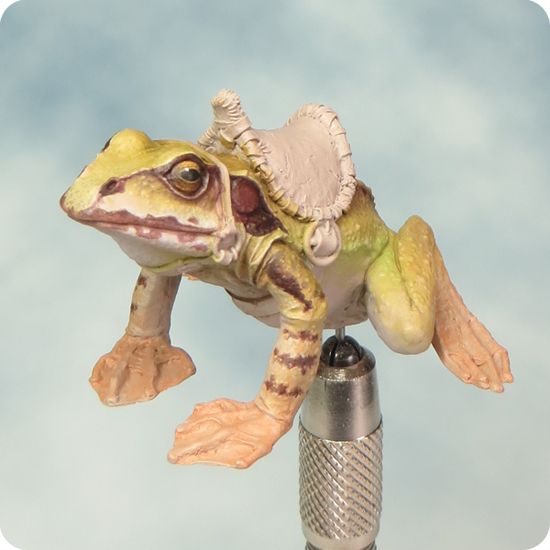
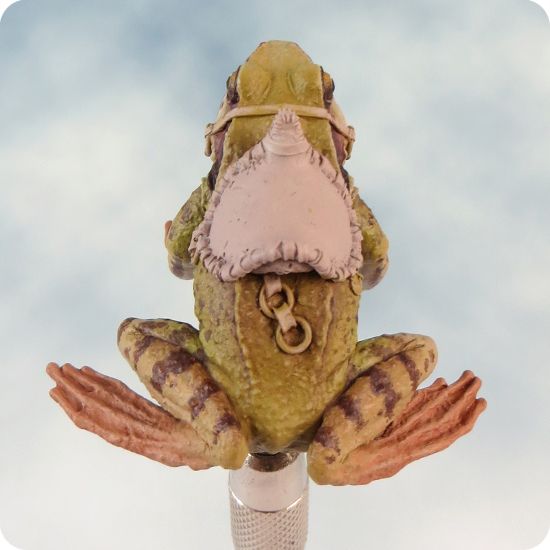
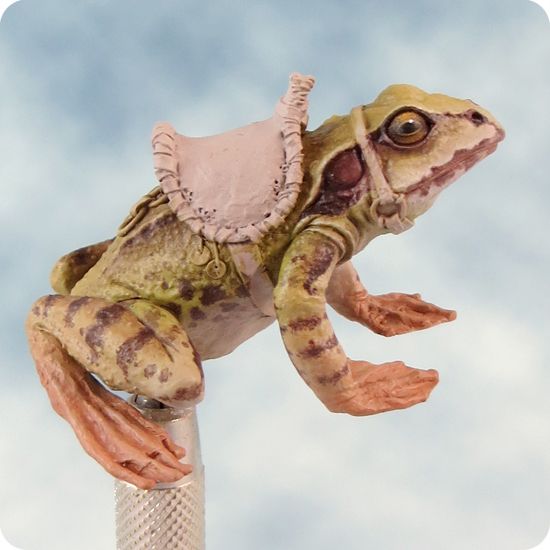
I've been steadily working on my frog mini over the past two weeks since I posted my last pictures. He is now finished. So it's time to post some up-to date pics of the work on 'Project Squarg'. I've continued to paint the frog with sucessive layers of transparent glazes and I'm very pleased with the result.


The leather of the harness and saddle has been painted by the conventional layering of highlights and shadows, but an extra layer of weathering was then applied with GW washes. Although most of this work will be covered up by the rider, it gave me the opportunity to test out the effect. Squarg himself will be featuring a fair bit of worn leather because I want to give him lots of character.  
I'm a big fan of NMM but I think it would look too cartoonish for what I'm trying to achieve on this particular mini. It's a long time since I've used metalic paint and it's just as tricky as I remember. But I'm pleased with how it has turned out on the frog's harness. I intend to use true metalics on my next project so the limited areas of metal on Squarg will serve as useful practise.


In the week after Easter I didn't feel in a painting mood. Rather than forcing the issue, I switched my attention to constructing the base for this project. I had an idea of what I wanted to achieve, so I assembled the materials I needed and experimented with the composition.
The core of the base is a wooden cube that I have carved with a dremmel. I built up the under-structure with cork. To introduce a bit of character, and texture, I glued pieces of bark (picked up on a country walk) onto this sub-structure. Next I filled in the gaps with milliput. The tree and branch elements, made from assorted plant roots, were then glued onto the base and blended in with more milliput. Like Squarg, the mushrooms and toadstools come from Blacksmith Miniatures. There is still quite a bit of work to do, I want to build up more and varied textures before I paint the base. But I think I've made a good start.


Tuesday, 22 April 2014

Squarg the Frog Rider - Part 1


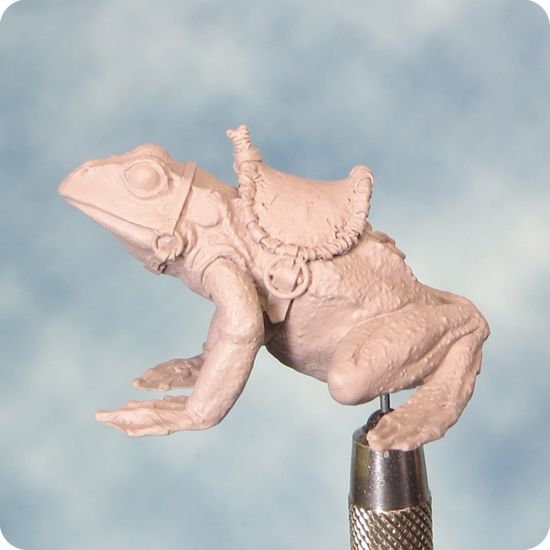
It's time to unveil my latest work-in-progress and this time I've gone for a bit of a fairy tale theme. The mini is 'Squarg the Frog Rider' from Blacksmith Miniatures.
I first spotted Squarg some months ago and decided to paint him right there and then. I usually like to see a mini for real before I decide to buy; but I took a chance, and ordered him straight away. I wasn't disappointed, the sculpting by Allan Carrasco is exquisite and the casting is top quality!
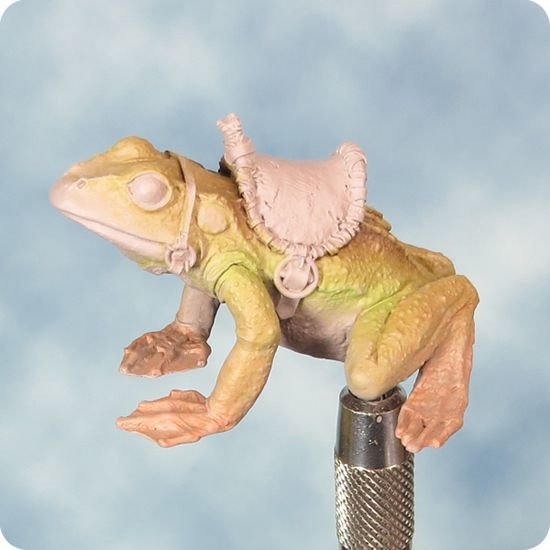
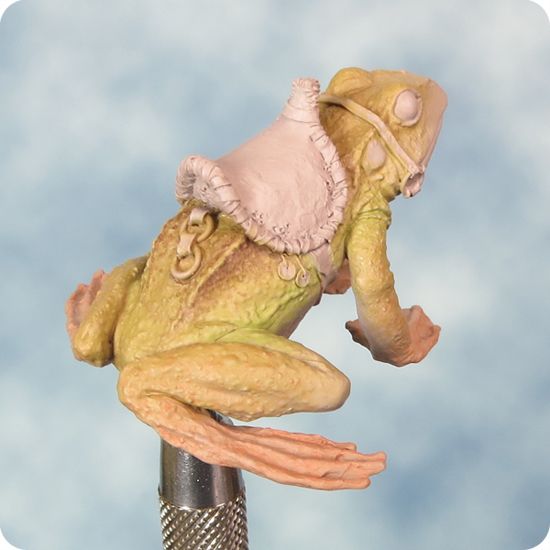
I'm taking a different approach to painting the frog from my usual method and working with transparent layers over a light base colour. I think this will be the best way to achieve the subtle variations of colour and tone that make up a frog's markings. For reference I've used a selection of images of the European Common Frog. Although there are many shared features, the patterns and colouring on individual frogs can vary a great deal. Rather than trying to slavishly reproduce the makings from a particular frog, I'm picking and choosing features to give the look and feel I want for my frog. Having good reference will (hopefully) help me to paint my frog as naturalistically as possible.


The first stage consists of a series of transparent coloured glazes. Unusually for me I worked over the entire skin area creating a layer of under painting that will form a foundation for the frog's markings. Working this way also enabled me to test out and finalise the colour palette I'll be using.

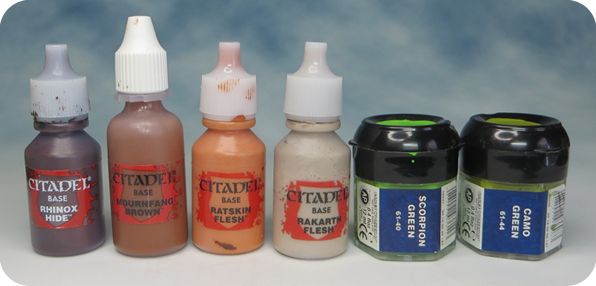
The colours used in the frog's skin tones

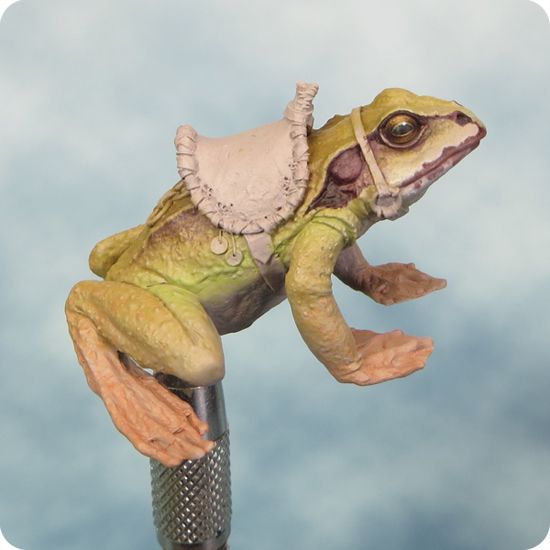
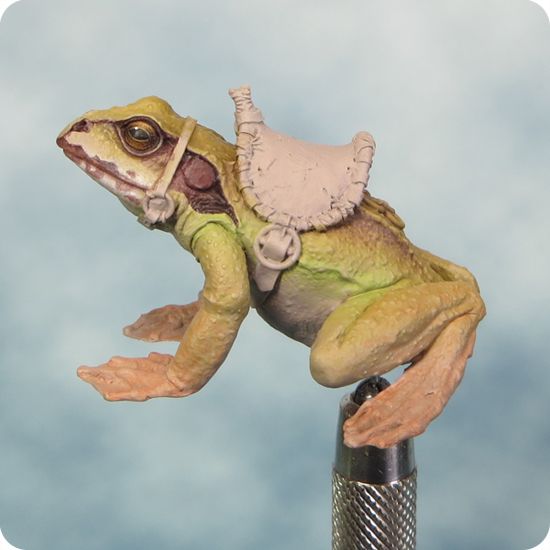
Next I began to strengthen some of the colouring by building up further glazes. The intention is to leave the highlight areas with less layers of paint on them, so that light base colour shows through more than in the shaded areas. If successful this way of painting will give a rich and luminous colour, as the light passes through the layers of paint to bounce off the light basecoat beneath. I also started to paint in the frog's markings, a series of spots, splotches and stripes.

The colours for the eyes and markings

The intention is to create varied and natural looking textures within the marking. To achieve this they are built up with a combination of daubs, stippling glazes and sponging. Combining techniques makes for a less obviously painted look, I feel.


Progress on this mini has been surprisingly fast (for me) and that would seem to be as a result of the change in technique. The frog is turning out to be a really enjoyable mini to paint and I'm quite excited about how the project will develop.