
Tuesday, 5 June 2012
Mummy Mania - Painting the Tomb King
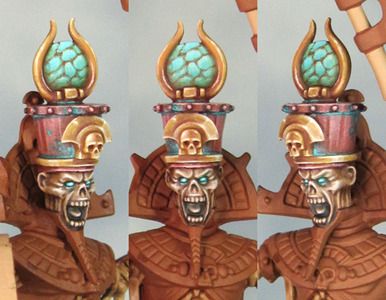
Just a quick post to show the weekend's progress on my Tomb King. I've begun to apply my colour scheme to the mini. So far I'm very pleased with how things are going although it's only at an early stage and the scheme will need to develop as I progress.


Wednesday, 30 May 2012
Mummy Mania - choosing a colour scheme.
I've made a couple more tweaks to the tomb king's position this time the feet and arm. I'm now very happy with his pose so It's time to put down the super glue and pick up my paintbrush.

First up I've blocked in the main areas of colour with a base coat. I'm using the same sandy tone for the bones and bandages as I used on the base. This should help tie the whole composition together. Areas that will be painted copper and gold have been picked out in Calthan Brown. Having a two tone base coat helps me to start breaking the mini down into the it's main colour blocks and begins the process of planning the order I will paint them in.

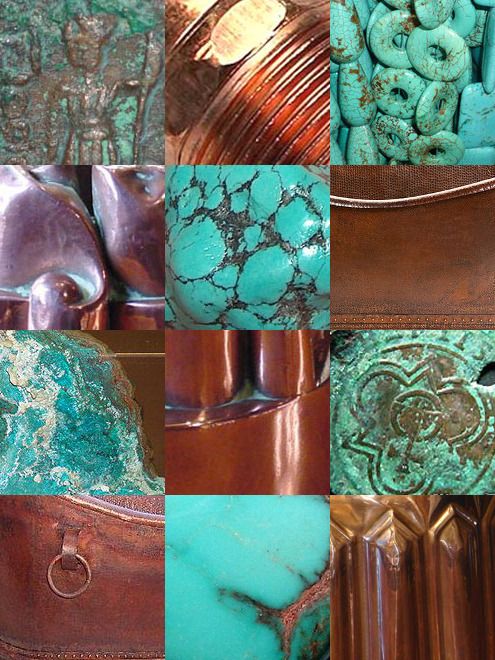
My thoughts on the colour scheme have really come together. I didn't want a typically Egyptian gold with red and blue jewels type of scheme for this mini. I want to try and create an ancient and barbaric feel for my Tomb King. Having used, and been pleased with, the tarnished copper effect on the base I will apply this to the Tomb King. Decoration will be mostly restricted to a little gold and turquoise both of wich are authentically ancient egyptian but hopefully just a little bit different from what is often done with this type of mini.
To help me with my colour scheme I've collected together a set of pictures for reference/inspiration. Nothing here should be taken too literally as the pics are intended to act as a sort of mood board helping me to get a feel for the overall colour scheme.


First up I've blocked in the main areas of colour with a base coat. I'm using the same sandy tone for the bones and bandages as I used on the base. This should help tie the whole composition together. Areas that will be painted copper and gold have been picked out in Calthan Brown. Having a two tone base coat helps me to start breaking the mini down into the it's main colour blocks and begins the process of planning the order I will paint them in.
My thoughts on the colour scheme have really come together. I didn't want a typically Egyptian gold with red and blue jewels type of scheme for this mini. I want to try and create an ancient and barbaric feel for my Tomb King. Having used, and been pleased with, the tarnished copper effect on the base I will apply this to the Tomb King. Decoration will be mostly restricted to a little gold and turquoise both of wich are authentically ancient egyptian but hopefully just a little bit different from what is often done with this type of mini.
To help me with my colour scheme I've collected together a set of pictures for reference/inspiration. Nothing here should be taken too literally as the pics are intended to act as a sort of mood board helping me to get a feel for the overall colour scheme.
Wednesday, 23 May 2012
Mummy Mania - the Tomb King remodeled
As was obvious to everyone but myself the Tomb King's legs needed a little more attention to get the pose right.
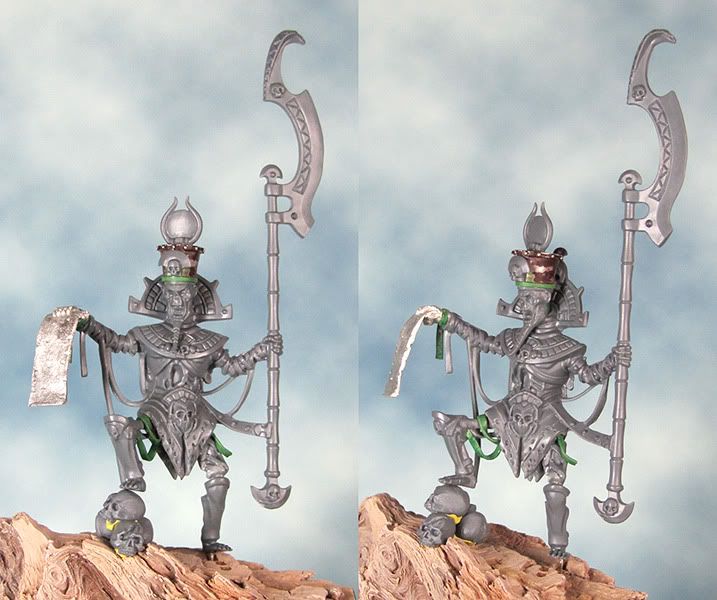
I've now removed, chopped, drilled, pinned and repositioned the legs into a more upright stance. I still need to do a little work with some green stuff but I'm just about there otherwise.
The pile of skulls is very roughly positioned to give an idea of the overall fit. I'll need to take great care when I bring the King and the base together making sure everything goes together in a natural looking fashion.

I've now removed, chopped, drilled, pinned and repositioned the legs into a more upright stance. I still need to do a little work with some green stuff but I'm just about there otherwise.
The pile of skulls is very roughly positioned to give an idea of the overall fit. I'll need to take great care when I bring the King and the base together making sure everything goes together in a natural looking fashion.
Sunday, 20 May 2012
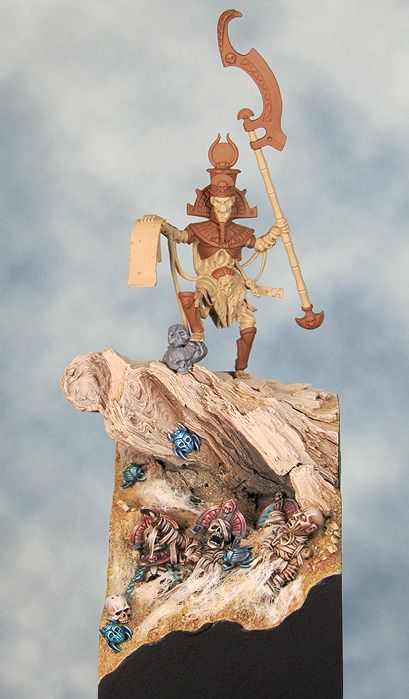
Mummy Mania - the finished base.
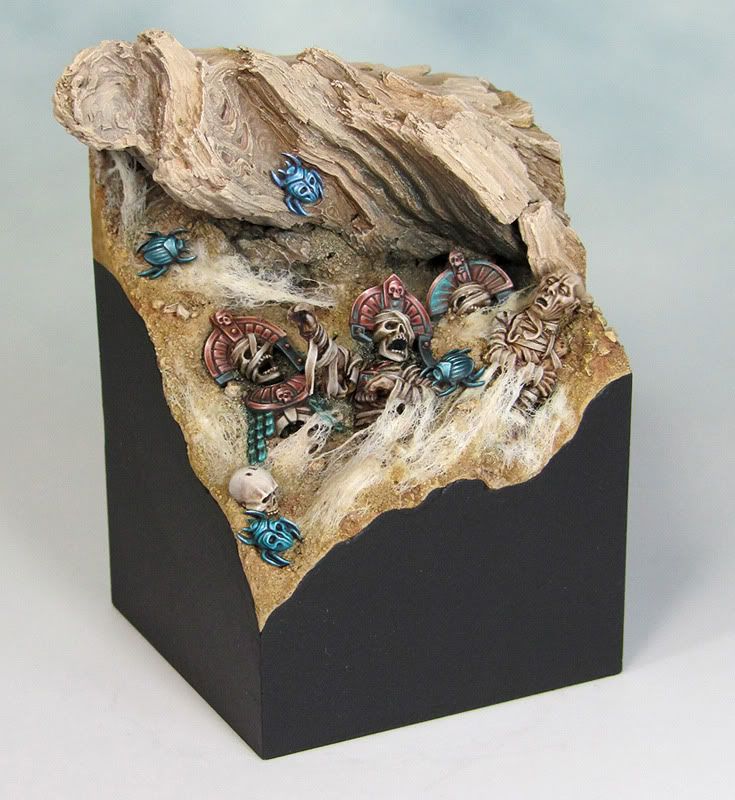
For the time being the Tomb King base is finished! Once the King is finished I may add a few more details to finish off the piece but I will wait and see how things work out as I pull it all together.


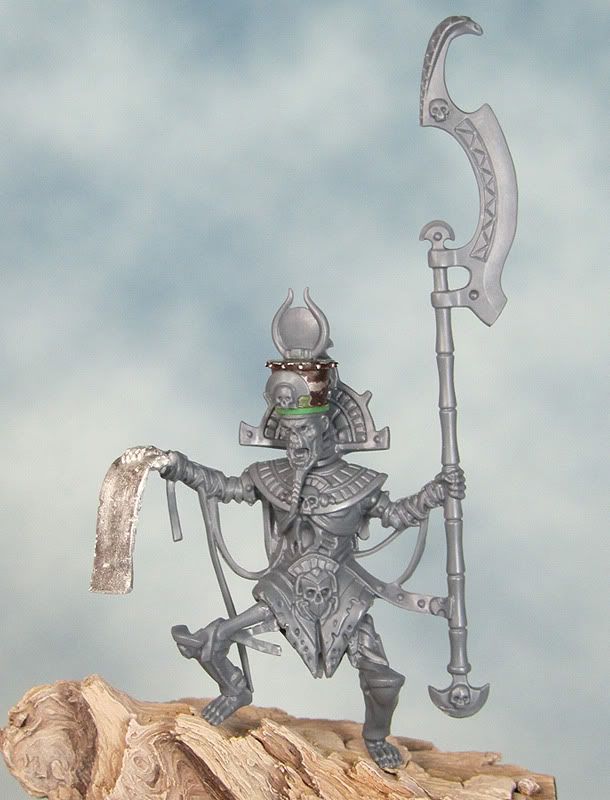
I've also started work on the King and he will soon be ready for some paint. The conversion work is nothing too radical. I wanted to give him longer legs (I think the original legs looked a bit squat!) and a taller crown. These changes make him slightly bigger, more regal and I think more menacing. I've also replaced the pointing hand with one holding a papyrus scroll. Inscribed, no doubt, with a spell for raising up his undead legions!

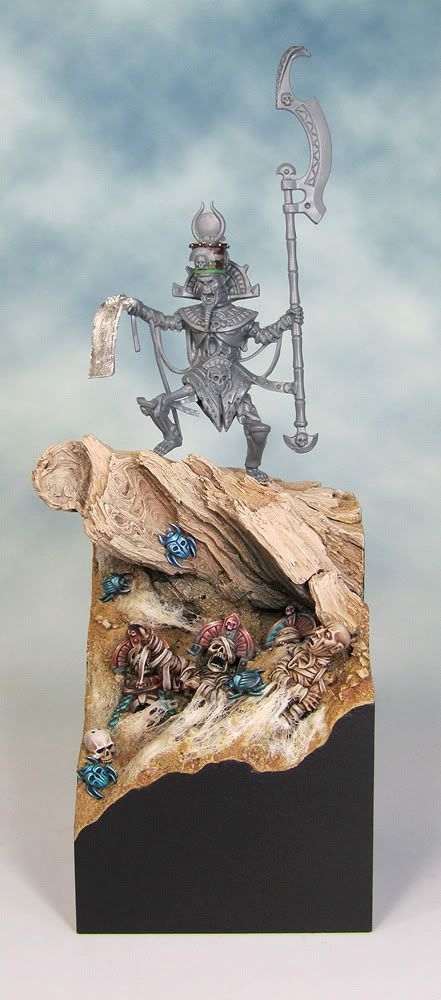
I've been asked a few times if I'll be entering this piece into the Golden Demon's. That won't be possible as it uses a few non GW elements. I only started this piece as a bit of fun after my Egyptian holiday and to give myself a break from the (never ending) Dark Eldar project. It's turning out far better than I'd expected and It's rather nice to work on something where I can see an end to it in a matter of months rather than years!
Monday, 14 May 2012
More Mummy Mania!
The sunny weekend meant that I had lots of quality painting time and I've moved things forward with my Tomb King base.

I finished painting the mummies and turned to the ground, pigments in hand. I used a mix of MIG Pigments (Gulf War Sand and Dark Mud) mixed with water and applied as a wash. As it dried I added more pigment here and there to build up the intensity. I love how the pigments dry out to a dusty matt finish - very appropriate for a desert setting.
Next up were the 'cobwebs' and doing this felt like I was taking a great big fiddly risk! I unpicked the cotton wool from a cotton bud and fixed it into place with PVA glue using a paint brush. The trick seems to be to use the very smallest amount of cotton and to build up the effect very gradually. The initial look is very white but this lessens as the PVA dries fairly clear. Once dry I added a little pigment and sand to dirty up the cobwebs a then layered on a few more strands of cotton wool. It took nerves of steel to use this effect as it felt like I was making a terrible mess at the time but I'm very pleased with the end result.

The giant scarab beetles (from the GW Necrosphinx kit) were a lot of fun to paint! There are a few small touches left to do but it's nearly ready for the Tomb King himself.
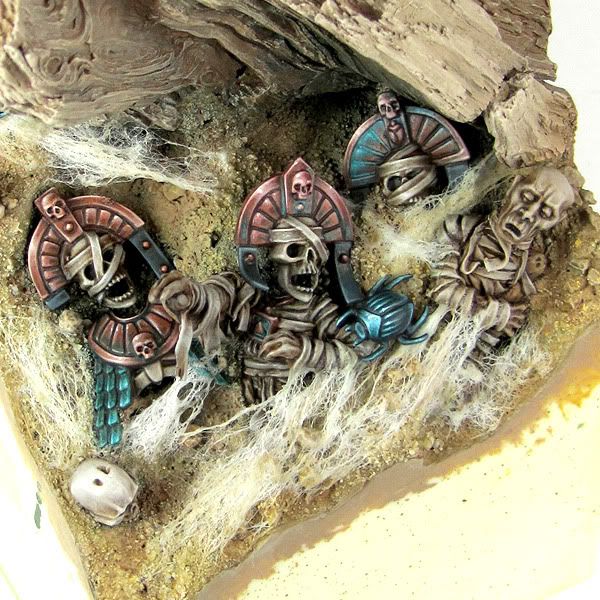
Next up were the 'cobwebs' and doing this felt like I was taking a great big fiddly risk! I unpicked the cotton wool from a cotton bud and fixed it into place with PVA glue using a paint brush. The trick seems to be to use the very smallest amount of cotton and to build up the effect very gradually. The initial look is very white but this lessens as the PVA dries fairly clear. Once dry I added a little pigment and sand to dirty up the cobwebs a then layered on a few more strands of cotton wool. It took nerves of steel to use this effect as it felt like I was making a terrible mess at the time but I'm very pleased with the end result.

The giant scarab beetles (from the GW Necrosphinx kit) were a lot of fun to paint! There are a few small touches left to do but it's nearly ready for the Tomb King himself.
Subscribe to:
Posts (Atom)