Showing posts with label Tomb Kings. Show all posts

Sunday, 21 April 2013

Salute 2013 Painting Competition

I travelled up to London yesterday for Salute and entered my first painting comp in 23 years!
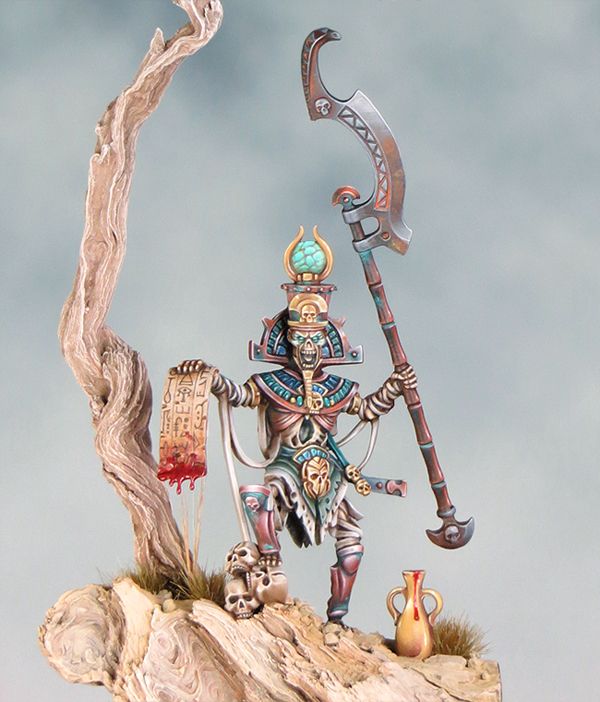
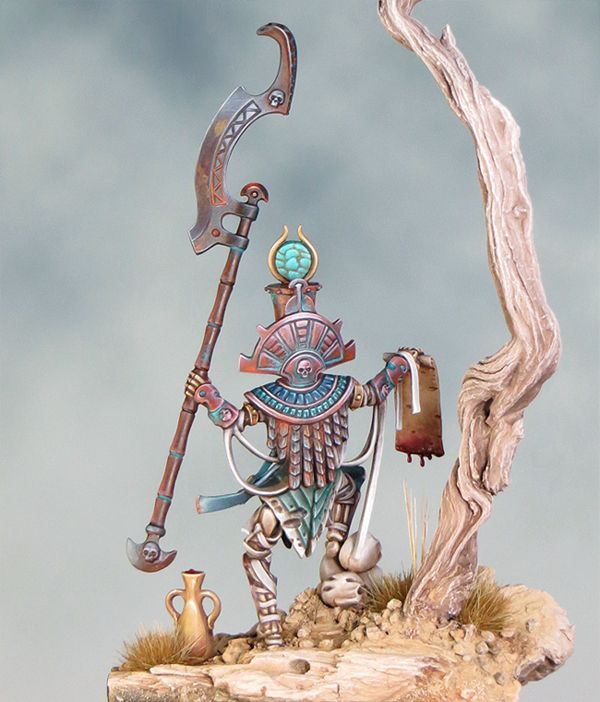
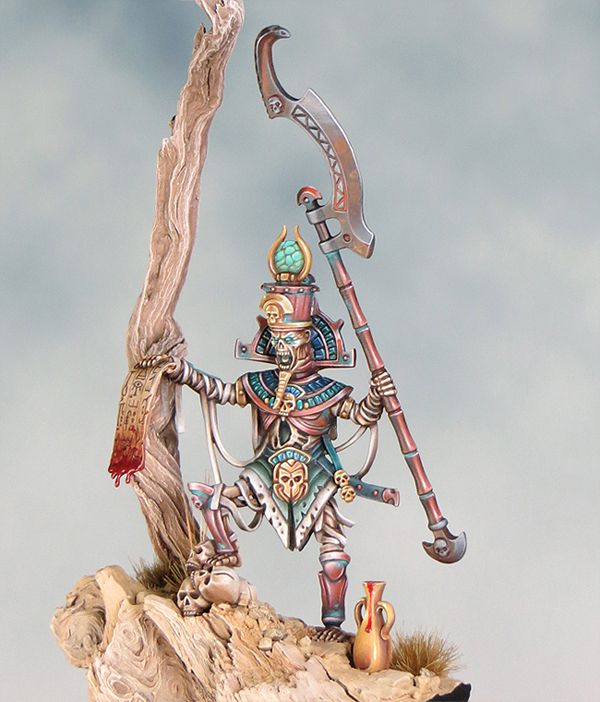
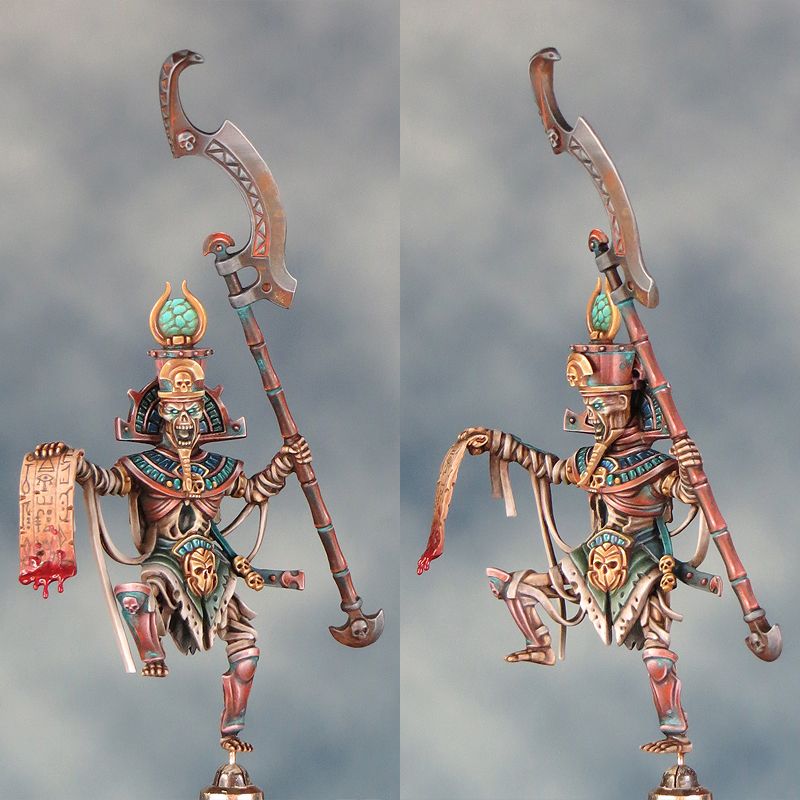
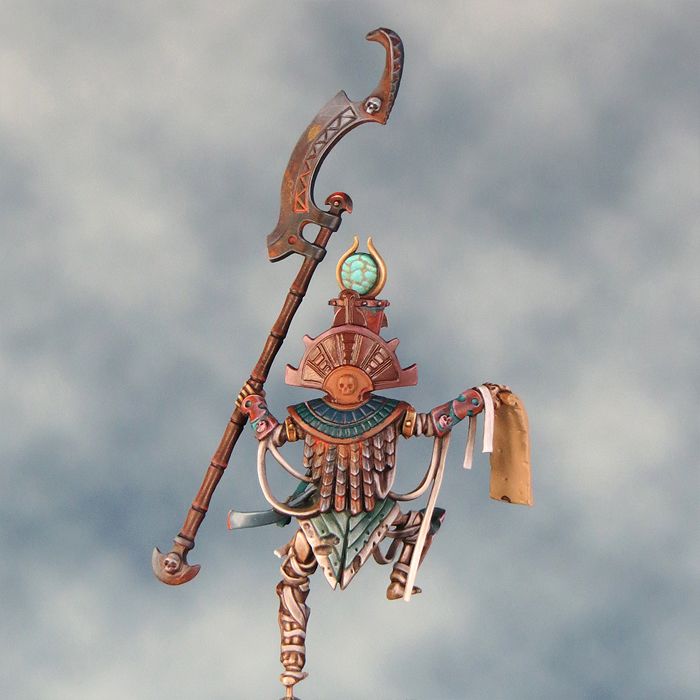
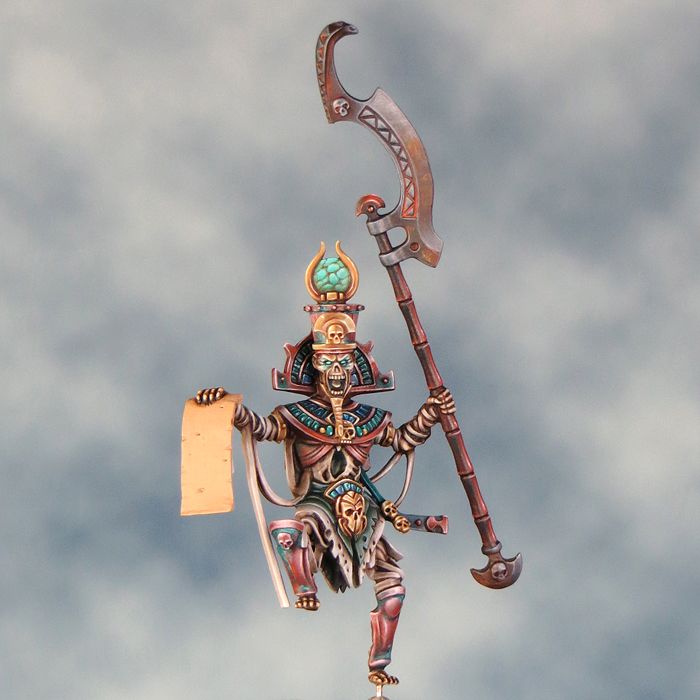
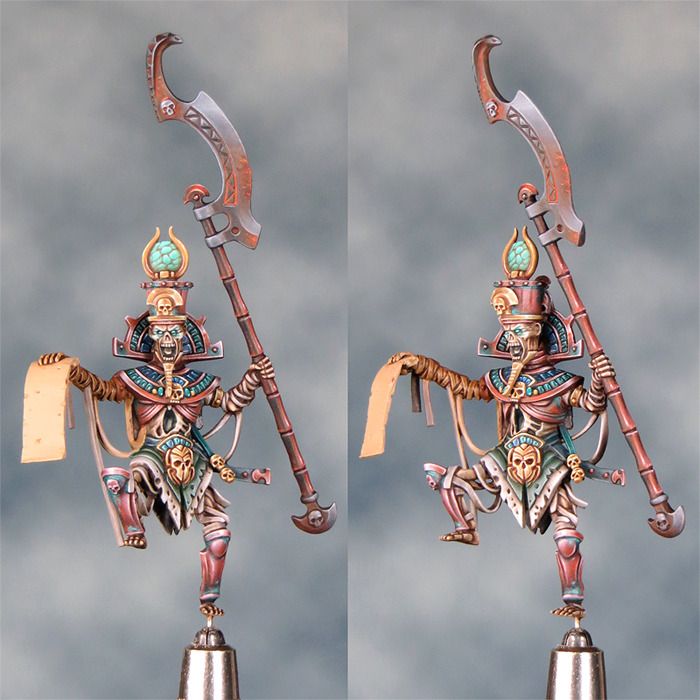
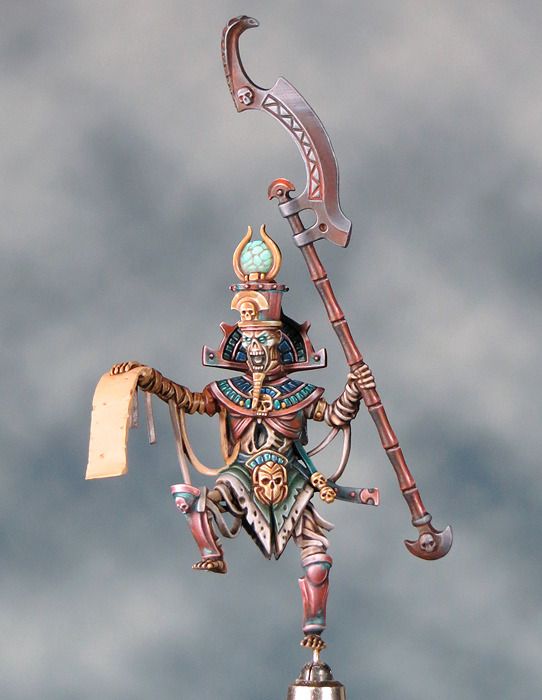
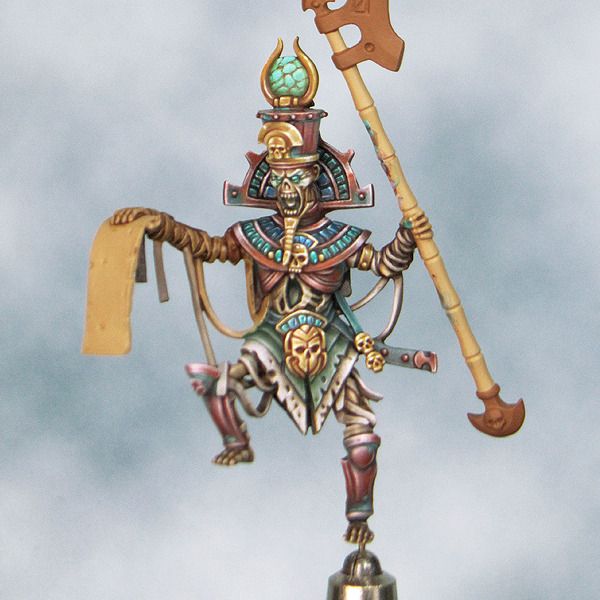
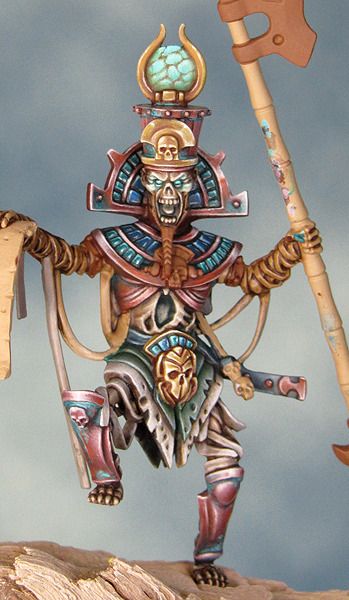
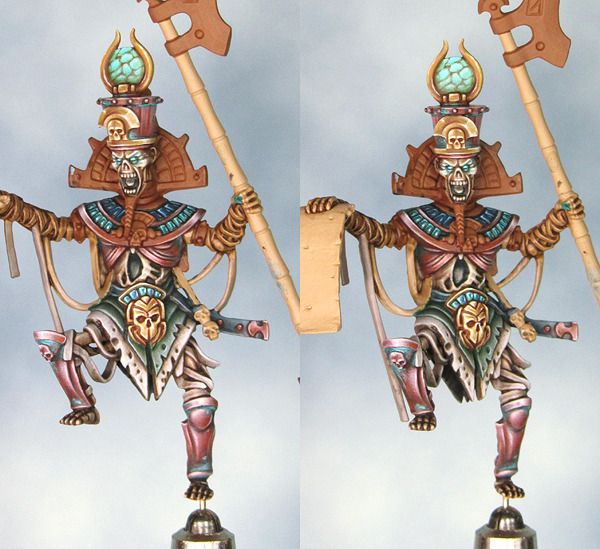
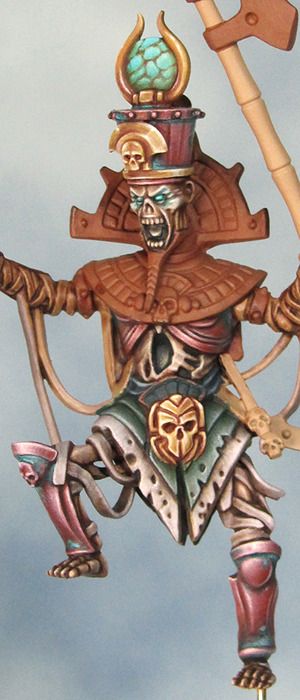
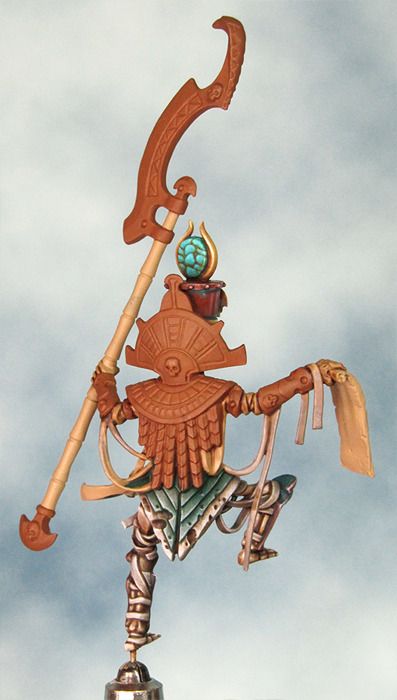
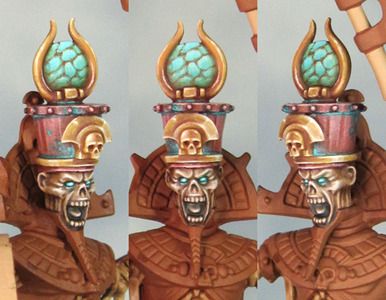
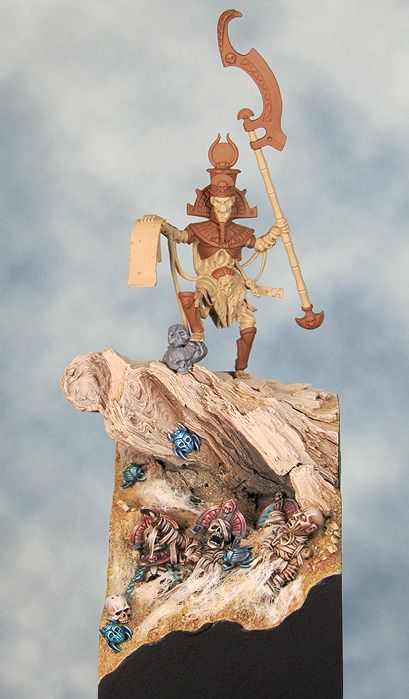
I came first in the Miscellaneous category with my Dr Who Diorama and first in the Fantasy Single Figure category with my Tomb King. The Tomb King was also awarded second best in the show!


It was especially good to get to meet lots of mini painting folks 'in the flesh' and to see their work for real. I've been out of contact for far too long and seeing all those beautiful painted minis has given me a real boost and some much needed inspiration. I was just starting to come down with another dose of Scourge fatigue.

Salute also gave me the chance to buy myself some rather lovely minis that I've been drooling over so I'm going to be kept busy painting for a very (very) long time.

Saturday, 27 October 2012

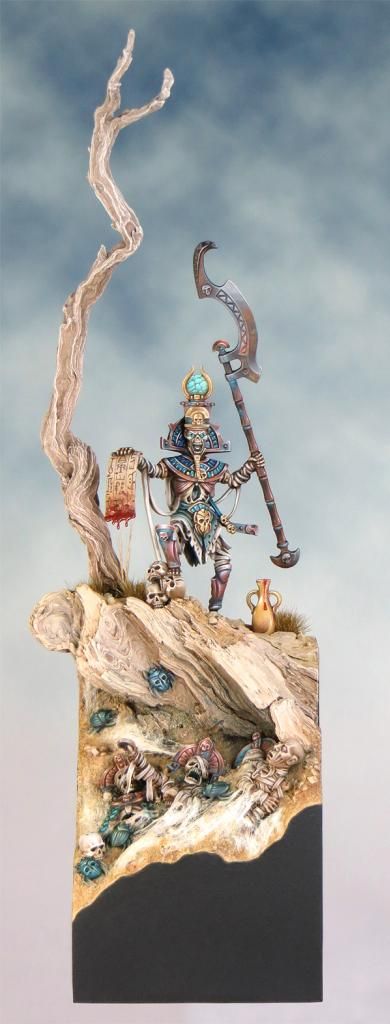
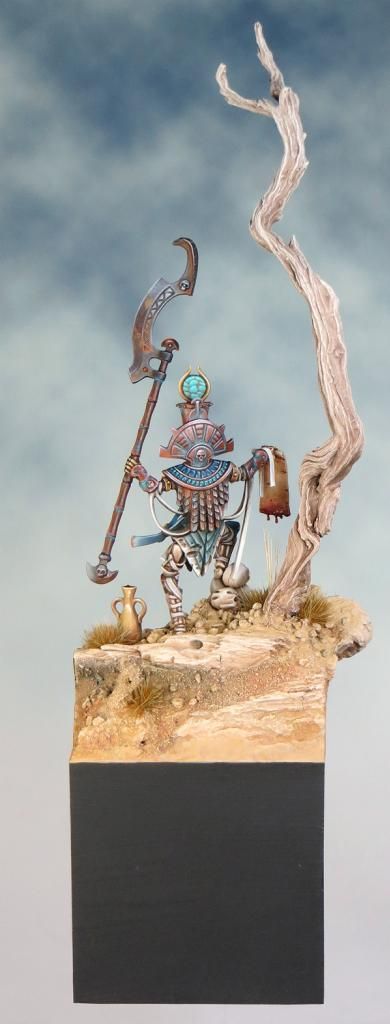
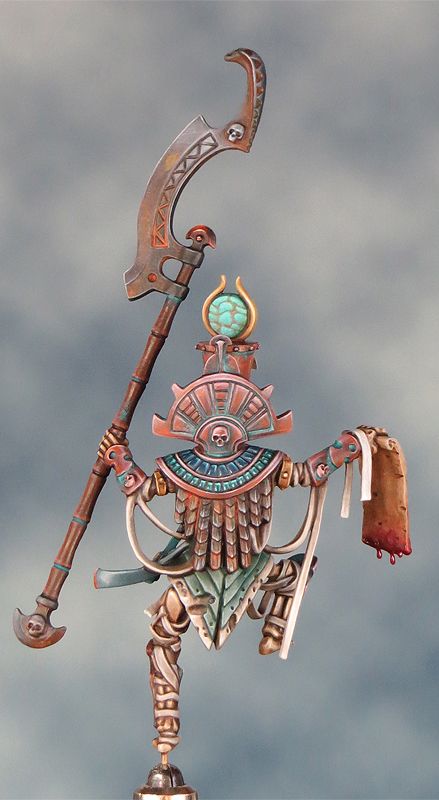
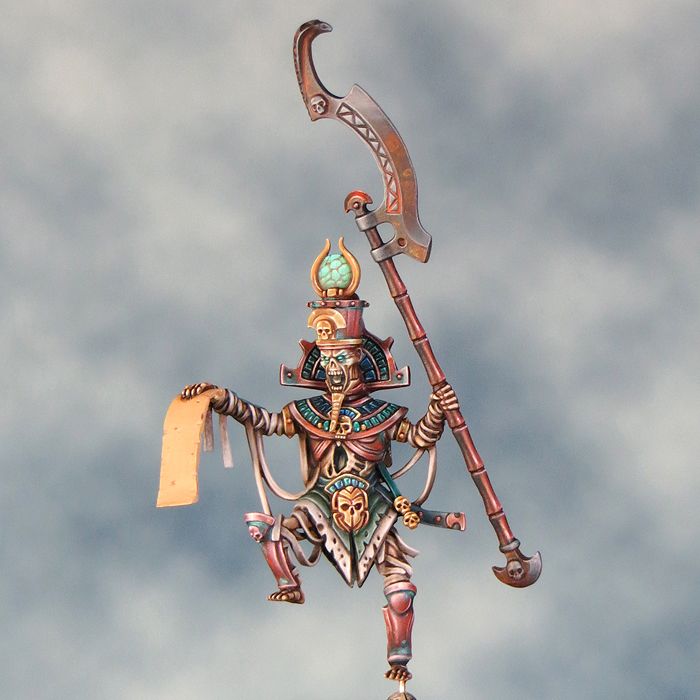
Mummy Mania - The Finished Tomb King!

The last stages turned into a bit of a slog and there were a couple of dramas involving static grass and a broken lamp but he is finally finished.


Tuesday, 23 October 2012

Less is more!

Having spent what time I could during the week prepping various scenic elements for my Tomb king base I turned to painting and assembling them at the weekend.

Saturday went like a dream and saw the addition of a major new element to the base that provides some much needed height (notice that I'm not giving too much away here). Its something that I picked up while on holiday in Cyprus this Summer from a place called, appropriately enough, The Tombs of the Kings.


This was a fascinating location packed with tombs where the stone was being eaten away by salt from the nearby sea. I can easily see it being a source of inspiration for a future project.

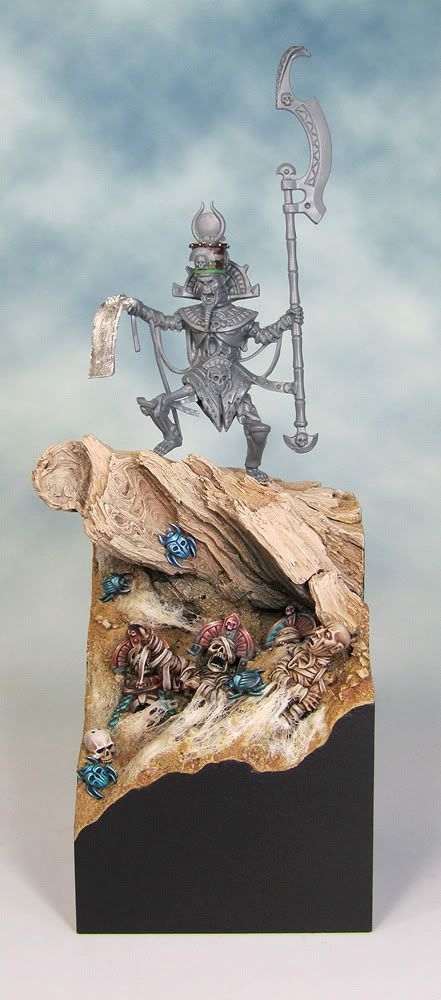
I finally glued the King onto the base together with the pile of skulls he is resting his foot upon. I always find this stage pretty nerve racking as it just takes one miss step with the superglue and you are in for a world of pain! I made a point of having several glue free practice runs and viewing them from all angles before committing. I then used the garden soil/superglue combination that I'd textured the mummy pit with to cover up the joins. I am really very pleased with how the mini now looks on the base.


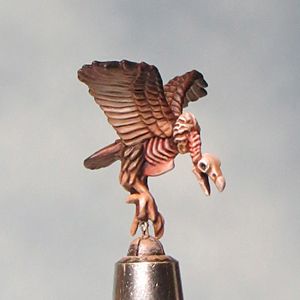
Sunday's tasks were a matter of bringing together the finishing touches. I've always planned to incorporate the undead vulture from the Tomb Guard standard into the piece so I set about painting it up. Although the painting went well something felt wrong. However I ignored my doubts and pushed on.


Another new element for the base has come about as a result of some feedback I've received. The initial idea was that the papyrus scroll was quite literally bleeding. In my mind's eye the whole ghastly scene played out thus:

The Tomb King raises his arm brandishing an ancient and bloodstained scroll beneath the desert sun. Unholy words of power escape from the long dead jaws of the ancient tyrant to corrupt the very air. The blood stains change first becoming fresher then glistening as they ooze and seep. When the cursed blood drips down upon the ground beneath the dead rise up.

As you can probably tell I'm not adverse to a little melodrama!

It's a pretty little scene but it's very difficult to convey the supernatural origin of the blood in a static mini! Sure enough the first piece of feedback I had on the bleeding scroll questioned exactly that. On the whole I have to agree but rather than removing the blood as sugested I've decided to provide a source for it within the diorama. The first idea I had was simple and unobtrusive showing a source for the blood with no more than a single drip. Then I had another idea and pursued it with enthusiasm. The result of this burst of 'inspiration' can be seen glistening in the picture below.


Surfice it to say that sanity (and good taste) eventually prevailed and I will not be using this particular element but have instead returned to my rather more elegant first idea. Neither will I be using the vulture as once in position it just didn't work as a part of the whole. These two element were simply wrong for the piece feeling both visually and tonally crude and although this means Sunday's efforts were largely wasted I can't help but feel I've dodged a bullet. That's no mean feat considering that I was the one shooting the metaphorical gun!


Monday, 15 October 2012

Mummy Mania - Painting the Tomb King part 8

A quickie update to announce that, following a very productive weekend, my Tomb King mini is finished. Admittedly its just the mini thats finished not the diorama. I've got a few scenic bits and pieces to paint up for the base (once they arrive in the post) and then I need to pull everything together for the overall composition. 

I just need to pace myself and keep the momentum up without rushing in an effort to get everything finished. The final assembly can really make or break a piece!


Next time I post a picture of this project it will be the finished diorama!

Sunday, 7 October 2012

Mummy Mania - Painting the Tomb King part 7

Well, I've painted my last bandage and it didn't come a day too soon! I've had issues with painting the bandages on this Tomb King. Although relatively simple to pain the bandages have been the most frustrating and repetitive part of the project. For me the bandages are such a key element of what makes up a Tomb King that they must look as good as possible because if they don't they'll let the entire mini down. When all is said and done I'm very pleased with the result I've achieve so the time and effort were worth it. Just don't make me paint any more bandages!


I've re worked the blade on the weapon (again) to reintroduce a little of the rust I had on my first try. This time I've given it a more subtle stained/splotchy look by applying a thin layer of clean water to the blade then dotting on diluted orange paint and letting this colour bleed a little into the water. I've gone for a similar approach on the scale armour cloak the mini is wearing as it brings a bit more variety to the overall look without introducing something too new and different to the colour scheme.

This just leaves the back of the collar and the papyrus scroll to paint so I'm finally beginning to see a light at the end of the tunnel!

Monday, 24 September 2012

Mummy Mania - Painting the Tomb King part 6

Over the last few weeks I've been fitting in a bit of mini painting time whenever I can and seeing how much I can do. Not a lot as it turns out!

This weekend I took a more focused approach and set myself a target. I decided to concentrate on painting the Tomb King's weapon to see if I could get it finished. In total I managed about ten hours painting time and as it's turned out the weapon isn't finished but that's only because I've decided to go back and rework the blade.


I really dislike the orange areas of the blade so I've decided to regard them as underpainting. They are far too bright and look crude and ugly! I will be knocking them right back by creating a darker overall look for the blade with some washes and glazing. For the most part I'll be using a mix of GW scorched brown and Vallejo dark sea blue. I'm hoping for a more sinister and nuanced feel to the colours on the blade.


UPDATE
I've just spent some more time painting the blade this evening and I'm feeling much happier about how its looking.


To help me get familiar with my new camera I've been photographing some of my older minis. I think it can be really useful to go back and take a critical look at your older work. One mini in particular is very relevant and in many ways similar to my current Tomb King Project. It's a Dark Harbinger from Crocodile Games. 


I painted this mini back in 2006 following on from a couple of years where I hadn't painted any minis at all. It one of the last examples of my bright '80s' style of painting but it also shows my first proper attempt at NMM. I didn't realise it at the time but in this respect it shows the turning point when I started to try and update my painting style. 

The main benefit of reapraising older minis isn't to relive the past. By looking back at earlier achievements and failures I'm better able to assess my current status and plan where I want to take my mini painting in the future.

Monday, 17 September 2012

Mummy Mania - Painting the Tomb King part 5

A couple of pics to bring the Tomb King up to date. There's nothing too dramatic here I'm just gradually covering up those boring areas of base coat and working up the detail.


Thursday, 26 July 2012

Mummy Mania - Painting the Tomb King part 4

It entirely sliped my notice that my bouncing baby blog has passed it's first birthday! This seems the perfect time to say thank you to everyone who has followed, left a comment or browsed here over the last year. Here's to the next one - I might even finish painting something before the blog reaches it's second anniversary!

I've not got too much to show for myself on the painting front at the moment. Progress is slow (I'm doing the really fiddly bits) and time is limited at the moment. On the positive side the slowdown in painting has given me the chance to consider the way forward and really fix my plans. I've not been too sure on how to paint the weapon - gold seems too decorative and not exactly practical and a copper/bronze finish just didn't feel right to me either.

What I've decided upon is a tarnished/blackened finish with verdigris. I think this will give the weapon a good feeling of weight and a suitably sinister character.


Sunday, 8 July 2012

Mummy Mania - Painting the Tomb King part 3

The overall colour scheme for my Tomb King has started to come together with the addition of a few small areas of blue. The blue helps to open expand range of colours used without throwing something wildly different into the mix. It is close enough to the green so as not to jar the eye but increases the overall contrast between the warm copper tones and the blue/green tones.
Progress is painfully slow at the moment but I'm pleased with the results I'm getting and that (for me) is the more important thing.


Friday, 29 June 2012

Coping with NMM Copper - an illustrated painting guide.

As my latest project has required me to have a go at painting NMM copper. I thought I'd post an illustrated guide to my technique as an addition to my earlier guide to Painting NMM armour.

Before going any further I need to point out that most of the colours I've used are from the old Games workshop paint range. I'm using up my stocks before buying new so I will talk about the type of colour needed as well as an exact colour reference.

My Colour Palette for copper.


Base colour/shade:


Deep Red/Brown (Scorched Brown)

Mid tones:


Deep Red/Brown + Vallejo Ivory

Highlighting:


Vallejo Ivory

Accents:


Mid warm Brown (Calthan Brown) & Deep Orange (Blazing Orange)

Verdigris:


Deep Blue/Green (Hawk Turquoise) & Vallejo Ivory

Painting guide.


The basic principles are the same as any other NMM in that you need to achieve a strong contrast between the highlight and shade. Make sure that the midtones have a smooth transition and that the highlights are as small, sharp and precise as possible.

The trick to getting a convincing copper effect seems to be in picking the right colour palette. On initial consideration it seems obvious that copper would be best represented by using orange/brown tones but a little research suggested a slightly different approach.

Orange needs to feature in the effect but it seems best used as a secondary colour to add some warmth and nuance to the shadows. Copper can often appear to have a somewhat cool pinkish cast to it's colour and this is the look I have tried to represent. As I was also aiming for an antique look to the copper I tried to keep the tones fairly muted and not too light/bright in the mid range.


The picture above was particularly influential on my approach to NMM copper.
Notice the cooler pinkish cast to the colour on the lighter side
as opposed to the warmer orangey tones on the shaded side.

Step 1 Base colour/shade.


Select a shade of dark brown that has a lot of red in it for your base colour. The colour I used was the old Citadel Scorched Brown.

Step 2 Mid Tones & Highlight.


Gradually add on ivory colour to the base colour to create the mid tones. As you lighten the base colour the presence of red means that the colour will develop a (comparatively) pinkish look. Continue to lighten the colour untill you wuse pure ivory for the final highlights. Remember to keep the final stages of highlights as small, sharp and precise as possible.

Once fully highlighted go back over the mid tone and shade areas with an orange/brown glaze this will help to make the cooler pink tones stand out by providing some contrast

Step 3 Verdegris.


Once the copper is painted up it's time to have fun applying verdigris. How much of the affect you use is very much a matter of choice. verdigris can be kept to a few spots of green in the recesses or it could entirely cover the copper in a rough crust. I'd advise a quick picture search for inspiration and reference. The colour can vary greatly from green through bluish tones to white. Personally I like to have a bit of a mix. I first apply my green tones as a wash and then, before that colour is dry, dab on another wash of a pale green/ivory mix. You can continue to build up varying green & pale green layers until you are happy with the result. This is one situation where you really don't want a perfectly smooth colour blend but instead aim for a blotchy stained look.

Examples


The verdigris effect can be used equally well with proper metallics.
Here the copper is heavily weathered in some areas and the
'stain' has run over the surrounding stone.


Tuesday, 26 June 2012

Mummy Mania - Painting the Tomb King part 2

Painting has been very slow recently but it's time I posted a few work in progress pictures.

I'm working with (for me) an extremely subdued colour palette and I'm really enjoying the experience/challenge. The use of Ivory (rather than white) in all the highlights and a combination of Dark Sea Blue and various browns in the shadows plays a major part in this and helps keep the overall palette unified.

In addition to my new Windsor & Newton series seven I've bought myself a few brushes from the excellent Rosemary & Co and I will be posting a review/comparison in the near future.


Tuesday, 5 June 2012

Mummy Mania - Painting the Tomb King

Just a quick post to show the weekend's progress on my Tomb King. I've begun to apply my colour scheme to the mini. So far I'm very pleased with how things are going although it's only at an early stage and the scheme will need to develop as I progress.


Wednesday, 30 May 2012

Mummy Mania - choosing a colour scheme.

I've made a couple more tweaks to the tomb king's position this time the feet and arm. I'm now very happy with his pose so It's time to put down the super glue and pick up my paintbrush.


First up I've blocked in the main areas of colour with a base coat. I'm using the same sandy tone for the bones and bandages as I used on the base. This should help tie the whole composition together. Areas that will be painted copper and gold have been picked out in Calthan Brown. Having a two tone base coat helps me to start breaking the mini down into the it's main colour blocks and begins the process of planning the order I will paint them in.


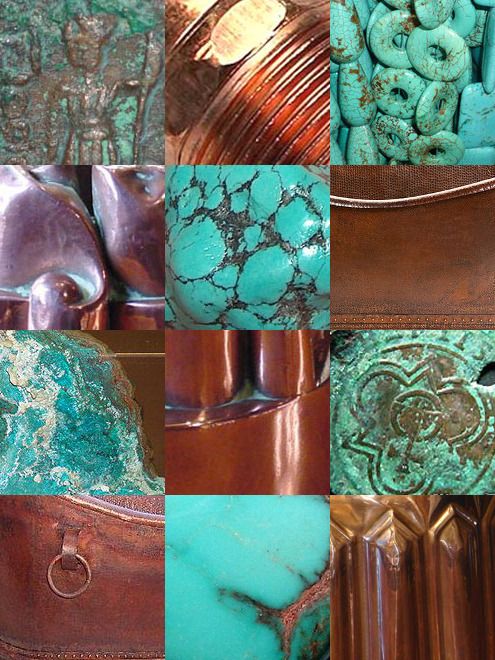
My thoughts on the colour scheme have really come together. I didn't want a typically Egyptian gold with red and blue jewels type of scheme for this mini. I want to try and create an ancient and barbaric feel for my Tomb King. Having used, and been pleased with, the tarnished copper effect on the base I will apply this to the Tomb King. Decoration will be mostly restricted to a little gold and turquoise both of wich are authentically ancient egyptian but hopefully just a little bit different from what is often done with this type of mini.

To help me with my colour scheme I've collected together a set of pictures for reference/inspiration. Nothing here should be taken too literally as the pics are intended to act as a sort of mood board helping me to get a feel for the overall colour scheme.


Wednesday, 23 May 2012

Mummy Mania - the Tomb King remodeled

As was obvious to everyone but myself the Tomb King's legs needed a little more attention to get the pose right.
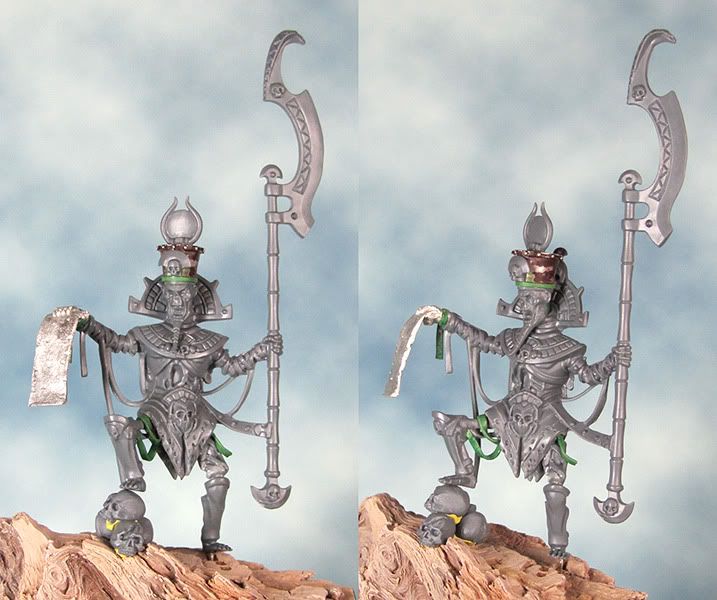
I've now removed, chopped, drilled, pinned and repositioned the legs into a more upright stance. I still need to do a little work with some green stuff but I'm just about there otherwise. 
The pile of skulls is very roughly positioned to give an idea of the overall fit. I'll need to take great care when I bring the King and the base together making sure everything goes together in a natural looking fashion.


Sunday, 20 May 2012

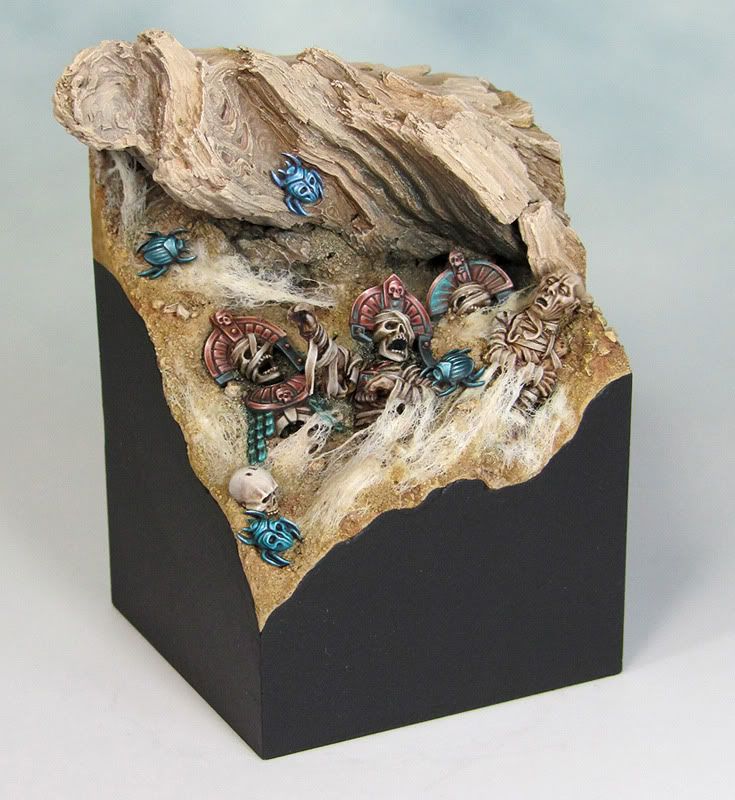
Mummy Mania - the finished base.

For the time being the Tomb King base is finished! Once the King is finished I may add a few more details to finish off the piece but I will wait and see how things work out as I pull it all together.


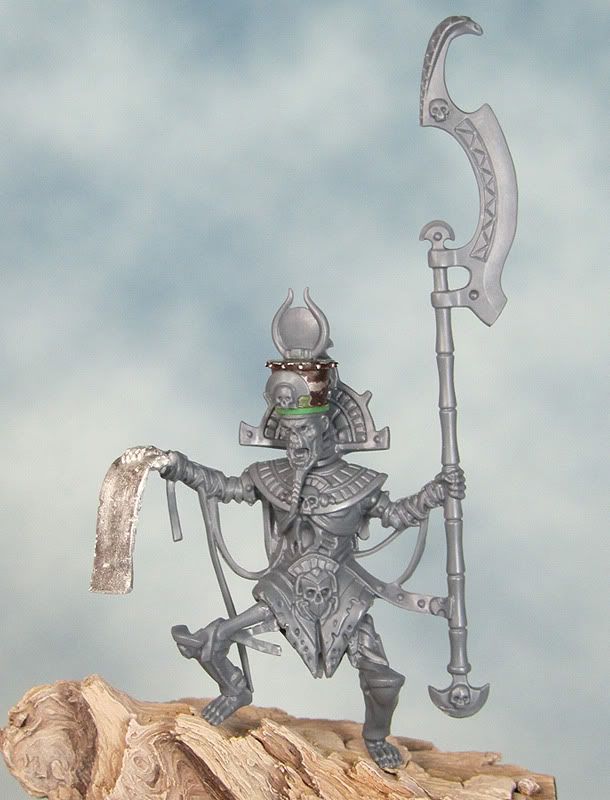
I've also started work on the King and he will soon be ready for some paint. The conversion work is nothing too radical. I wanted to give him longer legs (I think the original legs looked a bit squat!) and a taller crown. These changes make him slightly bigger, more regal and I think more menacing. I've also replaced the pointing hand with one holding a papyrus scroll. Inscribed, no doubt, with a spell for raising up his undead legions!


I've been asked a few times if I'll be entering this piece into the Golden Demon's.  That won't be possible as it uses a few non GW elements. I only started this piece as a bit of fun after my Egyptian holiday and to give myself a break from the (never ending) Dark Eldar project. It's turning out far better than I'd expected  and It's rather nice to work on something where I can see an end to it in a matter of months rather than years!

Monday, 14 May 2012

More Mummy Mania!

The sunny weekend meant that I had lots of quality painting time and I've moved things forward with my Tomb King base.


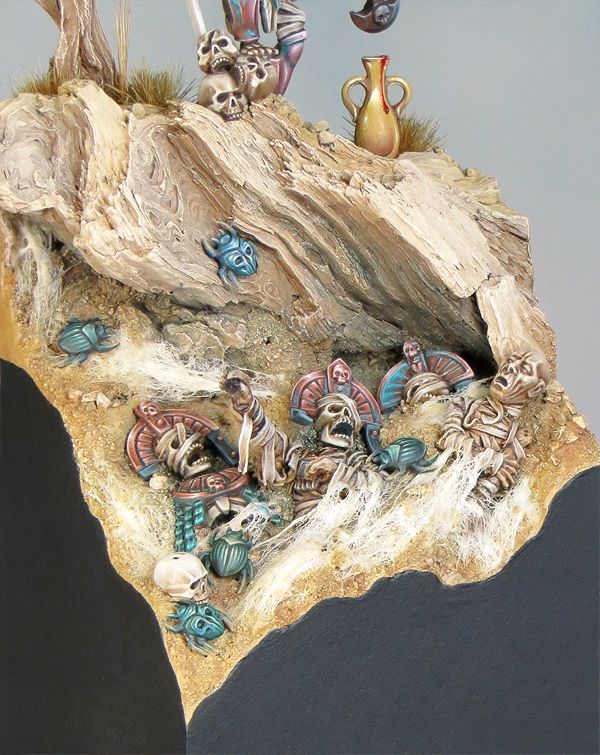
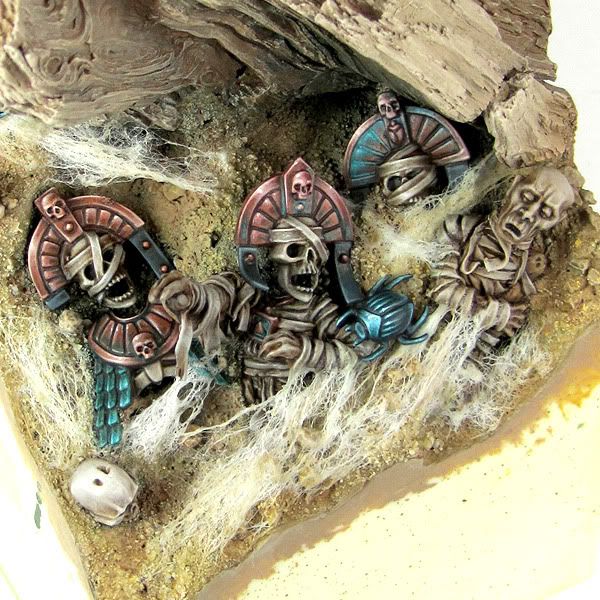
I finished painting the mummies and turned to the ground, pigments in hand. I used a mix of MIG Pigments (Gulf War Sand and Dark Mud) mixed with water and applied as a wash. As it dried I added more pigment here and there to build up the intensity. I love how the pigments dry out to a dusty matt finish - very appropriate for a desert setting.


Next up were the 'cobwebs' and doing this felt like I was taking a great big fiddly risk! I unpicked the cotton wool from a cotton bud and fixed it into place with PVA glue using a paint brush. The trick seems to be to use the very smallest amount of cotton and to build up the effect very gradually. The initial look is very white but this lessens as the PVA dries fairly clear. Once dry I added a little pigment and sand to dirty up the cobwebs a then layered on a few more strands of cotton wool. It took nerves of steel to use this effect as it felt like I was making a terrible mess at the time but I'm very pleased with the end result.


The giant scarab beetles (from the GW Necrosphinx kit) were a lot of fun to paint! There are a few small touches left to do but it's nearly ready for the Tomb King himself.