Wednesday, 31 August 2011

Dark Elf Diorama – rethinking the design 2


The new diorama base will have the same elements as the old one:
  • A resin plinth
  • Dark Eldar Monoliths
  • Ancient Eldar ruins
  • Dark Eldar totems
  • A layer of trees/vines/plants growing over everything
The proportion/balance of the element will be very different. I want the new composition to have a vertical orientation. It will also have a definite front, back and sides as opposed to the old one which was low and circular. For these reasons I’m using a 60mm resin cube to sit the diorama onto.
My first task was to sort out the monoliths.  I’d sculpted these out of Super Scullpey Firm so fixing the warped monolith was a simple matter. I heated it up with a hair dryer (not my own, alas I have no need) and allowed it to cool while held flat under a weight. To prevent the problem happening all over again I needed to find something to fix onto the big monolith as a reinforcement/brace.
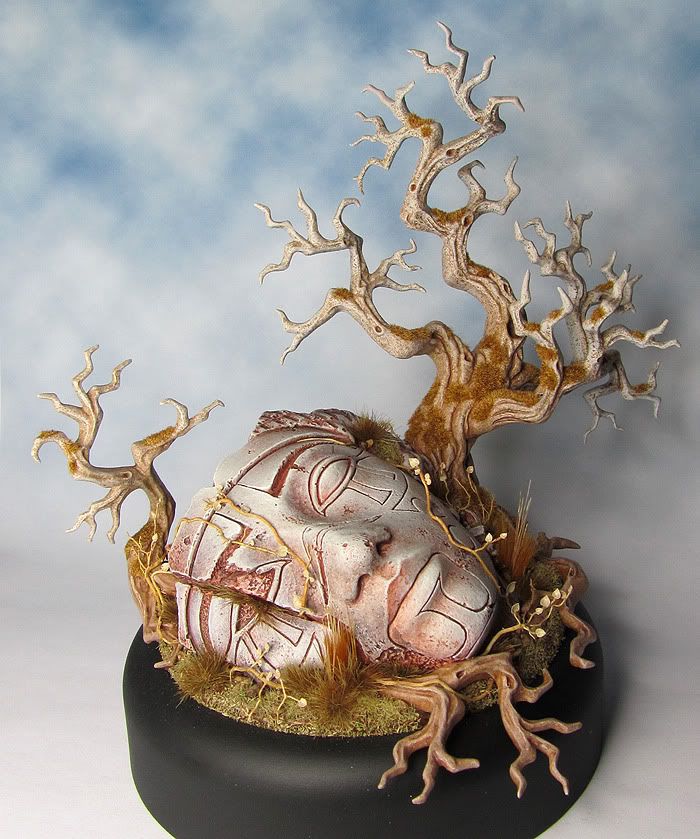
It took me a while to realise that the best solution was to use the two smaller monoliths to reinforce the large one. I’ve now pined and glued the three monoliths together into a single structure and I’m really pleased with the result! This new single monolith will be the main element of the diorama base and will provide support for a couple of the  ‘flying’ models.
The new Dark Eldar Monolith 

Tuesday, 30 August 2011

Dark Elf Diorama – rethinking the design!

For some time I’ve had a nagging feeling that something isn’t quite right with the base for my Dark Elf diorama. Coming back from my summer holiday and looking at it with fresh eyes I became certain that I needed to have a rethink.
This isn’t all that unusual for me to be honest as I employ a special technique called ‘making it up as I go along’ this means that although I start out with a plan I often change things as I develop my ideas. But this time I decided on a total reworking of the base.
There are several things that I wanted to address.
  • The overall size of the base/diorama is too big. I want a much smaller/tighter composition.
  • The tone of the piece is wrong. I’m pleased with all the individual elements but at the moment the diorama has too much of a woodland/fantasy feel to it. I want something that has more of a sinister Dark Eldar/SciFi feel
  • The largest of the monolith I’d sculpted has started to warp and developed a silly looking bend.
I’ve put a lot of work into the base and wanted to salvage as much as possible but at the same time it’s no use persevering with a design if it isn’t working for you. It was time for a little brute force and a lot of nerve!
I removed the monoliths from the base. That sounds nice and easy doesn’t it? The process involved a lot of pulling, wiggling (the model not me) and even a bit of snapping! After all that and some fairly harsh language the monoliths were liberated from the base with minimal damage to either. Next I removed all the Dark Elf skulls and totems, which was a fairly easy matter as I have only fixed these lightweight pieces into place with PVA glue. 
The Old base is now stripped of all the dark Eldar elements and I have to say I prefer it that way. With just a little repair work I think I will have a rather nice forest/ruins themed base for a fantasy subject but that will be a job for another day.

It’s time to start work on the new Dark Elf Diorama base ... more about that very soon.

Monday, 8 August 2011

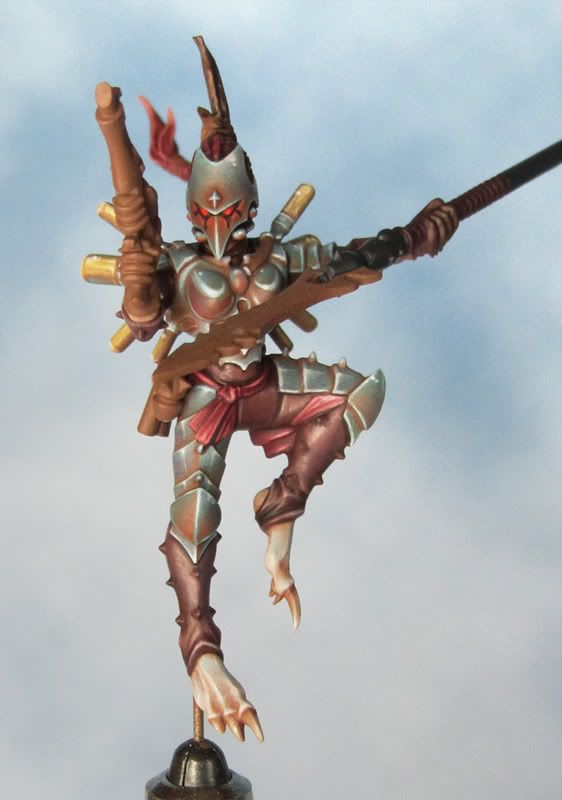
Hellion - work in progress.


Oh well, the best laid plans and all that! July turned out to be a bad month for painting as there have been a lot more important things going on in my life that just had to come first. That's the way it goes sometimes. Having said that I've always been the sort of painter who like to put his work aside from time to time to consider the next move. It’s a luxury I particularly enjoy because my professional output is completely deadline driven.
It is however time for another post so here is a little something to keep the ball rolling. It's the second Hellion for the Dark Eldar diorama...or at least the start of the second hellion.


Very much looking forward to going off on my summer holls and coming back rested and ready to paint!

Wednesday, 27 July 2011

A step-by-step guide to adding slime and drips to a miniature.


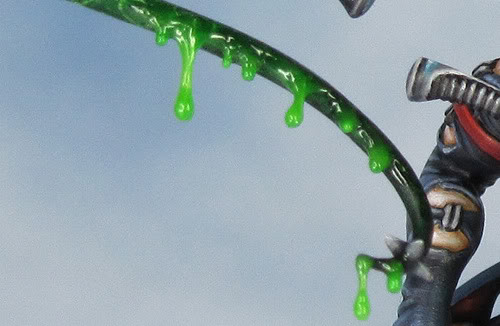
The method described bellow is the one I’ve used to add the drips of poison to my Hellion’s whip. There are many variations on the method and materials that can be used so this is very much my own take on things.

Step 1.
In order to get a nice long drip with a curve to it and a blob at the end their needs to be some kind of support/armature onto which the drip can be built. In theory you can build up the effect without one but it would take a lot more time and the final result might be quite fragile.
For my drips I used a hair to provide that support. There are other materials that could be used, for example very fine fishing line, but a hair is easy to get hold of and it’s a renewable resource. Tragically it just so happens that I now have a few white hairs in my beard so these were the obvious choice.
So first things first...ouch!

Step 2.
Glue the hairs in place. This is the really fiddly bit. On my Hellion I used clear glue and for the example here I’ve used super glue. On both the hairs had a tendency to shift position as the surface tension of the glue pulled them out of place. Use as little glue as possible and apply it with something fine like a pin. Let the glue get completely dry before you move onto the next stage.

Step 3.
Now you can start to build up the drips. To get things started off I’ve used clear glue. Squeeze a little out onto a piece of scrap paper and leave it to begin drying. Once it has started to thicken up it will be easier to get a blob to form on the hair. What you are aiming for if a coating of glue on the shaft of the hair and a little blob about to drip off the end. Apply the glue with a pin and once again leave it to dry. If possible support the model in a position that helps the blob of glue to dry on the very end of the hair.... get gravity to do the work for you. 

Step 4.
This bit takes time, as the drip needs to be built up with multiple coatings. It is best to let each coating dry thoroughly before applying the next. They tend to shrink a little as they dry and if you rush thing you will have less control over the final result. For my drips I’ve used Games Workshop’s water effects tinted with a tiny dot of green paint. I’ve applied this with a fine brush giving each drip an even coat and then applying it more thickly where I want volume. As with the glue it is easier to get the thicker areas to build it if you let the water affects begin to set just a bit before you apply it.

Step 5.
Keep on building up the drips with successive coatings until you are happy with the result. As well as forming a blob on the end build up some thicker areas and a few small blobs and drips at the base.

If you don’t need your drips to be clear or translucent you could build them up with successive coats of paint alternatively you could use PVA woodworking glue. This is what I used to create the slime on my Nurgle Predator. I’ve also experimented with using Araldite Rapid epoxy glue but this needs to be done with extra care, as it’s hard to control and very permanent once set.

UPDATE: a few years have passed since I first used this technique, and I’ve added some refinements that have enhanced the finished effect. You can see them HERE
 
Useful Links: 
The guys over at massive voodoo are a huge source of inspiration and ideas. The following articles were particularly useful to me with regards to finding out how to create drips and slime.

Saturday, 23 July 2011

Scourge - work in progress

I've been spending a little time sprucing up the look of the blog but painting wise there's not too much to show for the last two weeks. Never the less it's time for an update so here is a nice big picture of the Scourge as it currently stands.


I've been asked to create tutorials on some of the techniques I've used so look out for a slime and drips step-by-step in the coming week followed up by an illustrated to guide to how I am painting the scourge's wings.