Showing posts with label Dark Eldar. Show all posts

Tuesday, 14 October 2014

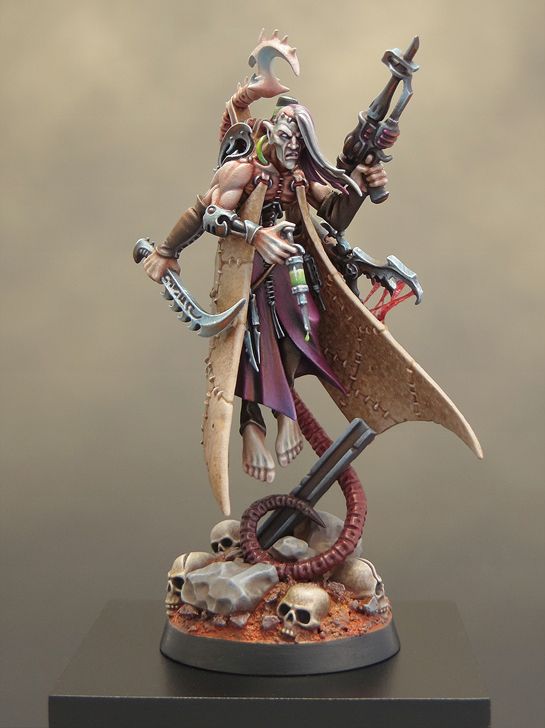
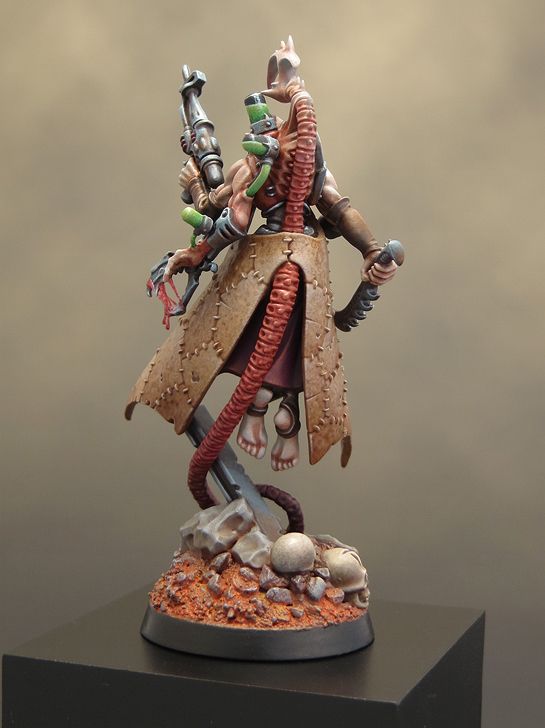
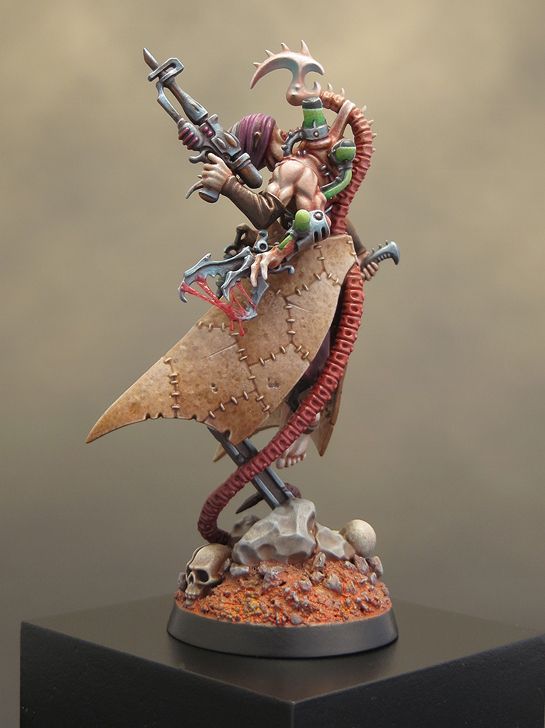
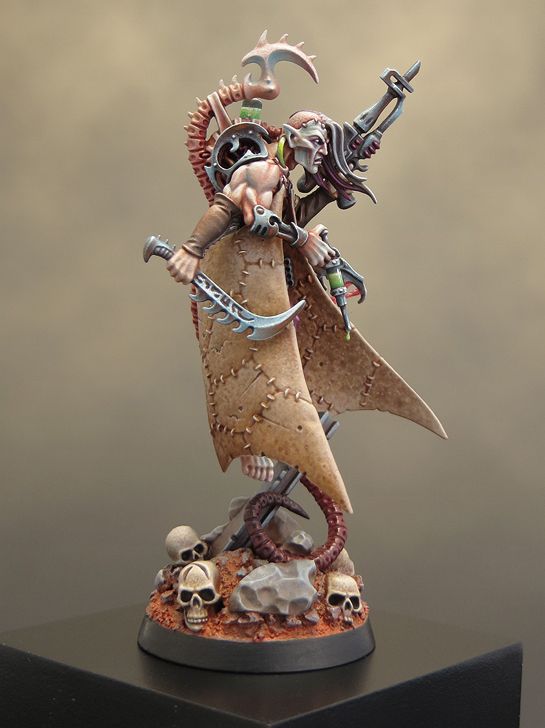
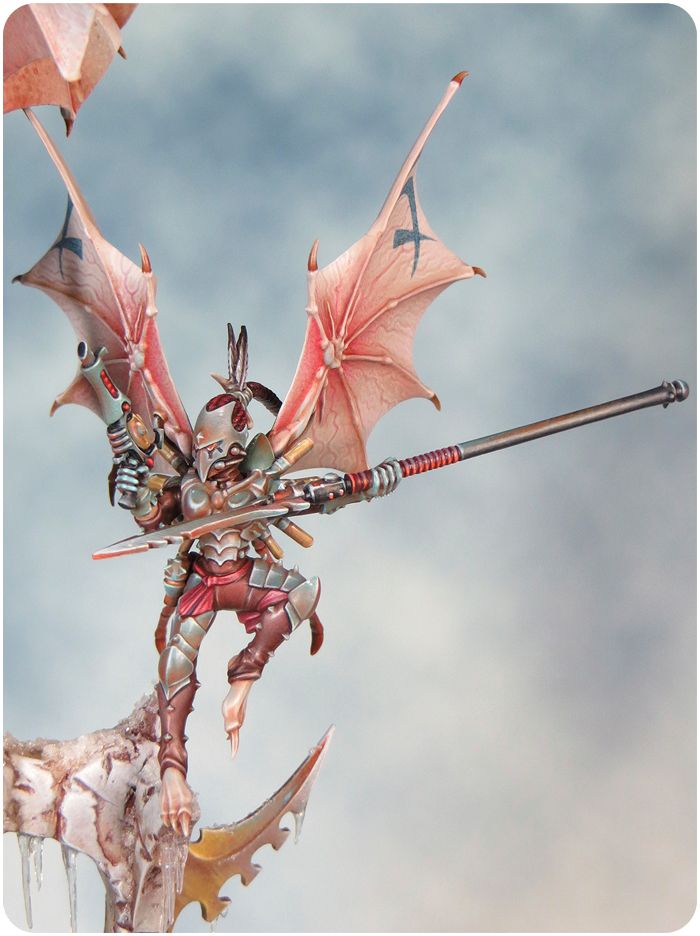
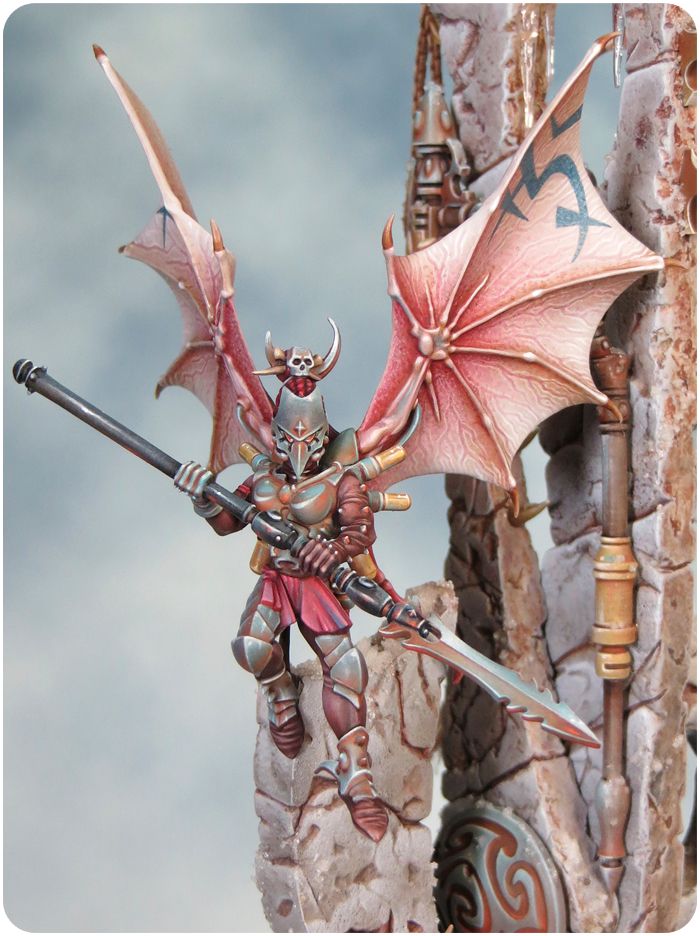
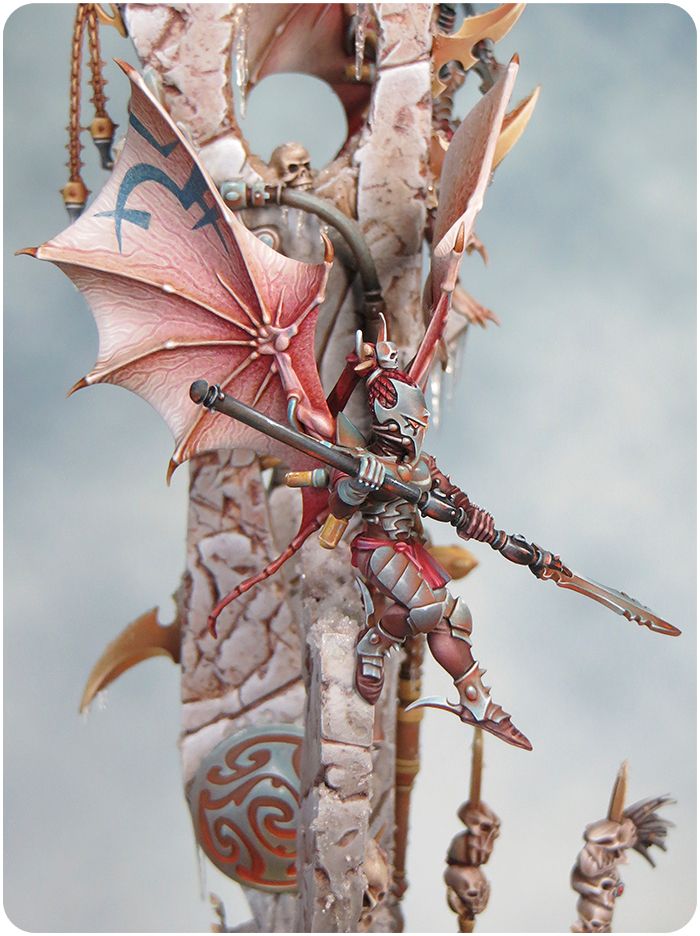
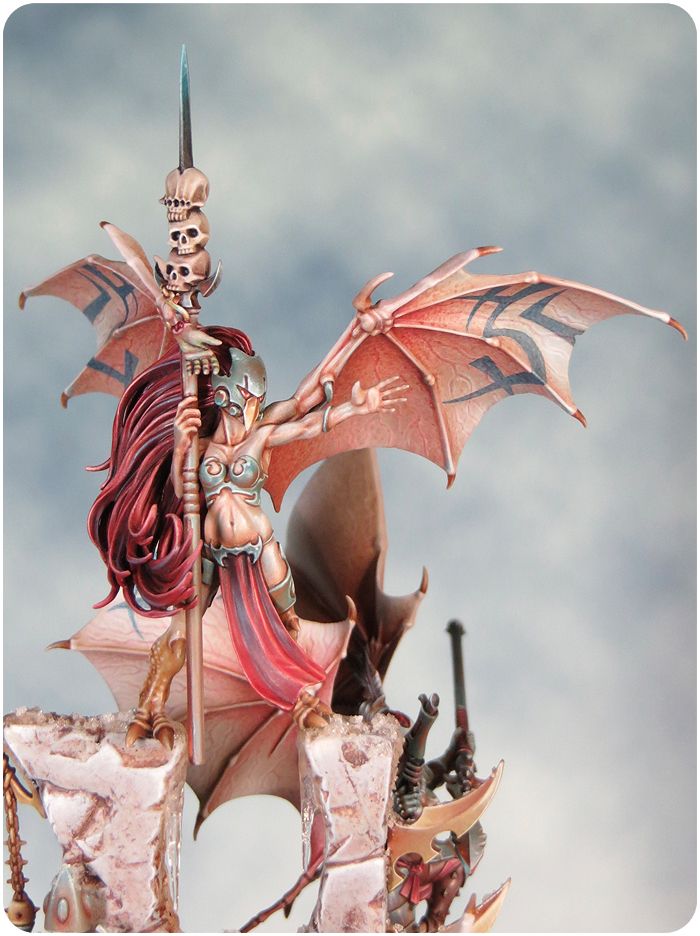
Dark Eldar Haemonculus & Golden Demon 2014

Congratulations to all the winners at Golden Demon 2014. There didn't seem to be quite as many minis in the cabinets as previous years; but I thought it was a tough competition with a really high standard across all the categories. 

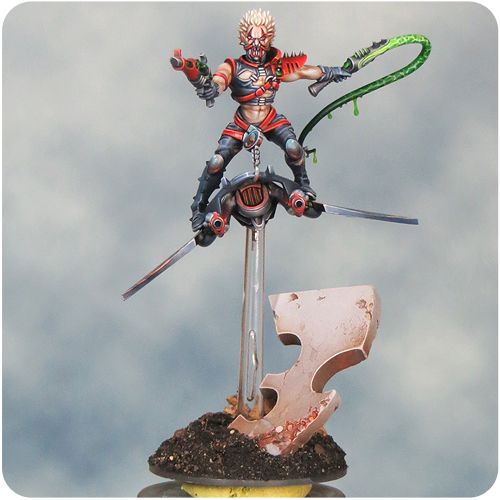
I'm so glad I decided to paint myself out of my post Euro blues by going into the Golden Demons. It was a lot of hard work in a short space of time. But I gained a great feeling of achievement by simply getting the mini to a state where I was happy to enter it into the competition. I didn’t think I stood much chance of a win, so I'm completely over the moon about getting a Bronze Demon for my Haemonculus. 
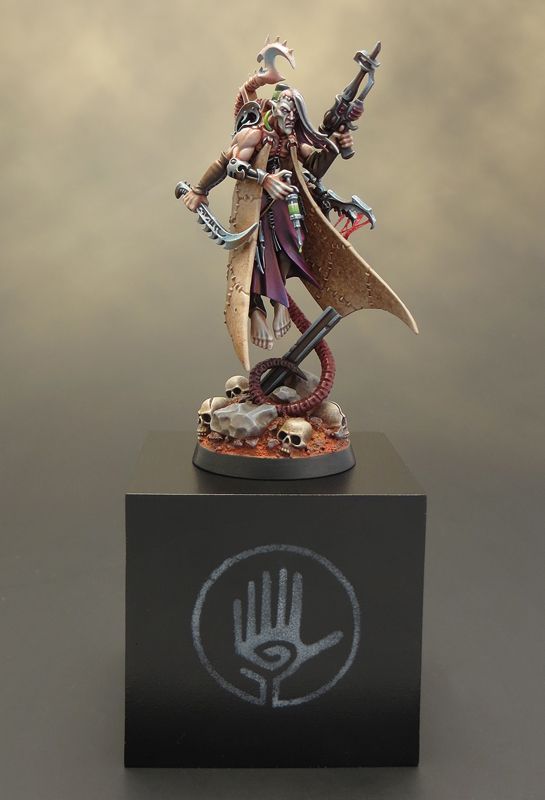

I'm now feeling really hyped up for next year's painting projects and I've even decided on what I'd like to paint for GD next year. There’ll be no more last minute projects from me for quite some time! It's been years since I've painted any Nurgle minis but the Putrid Blightkings and Gutrot Spume are saying 'paint me' loud and clear!


Friday, 10 October 2014

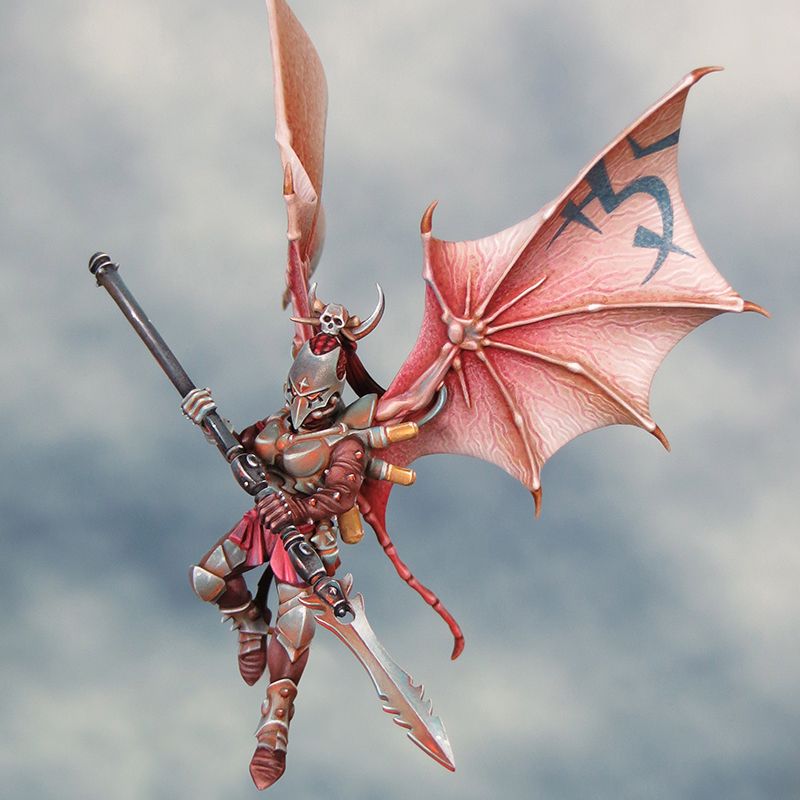
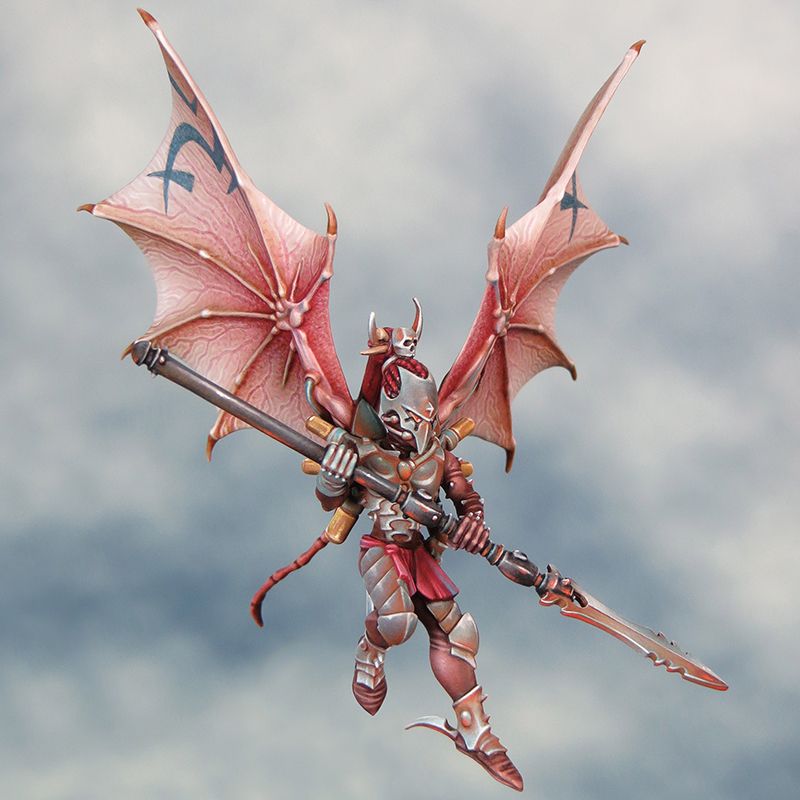
Dark Eldar Haemonculus

Sorry for the lack of updates on my self imposed two week mini painting challenge for Golden Demon - I've been very VERY busy painting!
So a painted mini in two weeks .... done!

I'm very pleased with what I've been able to achieve. There are lots of things I would have done diferently, and I hope better, if I had taken more time. But my goal was to paint a mini in two weeks that I wouldn't be ashamed to bring to Golden Demon, and I've pulled that off.

I wouldn't do this again in a rush as the pressure was a bit much at times. But as a one off challenge to myself it was an 'interesting' experience; and it's good to push yourself sometime to see just what you can acheive.


Wednesday, 22 January 2014

WAMP Awards 2013


Well this is a very nice surprise!

My Dark Eldar came second in the Painted Sci-Fi category of the Wamp Awards 2013. To be honest I hadn't realised that I was a finalist untill quite late in the day and when I saw the other finalists in the painted Sci-Fi category I really didn't fancy my chances at all!

Congratulations to all the winners.


Check out all the results of the WAMP Awards 2013, here.

Thursday, 3 October 2013

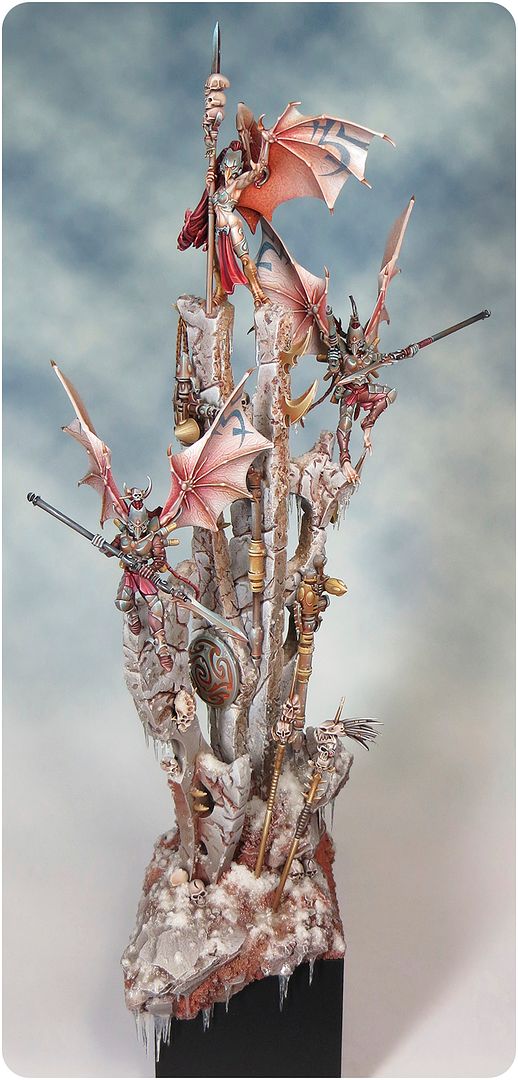
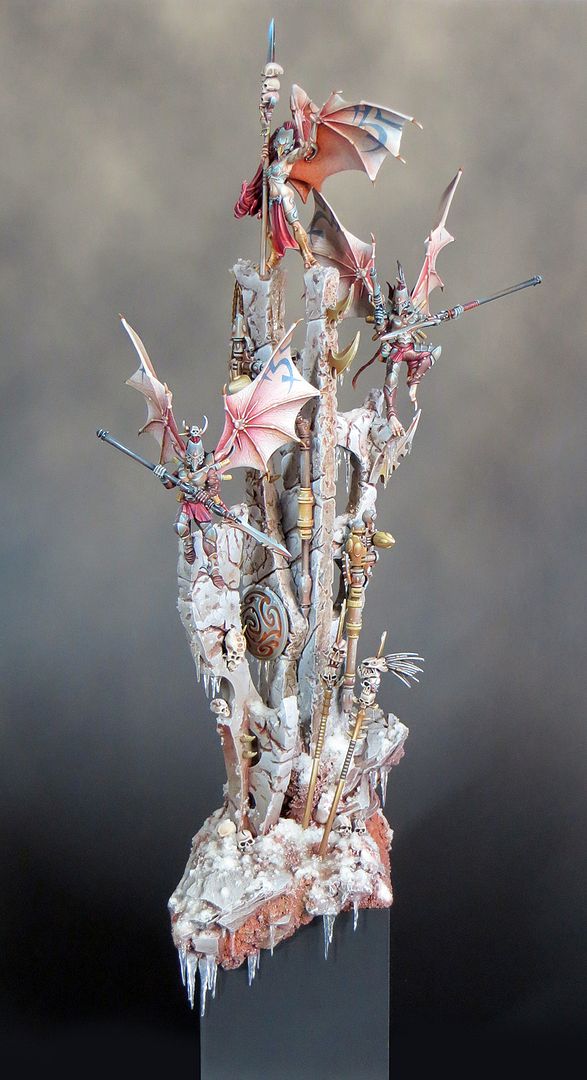
The Finished Dark Eldar Diorama

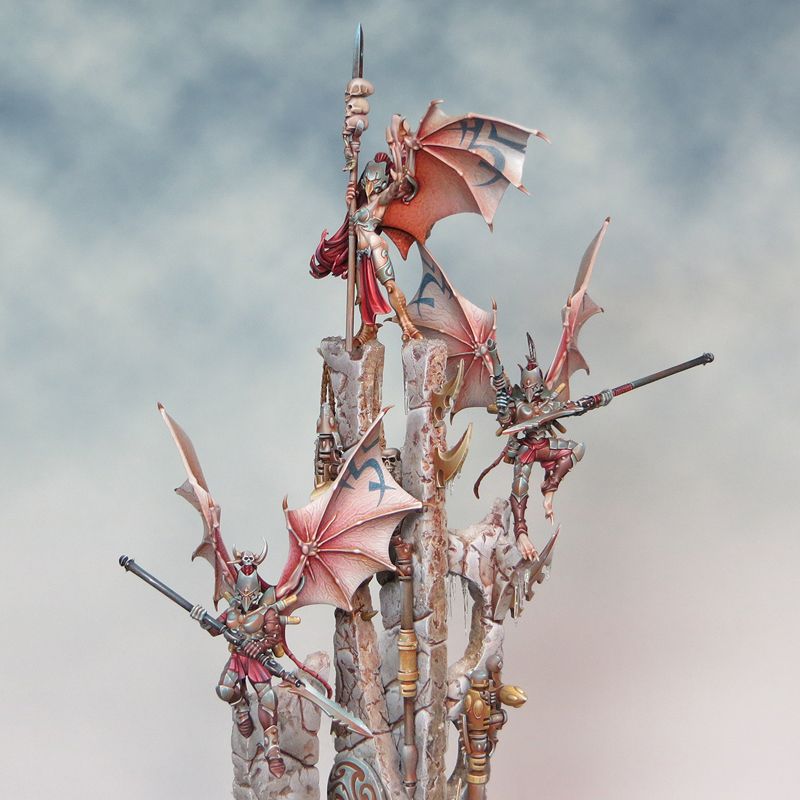
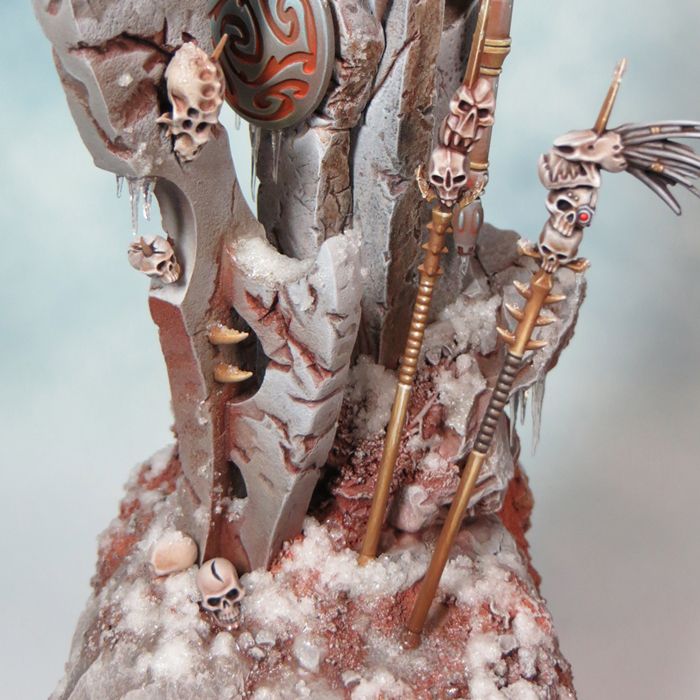
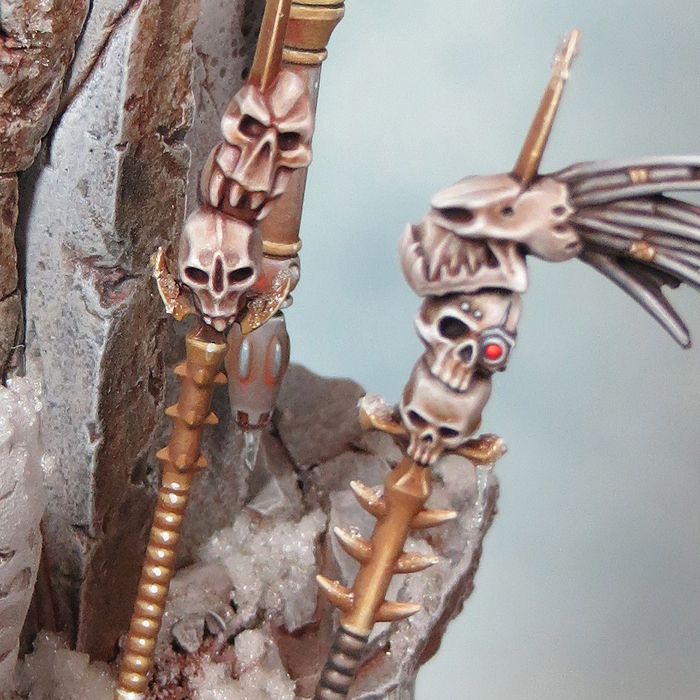
Here are the pics of my finished Dark Eldar diorama.
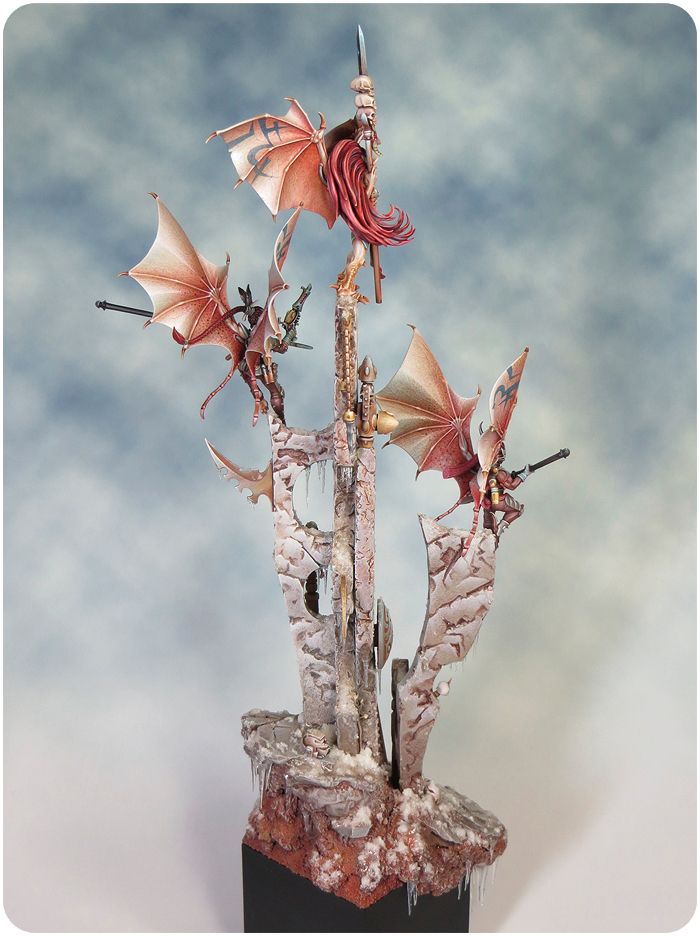
Winner of the Gold Award in the Diorama category and the Slayer Sword at GDUK 2013.


You can find the Diorama on cool mini here: http://www.coolminiornot.com/342470?browseid=6858398


Wednesday, 2 October 2013

The Finished Dark Eldar Hellion

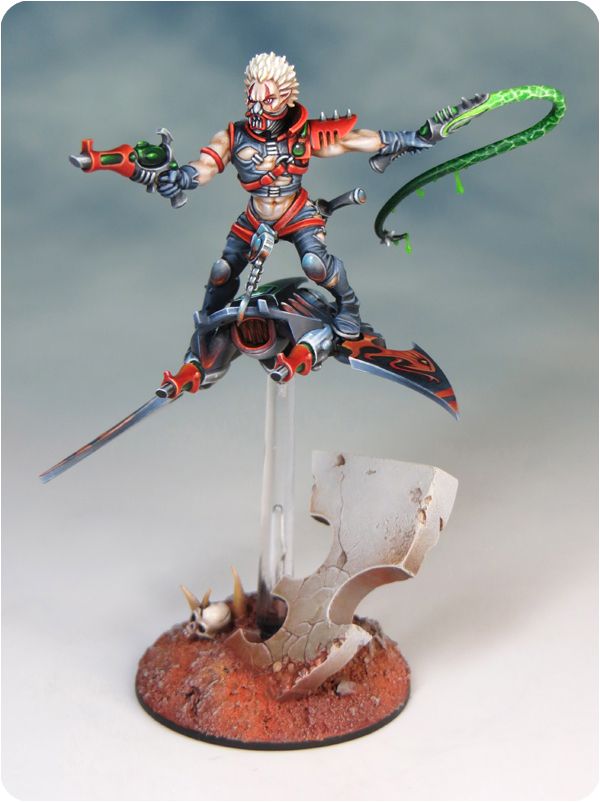
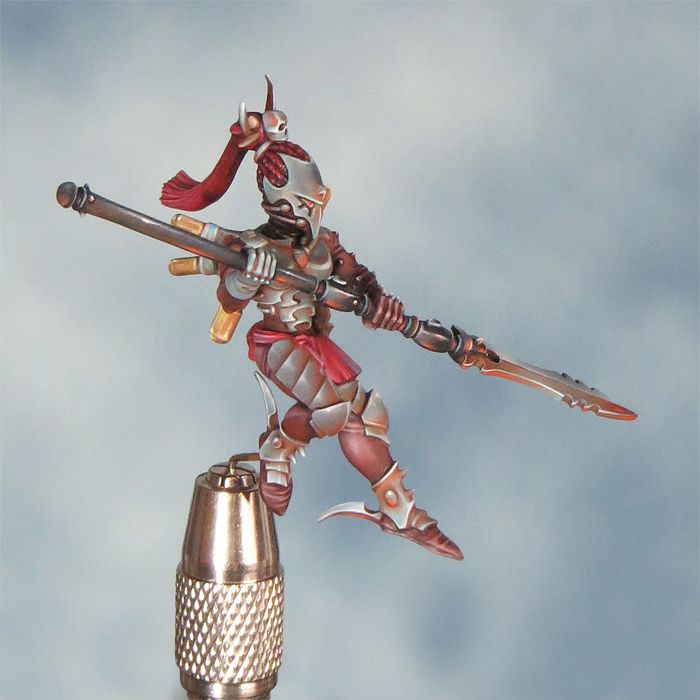
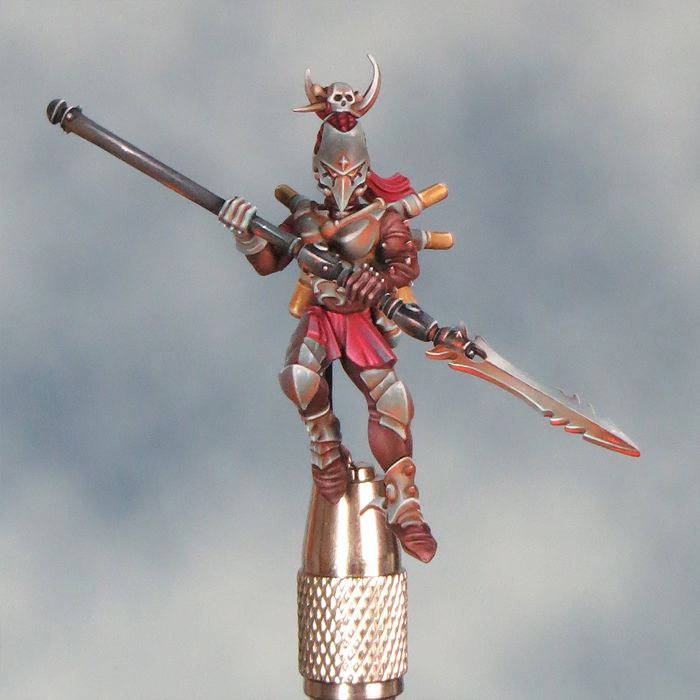
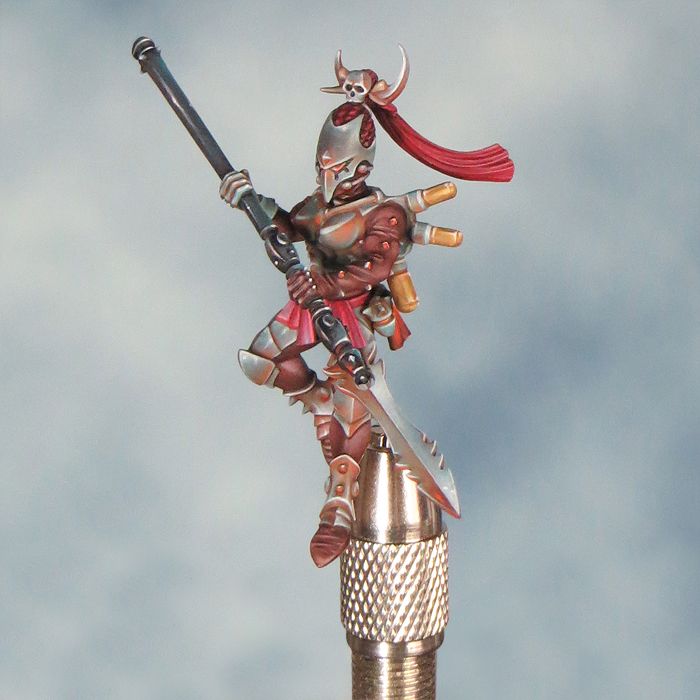
Well here he finally is, my finished Dark Eldar Hellion. Winner of the Gold Award in the Warhammer 40,000 single miniature category at GDUK 2013. Am I ever glad I decided to base him up and enter him!


Looking at this mini now I can see how it marks a major point in my development. The colour scheme has something of an old school feel (that is no accident) and the painting style has a cartoonish/graphic quality that is typical of my work up to this point. I'm very happy with both of those elements and feel it's with this mini that I hit my stride and regained full control of my painting technique. It's also here that I began to explore some of the newer (to me) things like texture, OSL and NMM. For me its that combination of new and old that makes the paint job work and gives it it's character.

But as happy as I am with it, this is a mini that made me think about changing the way I use colour; and so led directly to the evolution and, I hope, refinement of my painting style. The results can be seen in my Tomb King and the Dark Eldar diorama.

The Hellion is now up at cool mini here: http://www.coolminiornot.com/342336


Tuesday, 24 September 2013

Preparing for GDUK

The last week has been intense with mini painting pretty much taking over my life in the run up to  GDUK but all the extra effort seems to be paying off.  

So, my Skink is almost finished and my plans are coming together when from the back of the figure cabinet something catches my eye. Those of you with good memories may recall that my Dark Eldar diorama started out as a totally different concept from the finished piece. The very first thing I painted for it was a Hellion and it has been sat in the cabinet ever since.

Because I was keeping my options open for the diorama I never based up the hellion and pretty much forgot about him when the concept moved on. But as the DE dio is finished it seems a shame not to make something out of the hellion. So with just a few days to go project Hellion is underway here at Sproket Towers. I'm keeping things simple not the least due to time but also because it would be easy to go OTT on a base in a fit of Golden Demon frenzy. 


Just as the Skink stopped me overworking the diorama this will stop me overworking the Skink. Not that I don't already have enough on my hands with all the finishing touches I've planned! 

I doubt I'll get round to posting anymore before GDUK (It's this Sunday - there's so little time!!!) so I'm planning a catch up & report after the event. In the mean time here are a few teaser pics some of which may or may not feature things in my GD entries.


Thursday, 1 August 2013

Dark Eldar Diorama - Finished!

One of the early lessons I learned at art college was that it can be surprisingly difficult to get a new project started. A blank sheet (real or metaphorical) is a daunting thing. It takes discipline, and a deep breath, to make those first marks and get things started. Much the same applies to ending a creative project.

Having worked on my diorama for so long it's been been a bit of a wrench to put down the paint brushes. I've been fine tuning the details and there always seems to be one more thing to do before it's all done. The obvious danger is that rather than improving things I'll overdo or even ruin them so, with a cry of 'enough', I am declaring this project finished.


A big part of the problem is that at the moment I'm just too close to the project. All I can see are the faults and I can see lots of them! This isn't because I'm unhappy with the piece but rather it's on account of it not being perfect. I'm well aware that absolute perfection is quite impossible to achieve but that doesn't stop me trying because trying for and falling short of perfection how I improve as a painter.

This is something I go through with almost every mini I paint and It's not a problem. I just need to put my Dark Eldar diorama in the mini cabinet and ignore it 
for a while. Then I can move on to the next project (Chi Chi) and start trying for perfection (whatever that may be) all over again. In a while I'll be able to look at my diorama with a fresh perspective and judge more truly if any details need adjustment.


Perfect or not I'm very happy with my Dark Eldar diorama and I suspect that I'll leave well alone as it's time to move on and apply the lessons learned to something new.


Tuesday, 23 July 2013

Dark Eldar Diorama - Work in progress

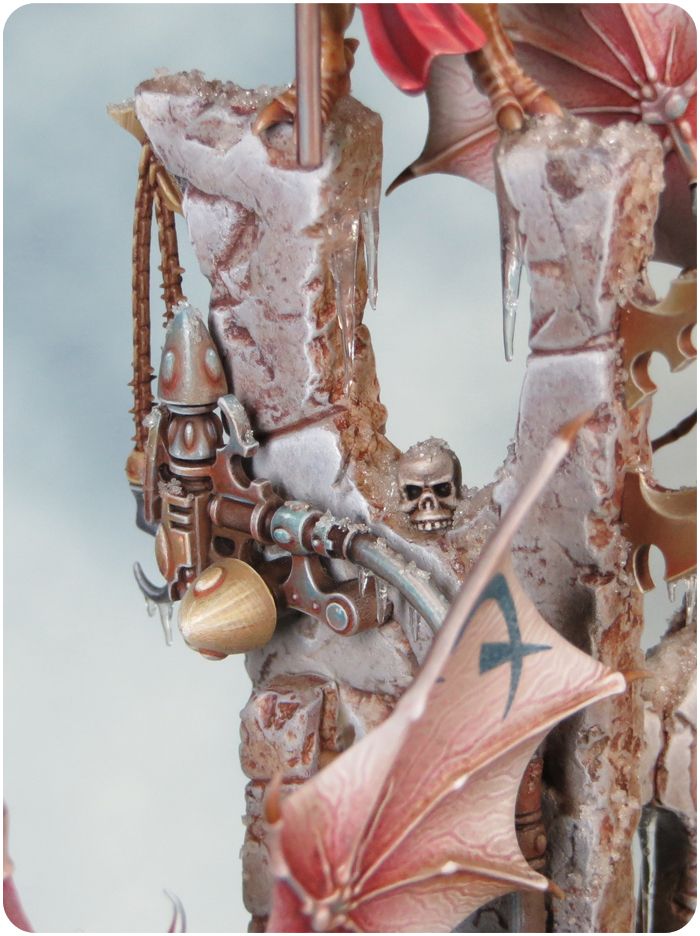
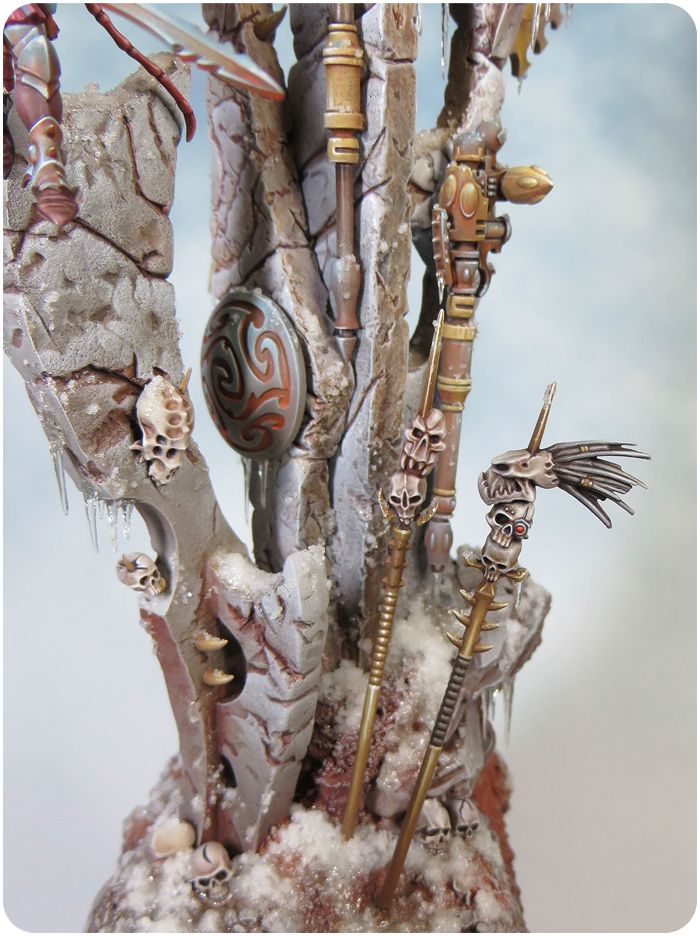
With the bulk of the ice & snow done I've taken the plunge and fixed the Scourge minis onto the spires. I'd planed this well ahead and knew exactly how and where the minis were going but I always find this step a nerve-wracking one. With the Scourge minis in place the overall composition is really coming together and I can now work on the finishing touches. 


Thursday, 18 July 2013

It's Summertime - lets make some snow!

It's typical, just when I think I'm nearing the end of a big project everything grinds to a crushing halt! First I went and caught a cold in the height of summer and then I developed a chest infection followed by sinusitis.  Painting has been the last thing on my mind although recent events could provide inspiration for a Nurgle themed piece (there really has been too much mucus in my life recently!).

On a happier note I'm now well on the road to recovery and so the Dark Eldar Diorama is back on my work bench.

I can't think of a less appropriate time but as the temperature soars and Summer has finally arrived I need to turn my attention to ice and snow effects. I've been planning this step for ages but it's only now that I can implement my ideas as I finally bring the overall composition together. My initial tests with snow and ice effects can be seen below:

Know your Snow!
Ice magic - making icicles

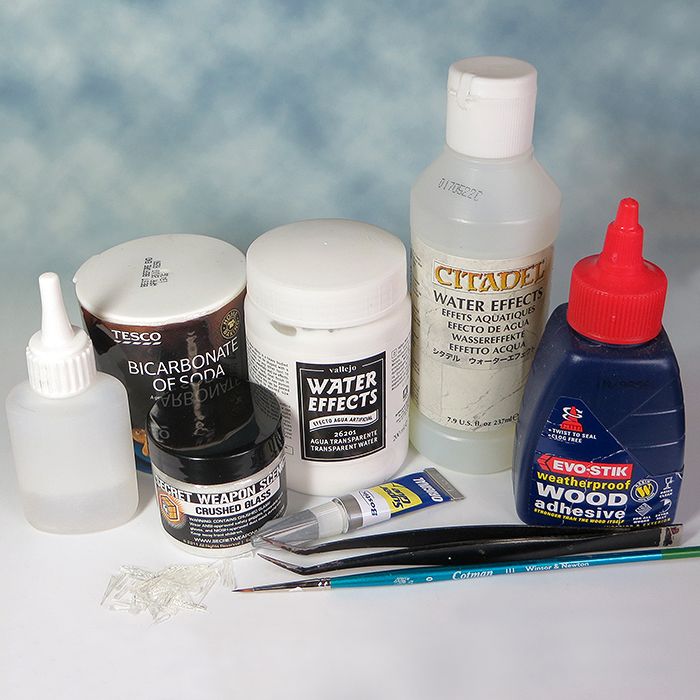
Before starting I gathered together all the materials I thought I might need so everything was to hand.


PVA Wood glue
Superglue - regular
Superglue - thick
GW water effects
Vallejo water effects
Crushed glass
Bicarbonate of soda
Tweezers
Icicles (made in advance)
Paintbrush (size 0)

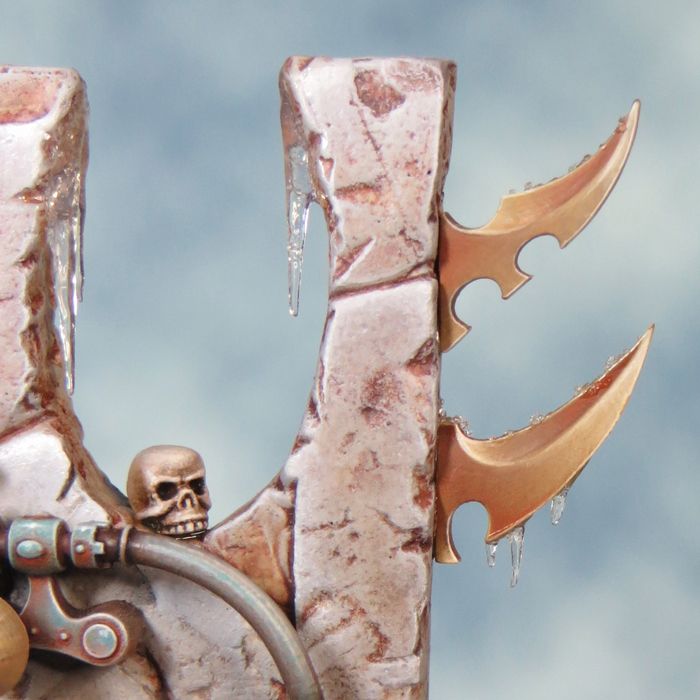
The first step is to fix the icicles onto the base. I only applied a few icicles at a time carefully viewing the piece from all angles as I progressed to make sure I was happy with the composition. I tended to fix the bigger icicles on first and then work down in size to glue the small ones on last.

I applied dot of super glue thick to the base of each icicles and then positioned them using a pair of tweezers. I always made a test fit before applying the glue.  Allow the glue to become completley dry before attempting the next step. 

next paint on a little water effects to blend the icicle onto the base (and hide any visible super glue). I used a mix of GW and Vallejo water effects for this. I find that this gives me the best combination of flow (GW) and bulk (valejo). As with all water effects this is best built up in careful stages and allowed to dry between each stage as the water effects shrink a little as they dry. 


Remember it's easier to add than to take away so it's really very important so take time building up the icicles and blending them onto the base in gradual stages.

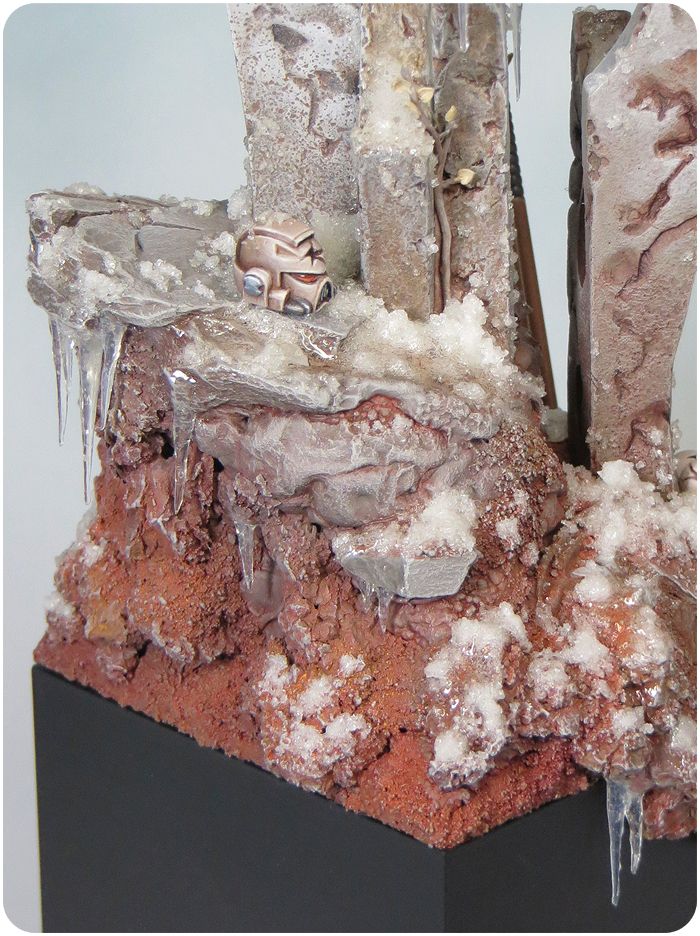
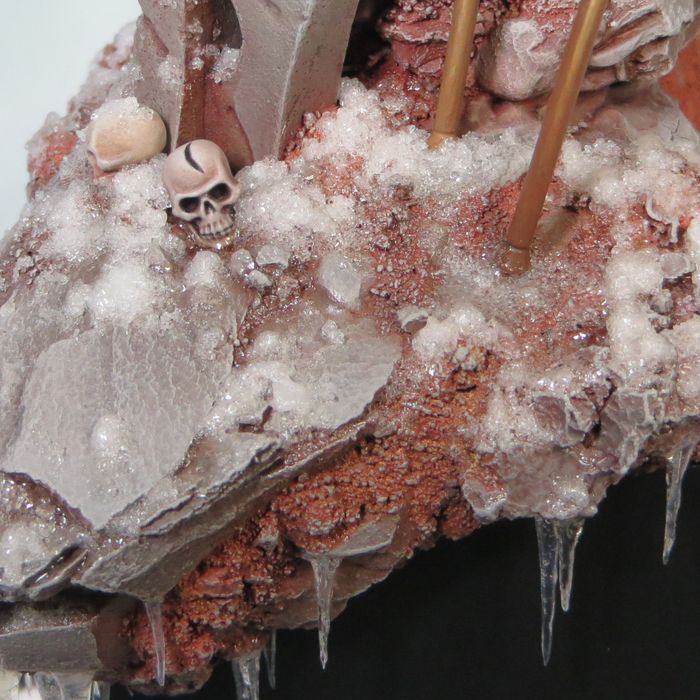
With the icicles sorted it's time to work on the snow. The important thing to remember here is that I'm going for a cold/wet/slushy look to my snow and ice. I had to constantly remind myself of this as I worked. Based on my earlier tests I decided to use a mix of GW water effects and crushed glass. The crushed glass came from Secret Weapon and needs to be used with due regard to health & safety. On no account should you (as I've seen it suggested elsewhere online) attempt to make your own!

I spooned a small amount of the crushed glass into a palette and mixed this with the water effects using a cocktail stick. I used the same cocktail stick to apply the snow mix a little at a time. Once again I'd recommend working in stages and letting each stage dry before you apply the next. This helps to gauge and control the finish as the snow's appearance will change quite a bit (generally becoming whiter and more defined) as the water effects dries.


It can help make the snow look more realistic to vary the mix a little so that some of the snow mix is whetter in places. Applying a little extra water effects so that it forms a few pools & puddles will also add realism & variety. Finally I add tiny amounts of snow to any edges that I want to have a light frosting effect on. This was done with a brush and at times I quite literalt positioned one crystal at a time. It's a fiddly job but worth the effort.


Wednesday, 19 June 2013

The Third Scourge - Finished!

Well it's been a bit of a bumpy trip but the third Scourge is finished! I needed to do a little filling on the join between the wings and the body and a few tiny tweaks to the paint job once I could see the whole thing in one piece.


This mini has been a real test of endurance for me. It's the first time I've ever painted more than one of the same thing for a project and I struggled to keep my focus and enthusiasm. The biggest thing I found to be an issue was a strong feeling of "been there, done that and now I want to paint something different". I think I'm best suited to painting one off character minis as my interest moves on much more quickly than my painting so I'm always looking to the next project. 


Having said that I'm pleased I stuck it out as I'm very happy with the result. The Dark Eldar diorama is finally ready to be assembled from all the elements I've been preparing over the last two years. 

It's make or break time for the Dark Eldar diorama!

Monday, 17 June 2013

Painting the Third Scourge Part 8

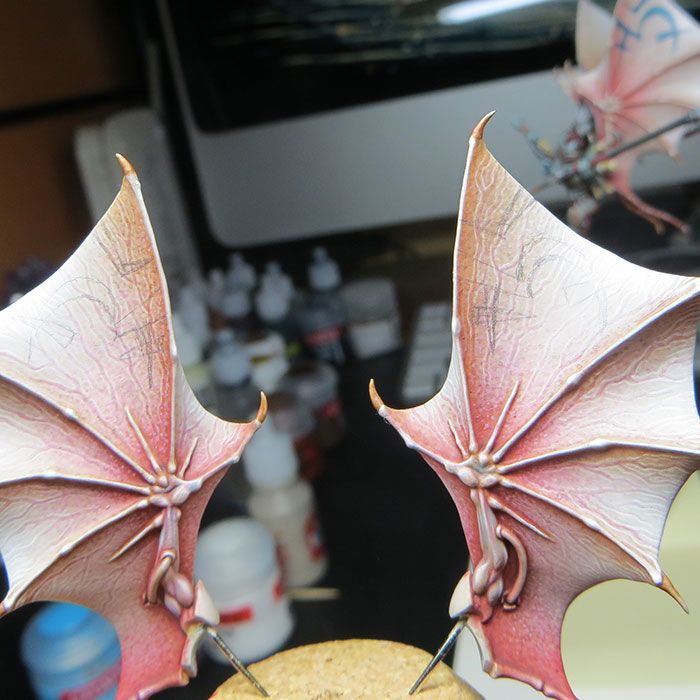
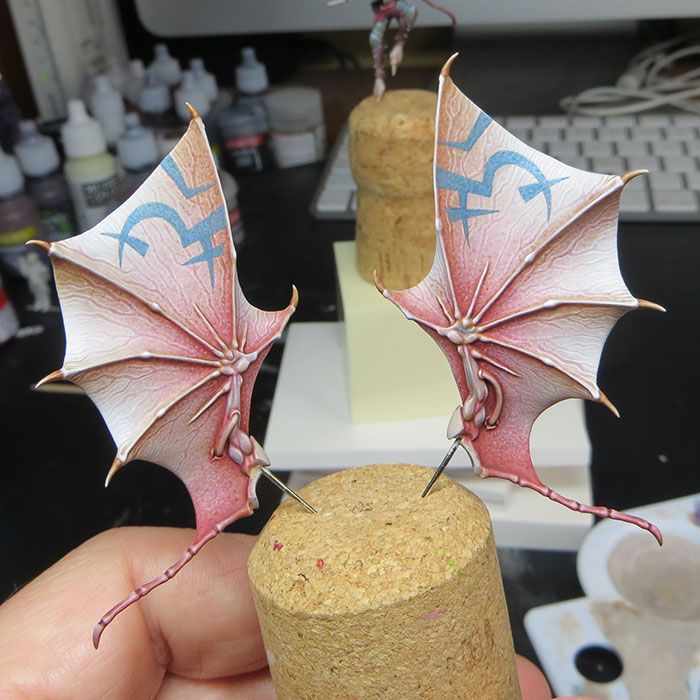
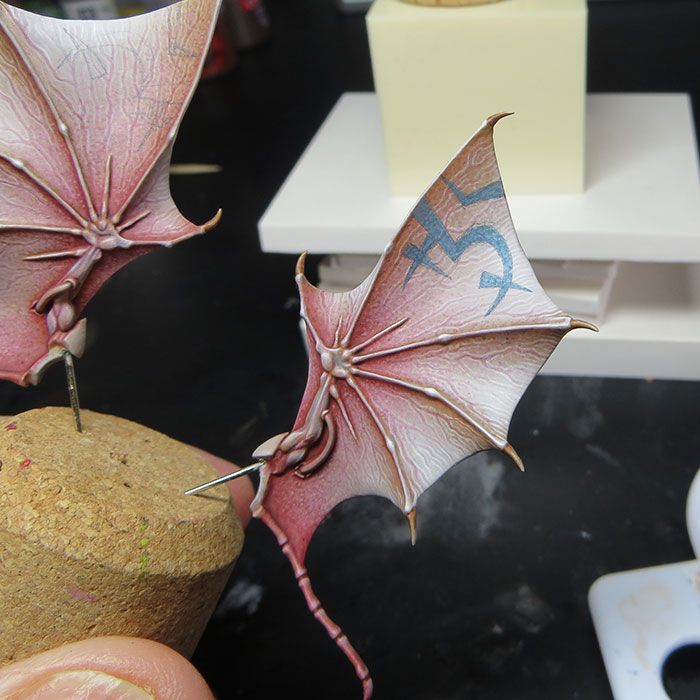
This last weekend I made progress painting the wings for my final scourge. The outside surfaces are done and I've added the tattoo designs to the inside.

Freehand decoration is an enjoyable challenge but even a relatively simple single colour design can seem a bit daunting. I prefer to mark up my design before I start to paint and in this instance I used a soft (3B) pencil sharpened to a very fine point. The trick is to go very lightly and put a few discreet marks on the mini at key point of the design. You can then join up these marks to sketch out the guide lines for your design. At this stage it's not a very pretty sight!


Next I fill in the design. I use a very dilute mix ( GW Asurmen Blue & Rakarth Flesh) for this and the result is inevitably patchy looking but thats' OK at this stage.


Now I build up the density of the tattoo by stippling on more colour. This enables me to even out the colour density while achieving a dotty texture that matches the wing surface.


Now it's time to cover up those pencil lines where they still show. Because of the stipple texture this is a lot easier to do than it would be over a flat colour. With the pencil lines gone the edges of the design really pop. 

At this stage it's time for any fine tuning/adjustment of the shading.


Almost done ... so close!

Sunday, 26 May 2013

Painting the Third Scourge Part 7(a)

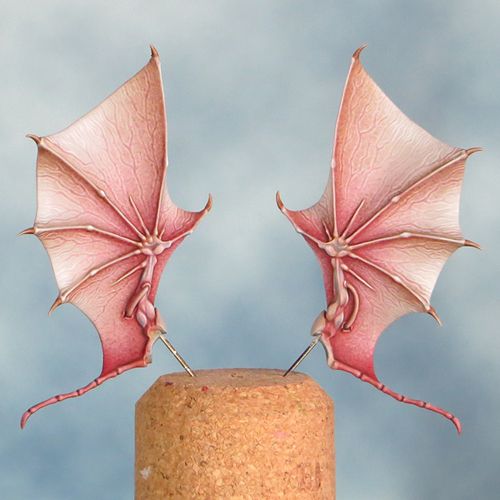
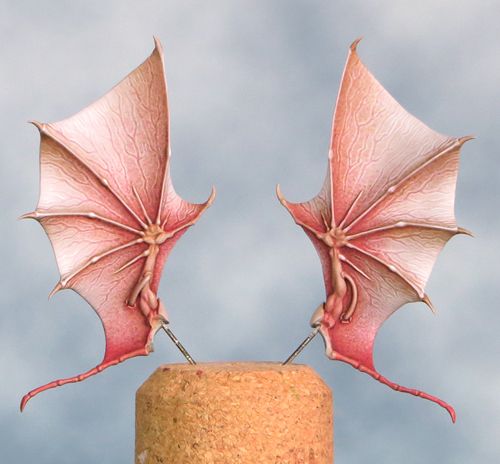
Admittedly this is all very subtle and you'd be forgiven for thinking I'm doing a spot the difference quiz with last weeks picture, but the inside surfaces of the Scourge wings are done! I've knocked back the veins just a little with some glazing and painted up the arms. Now the arms are painted they help to set off all the veins & stippling on the membrane and I'm very pleased with the final balance.
I've a busy week next week and It's unlikely I'll get to do any painting so I'll take a pause for thought before painting the outside of the wings and finishing off the mini. The end of the project is in sight!


Monday, 20 May 2013

Painting the Third Scourge Part 7

I've been painting the inside surfaces of the wings over the past week. I've managed to put in a fair amount of time by setting aside an hour each evening for painting and this has worked out very well.
This 'a little but often' way of painting works well for me. I like to work in stages so I can sit back and consider each step before I move on. This makes it  easier for me to balance out and match the shading and texture across both wings.  Added to this my 46 year old eyes are no longer able to hold a close focus for as long as the used to, to but let's not dwell on that!
I'm very pleased with the results so far although I think I need to knock back the veins just a little with some glazes. They look OK but are a little bit stronger than on the previous two Scourge minis. Once thats sorted I'll paint up the arms and then I can turn my attention to the outside surfaces.


Saturday, 11 May 2013

Painting the Third Scourge Part 6

Last weekend's bank holiday gave me the opportunity to settle down and get some serious painting time to myself. As a result I've finished painting the body for my third Scourge.
I'm relieved to have painted the last bit of the brown under suit on this mini as I've had nothing but grief blending the colour this time around. I'm pleased with the result but I didn't have a happy time getting there! Once the arms were finished I moved on to the spear and from then on it all went a lot more smoothly, both literally and figuratively. I really got back into the swing of things and thourougly enjoyed the painting experience. It feels good to have finished this stage of the mini on a positive note after my earlier struggles.


Next I'm going to stipple another pair of wings and when they're done I can finally start to put the Dark Eldar diorama together.