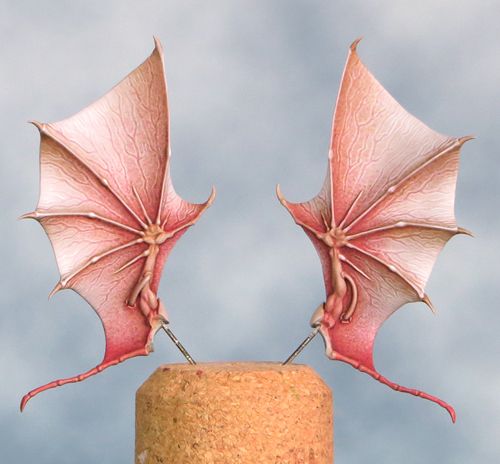
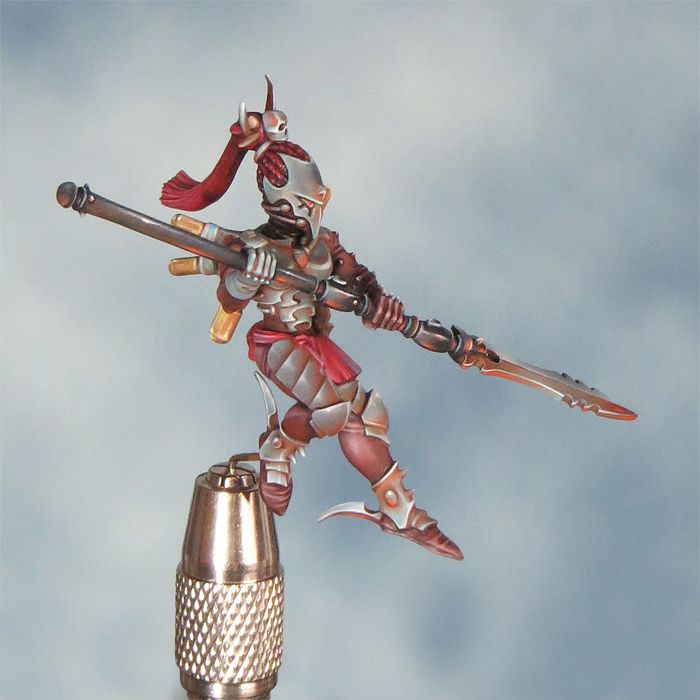
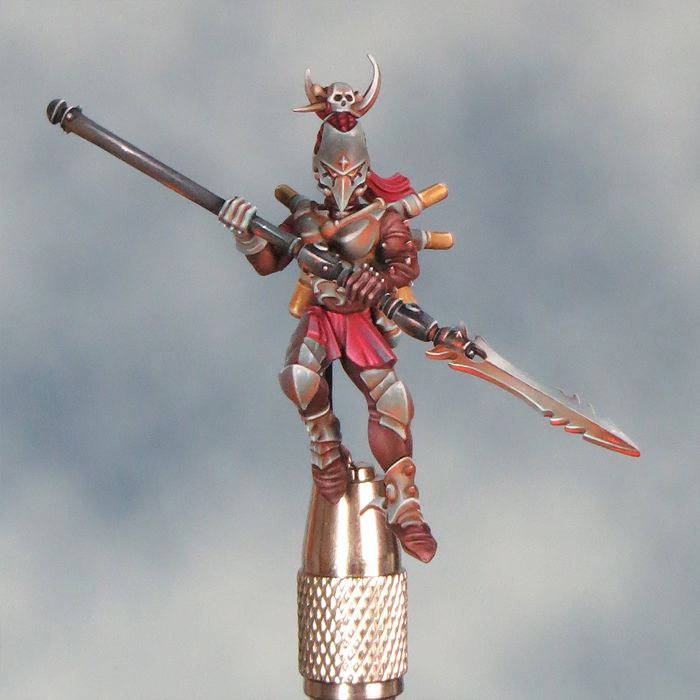
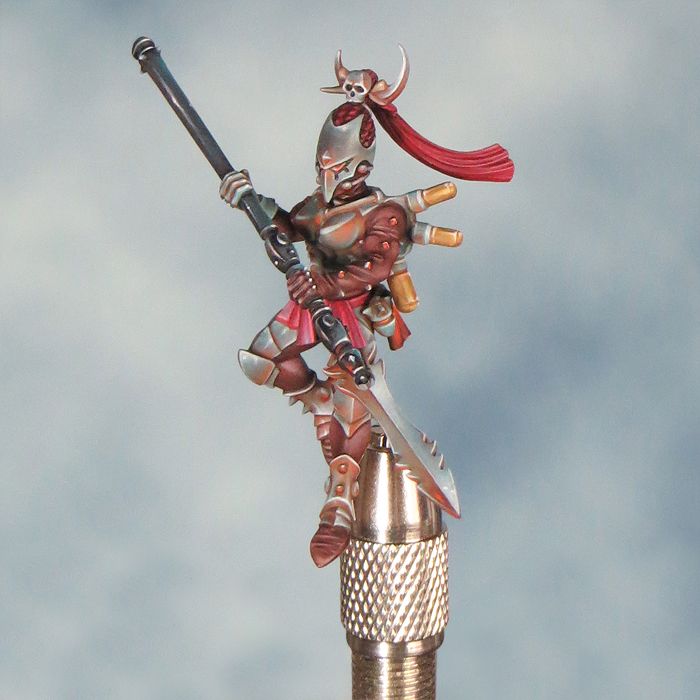
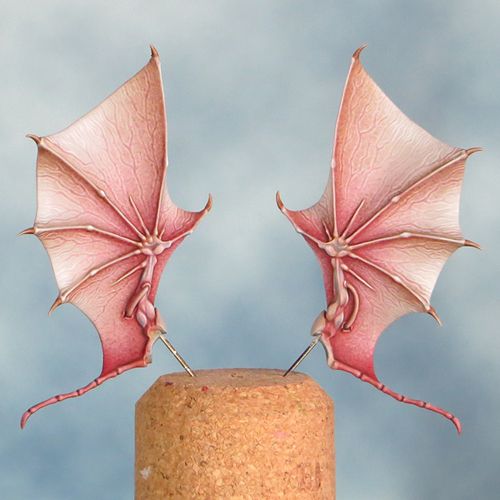
Admittedly this is all very subtle and you'd be forgiven for thinking I'm doing a spot the difference quiz with last weeks picture, but the inside surfaces of the Scourge wings are done! I've knocked back the veins just a little with some glazing and painted up the arms. Now the arms are painted they help to set off all the veins & stippling on the membrane and I'm very pleased with the final balance.
I've a busy week next week and It's unlikely I'll get to do any painting so I'll take a pause for thought before painting the outside of the wings and finishing off the mini. The end of the project is in sight!
Sunday, 26 May 2013
Monday, 20 May 2013
Painting the Third Scourge Part 7
I've been painting the inside surfaces of the wings over the past week. I've managed to put in a fair amount of time by setting aside an hour each evening for painting and this has worked out very well.
This 'a little but often' way of painting works well for me. I like to work in stages so I can sit back and consider each step before I move on. This makes it easier for me to balance out and match the shading and texture across both wings. Added to this my 46 year old eyes are no longer able to hold a close focus for as long as the used to, to but let's not dwell on that!
I'm very pleased with the results so far although I think I need to knock back the veins just a little with some glazes. They look OK but are a little bit stronger than on the previous two Scourge minis. Once thats sorted I'll paint up the arms and then I can turn my attention to the outside surfaces.
This 'a little but often' way of painting works well for me. I like to work in stages so I can sit back and consider each step before I move on. This makes it easier for me to balance out and match the shading and texture across both wings. Added to this my 46 year old eyes are no longer able to hold a close focus for as long as the used to, to but let's not dwell on that!
I'm very pleased with the results so far although I think I need to knock back the veins just a little with some glazes. They look OK but are a little bit stronger than on the previous two Scourge minis. Once thats sorted I'll paint up the arms and then I can turn my attention to the outside surfaces.
Friday, 17 May 2013
Chee-Chee part 2
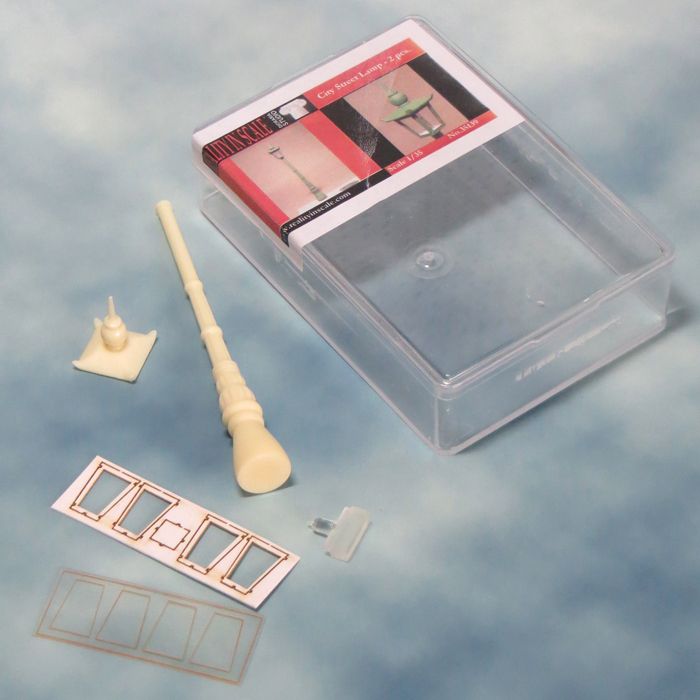
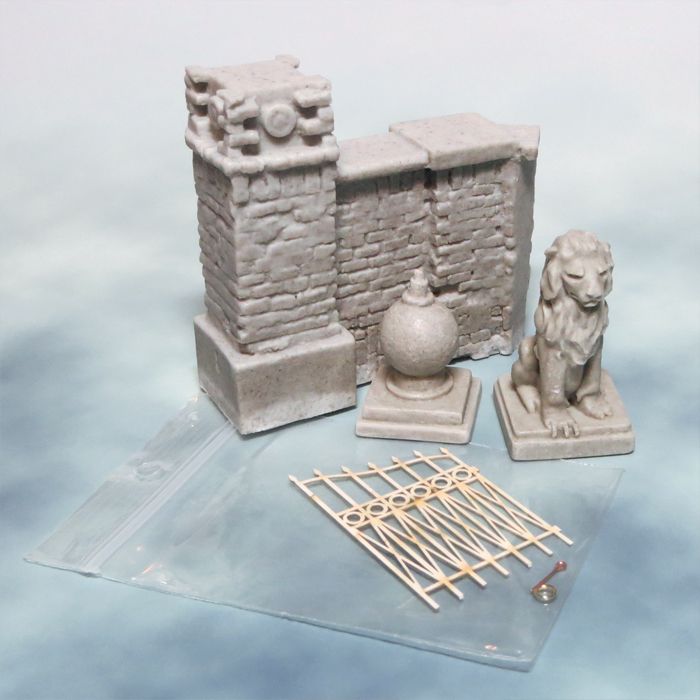
At the same time as I'm painting up my Scourge I'm making some preparations for Chee-Chee. The resin 'bits and bobs' I mentioned in my earlier post have arrived and I've begun some of the necessary work on them. I intend to create a scenic base for Chee-Chee and my idea is to have him bursting out from the gates of London Zoo and onto the streets . After a bit of searching Reality in Scale provided two of the elements I was looking for so I've now got my Zoo gates (well half of then any way!) and a victorian style lampost.
I'm very pleased with my purchases! The kits consist of a mix of materials including resin, lazer cut card and printed acetate. The lamp post come as a set of two so I've a spare if I ever want to do a Narnia diorama! The gateway is a pretty flexible kit and also comes with options for a wooden (resin) and wrought iron (lazer cut card) gate.
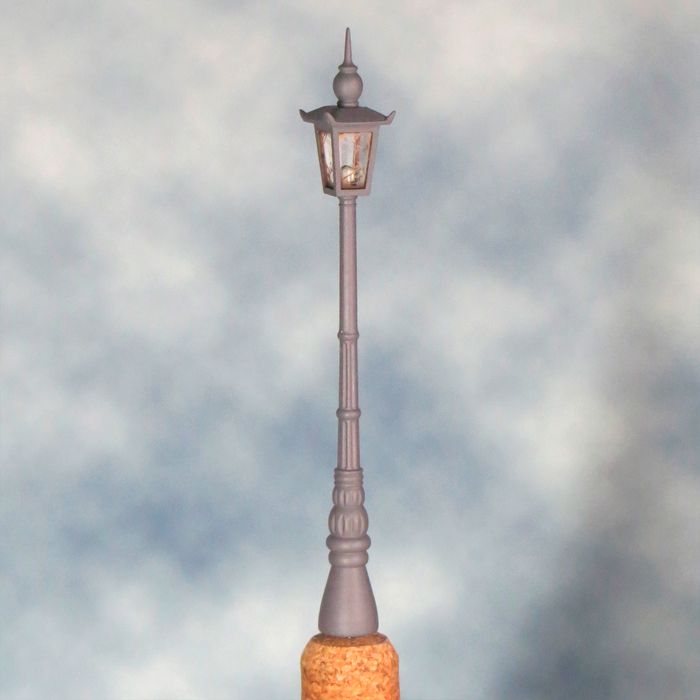
Assembly on the lamp post was straight forward although a bit fiddly. Not the least because I needed to paint the inside of the lamp before assembly. I may need to do a little work to customise these pieces and the overall composition will take a some careful planning but It's a good start.
I'm very pleased with my purchases! The kits consist of a mix of materials including resin, lazer cut card and printed acetate. The lamp post come as a set of two so I've a spare if I ever want to do a Narnia diorama! The gateway is a pretty flexible kit and also comes with options for a wooden (resin) and wrought iron (lazer cut card) gate.
Assembly on the lamp post was straight forward although a bit fiddly. Not the least because I needed to paint the inside of the lamp before assembly. I may need to do a little work to customise these pieces and the overall composition will take a some careful planning but It's a good start.
Saturday, 11 May 2013
Painting the Third Scourge Part 6
Last weekend's bank holiday gave me the opportunity to settle down and get some serious painting time to myself. As a result I've finished painting the body for my third Scourge.
I'm relieved to have painted the last bit of the brown under suit on this mini as I've had nothing but grief blending the colour this time around. I'm pleased with the result but I didn't have a happy time getting there! Once the arms were finished I moved on to the spear and from then on it all went a lot more smoothly, both literally and figuratively. I really got back into the swing of things and thourougly enjoyed the painting experience. It feels good to have finished this stage of the mini on a positive note after my earlier struggles.
Next I'm going to stipple another pair of wings and when they're done I can finally start to put the Dark Eldar diorama together.
Monday, 29 April 2013
Chee-Chee Part 1
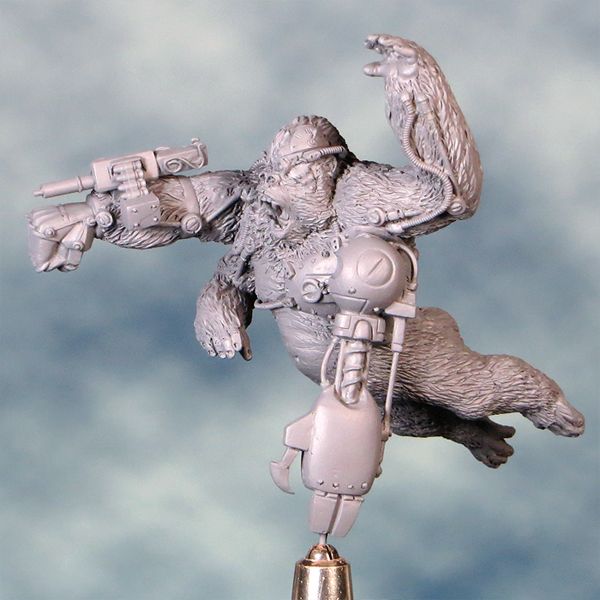
What is there not to like about a giant, mutated/bionic gorilla?
Chee-Chee comes from Infamy Miniatures and is one of the minis I picked up at Salute. I'm cracking on with my latest Scourge mini but I decided to start the prep on Chee-Chee at the same time. This is my first resin mini and I've had to adapt a little to the material. The resin itself is slightly translucent and this makes seeing any mould lines or bubbles tricky. Fortunately there are few of either and now I've got the mini assembled and undercoated I can easily see any areas I missed.
I'm really looking forward to painting this mini as I've fancied having a go at something with a steam punk feel for quite a while. I like how this mini challenges my usual inclination to go light & bright as I'm getting a dark & grungy vibe with this one.
I've also got a pretty clear idea of how I want to base this mini up and I've a few resin bits & bobs on order that will go towards helping me achieve my vision. This is one beastie that the gates of London Zoo wont be keeping in!
The third Scourge remains my main project but it's nice to look forwards to painting something so different from everything else I've been working on recently.
Subscribe to:
Posts (Atom)