Showing posts with label Action Figure Customs. Show all posts

Tuesday, 12 April 2016

Plaguebearers part 9

My first idea for the standard bearer was to use an ordinary Plaguebearer but, after a little consideration, I decided that I wanted the mini to stand out from the ‘regular’ troops. It felt appropriate to give the standard bearer stature, somewhere between a regular Plaguebearer and my champion. To achieve this I’ve based my conversion on a Herald of Nurgle miniature. 

The conversion work was fairly straightforward. I swapped the head for that of a regular Plaguebearer and removed the branch-like growths from the spine. To be honest, I didn’t care for either the head or the growths and, in addition, felt that they would clash with the overall look of my unit. I’ve used a small piece from my ‘spare’ Gutrot Spume to form the basis of a hump on the standard bearer’s back. I like the pose of the Herald miniature and, in particular the pointing arm with it’s sagging, torn flesh. I’ve drilled a few extra holes into the sagging flesh on the arm to make it look even more ‘filigree’.


The most dramatic change is, of course, the replacement of the weapon with a standard. I decided on an icon of Nurgle for my standard and based it on the icon from the standard in the Putrid Blightkings kit. This was a good start but I wanted to create more impact, so I added the starburst crest from the Lord Relictor’s standard out of the Age of Sigmar Starter set – HERESY! The addition of a few nicks and dents helped to blend the starburst in. 

With the conversion work done it was time to add a little texture by the addition of baking soda. Then the mini was ready for it’s base coat. This time I went back to using Rackarth flesh! 


For the next stage I used glazes to build up the flesh tones and define the main blocks of colour. I also began to define the overall light and shade. Now I can work on refining the definition and detail. 


Tuesday, 22 March 2016

Plaguebearers part 7 - The Red King

My decision to experiment with a green basecoat, instead of the usual Rackarth Flesh, for my Plaguebearer champion proved to be a mistake. I pride myself on having a good eye for colour but in this case I bungled my choice. As I’ve progressed, it has become increasingly clear that the green I picked has too much blue in it. 

It’s a subtle thing but the green base colour clashes with the yellow/greens and reds I use in my Plaguebearer flesh tones. This means that I’ve had to spend extra time balancing out the colours and correcting the problem. With hindsight a Rakarth flesh base colour would have saved me a lot of time and effort! 

It’s with no small degree of relief that I’ve finally reached a point where the entire base colour is covered up, and I can finally get a feel for the overall colour balance on this mini. 


Colourwise the big difference between the champion and the other Plaguebearers is in the use of red. While all of the Plaguebearers have some red on them, the champion has both a greater area and a more saturated shade of red than on the other minis in the unit. I’m hoping that this will, along with his greater stature, give him prominence without making him look out of place in the unit. It’s on account of his colouring, along with his ‘crown’ of horns, that I’ve started to think of this mini as The Red King. 

As with all of my Plaguebearers I’m adding a few ‘special effects’ to the paint job. I’ve already begun to work a few clusters of microbeads into some of the creases and crevices and I plan to add some slime and drips. How could I not? 

Tuesday, 27 November 2012

Dark Eldar Diorama - Starting the 3rd Scourge

Here we go again!

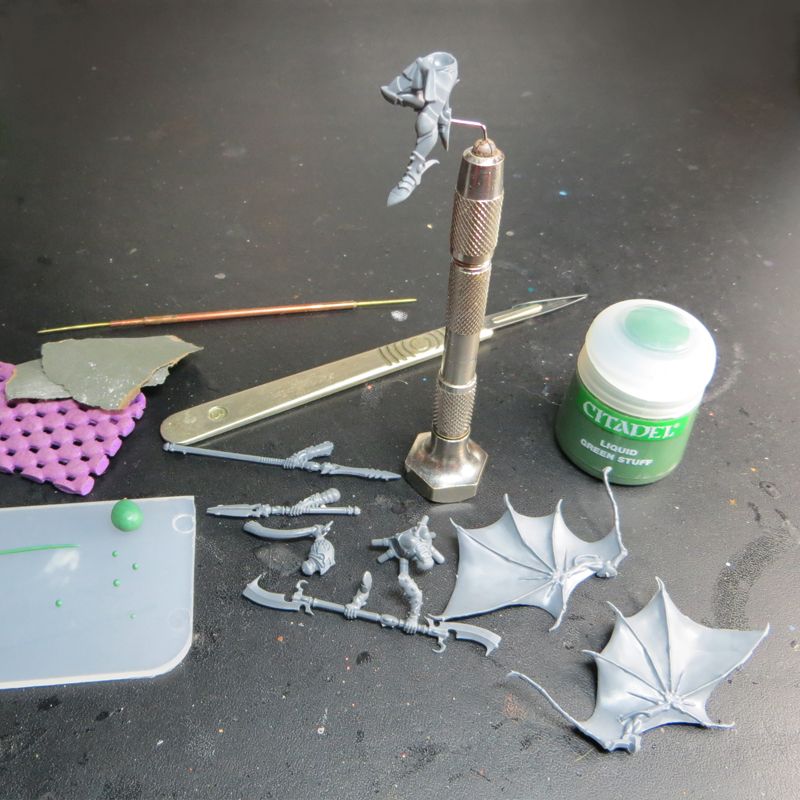
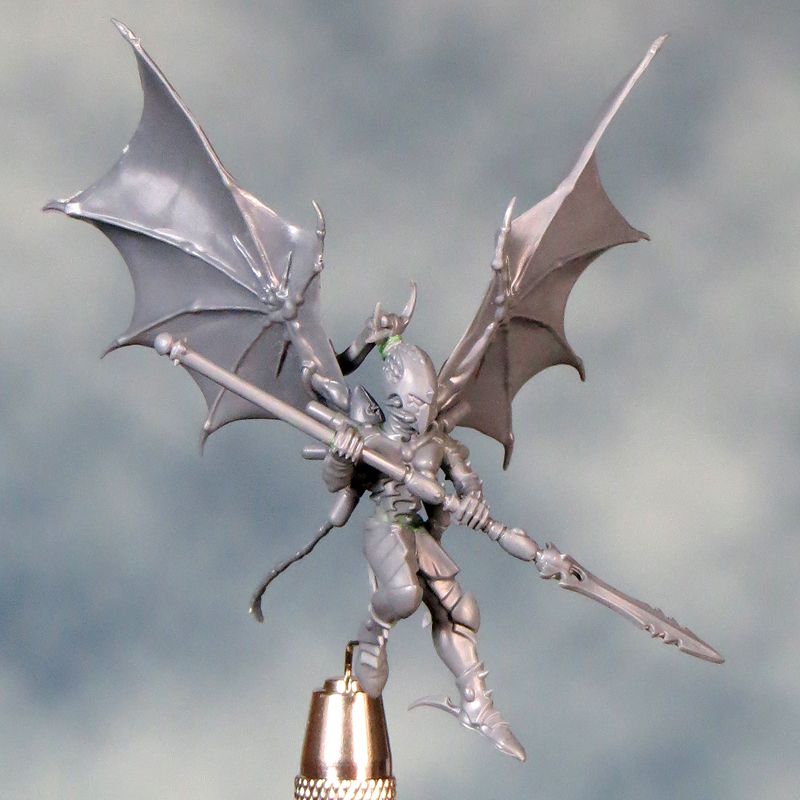
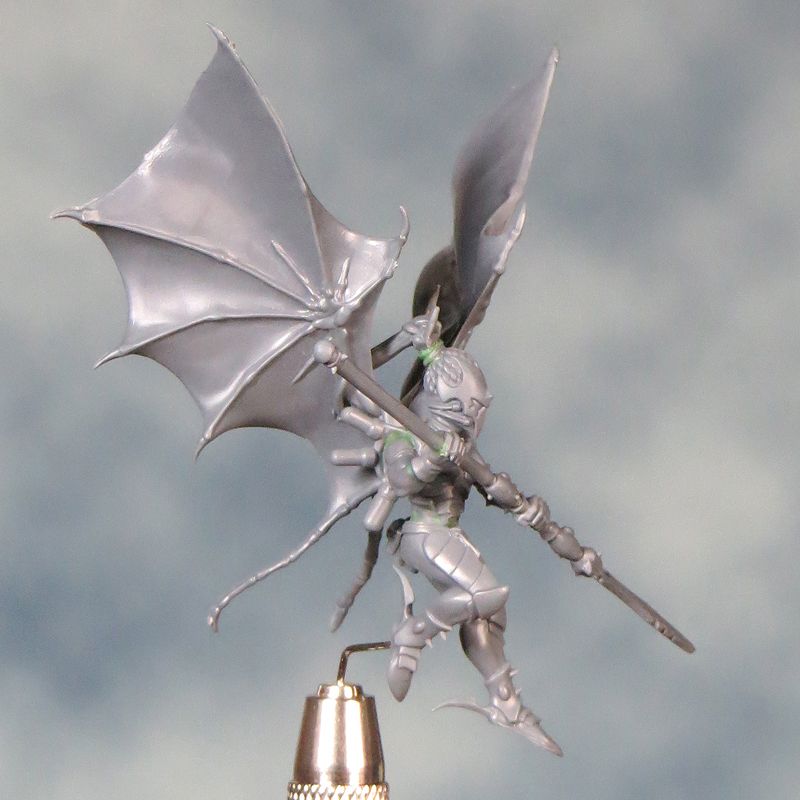
I want this third Scourge to match the first one I painted, but not to be identical so a little conversion is called for. I'm using the head option with the ponytail again. I really prefer it's sleeker look to the punk feathers on the majority of Scourge heads but I've swapped the ponytail with one from the wych box. 

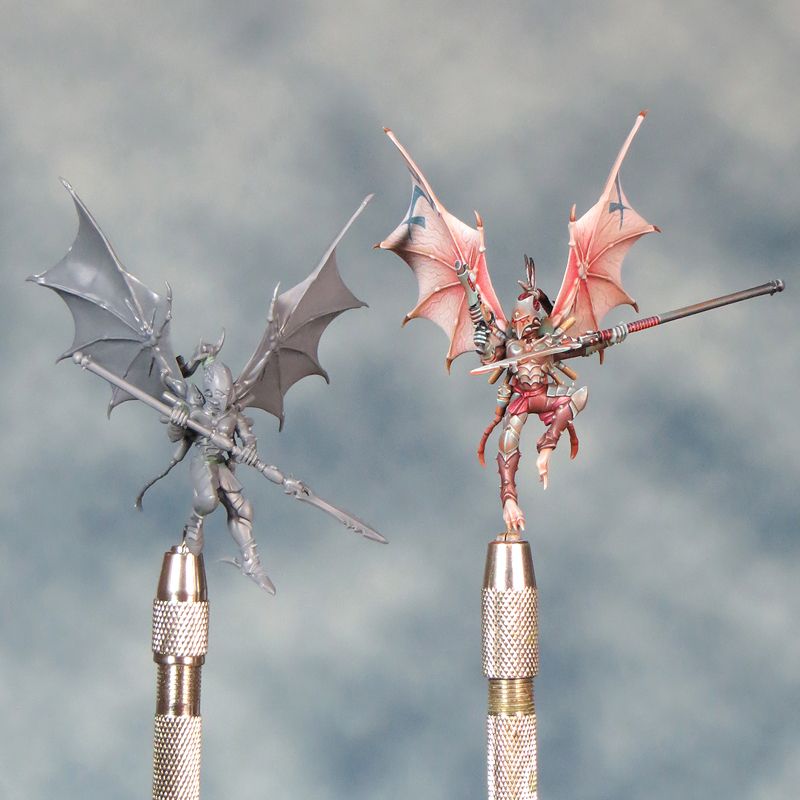
I also wanted to change the way the Scourge is holding her spear. As the Scourge minis only have one option in the box I've done some chop and swap with a Hellion to get a two handed grip on the spear. This has also enabled me to create something of a mirroring of the Scourge's positions. This will come into play on the diorama as the two of them will be roughly on either side of the 'Scourge Witch' and I think this will help to create an interesting symmetry.

The wings haven't been fixed on properly yet. It will be a lot easier to paint them separately and then glue them in place.


Sunday, 30 September 2012

A blast from the past - Sculpting my own models


I’ve previously mentioned a period when I wasn’t painting minis but in truth there’s rarely been a time when my hobby activity wasn’t related to mini painting in one way or another. I want to showcase some of the work I produced in this period as although it was produced during a time when I moved away from mini painting it ultimately led me back to the hobby with a renewed enthusiasm. 

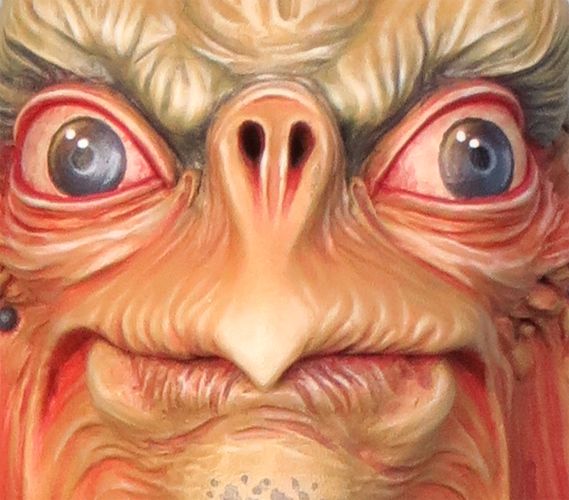
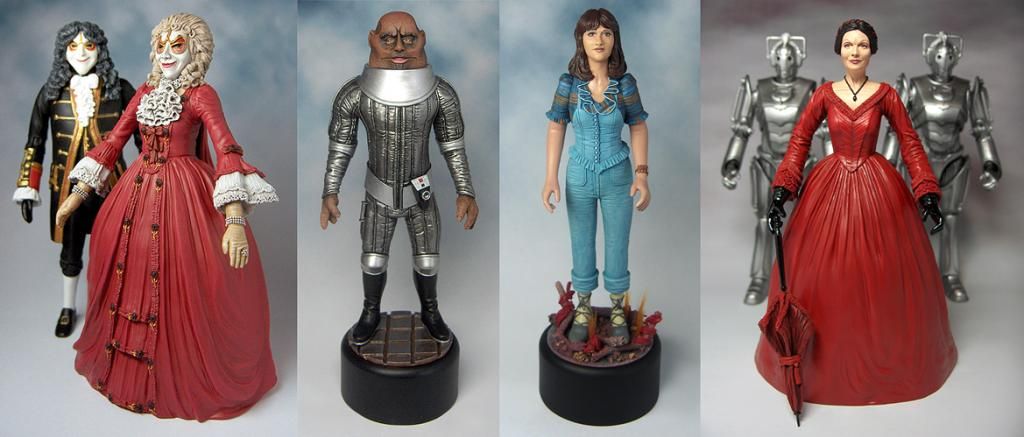
Most relevant to this blog was the time I spent making Dr Who action figure customs. This was something that my mini painting experience equipped me for particularly well and it didn’t take too long for me to shift from customising to sculpting from scratch. It’s through sculpting that I became aware of the many online hobby communities and blogs that are out there. As a direct result I reconnected with the wider on-line mini painting community and started this very blog.

My sculpts were very much made as action figures hence the neutral poses and rather basic paint jobs. I started sculpting with green stuff as it was familiar to me it and It’s the only epoxy putty I’m not highly allergic to! Once I began trying to sculpt an entire figure from scratch I made the shift to Super Sculpey Firm and found myself on a very steep learning curve. 


Scratch built Dr Who action figure sculpts


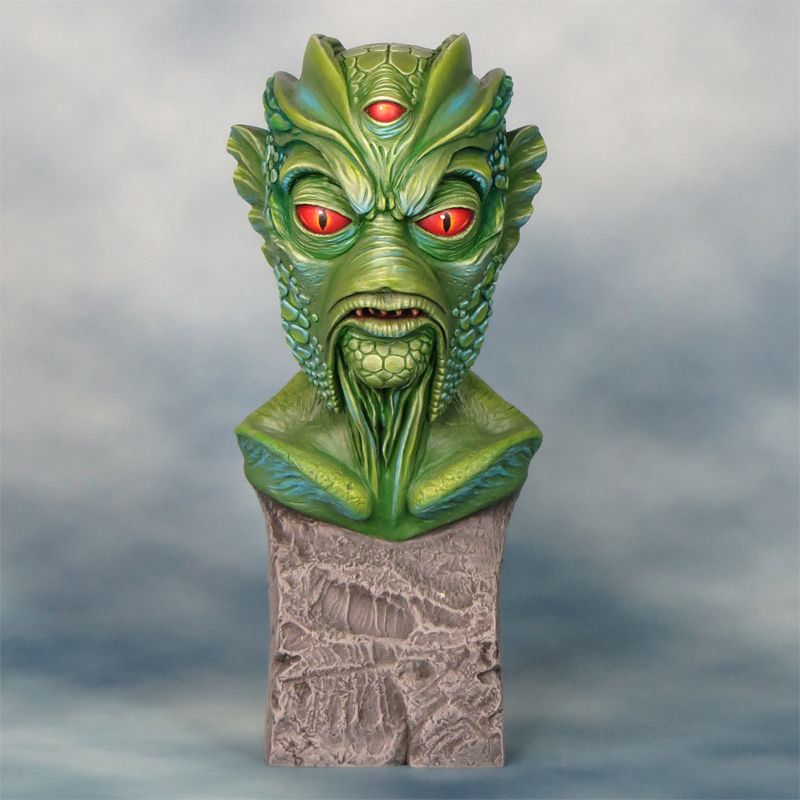
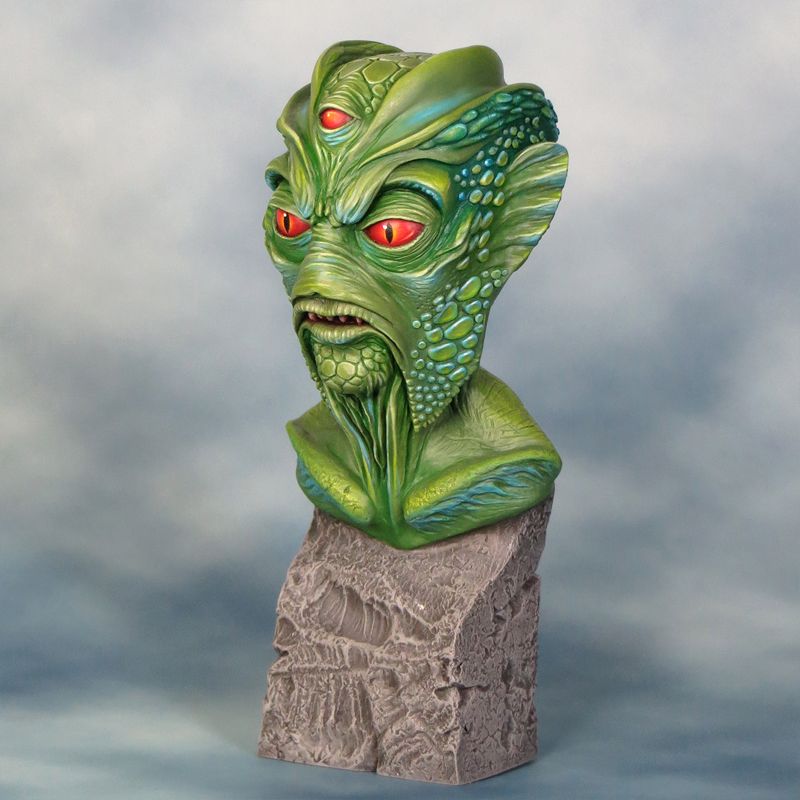
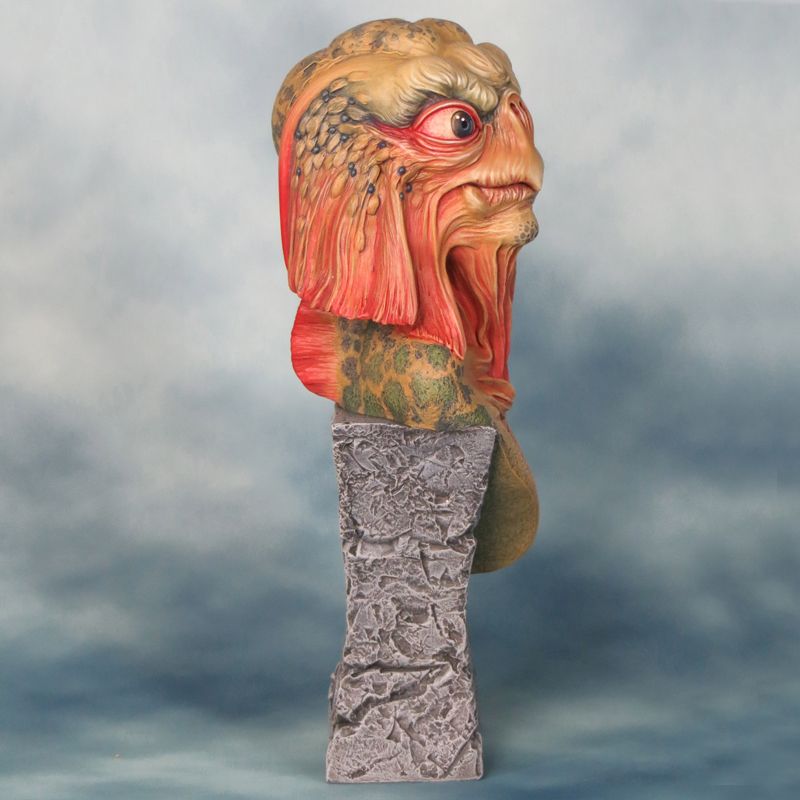
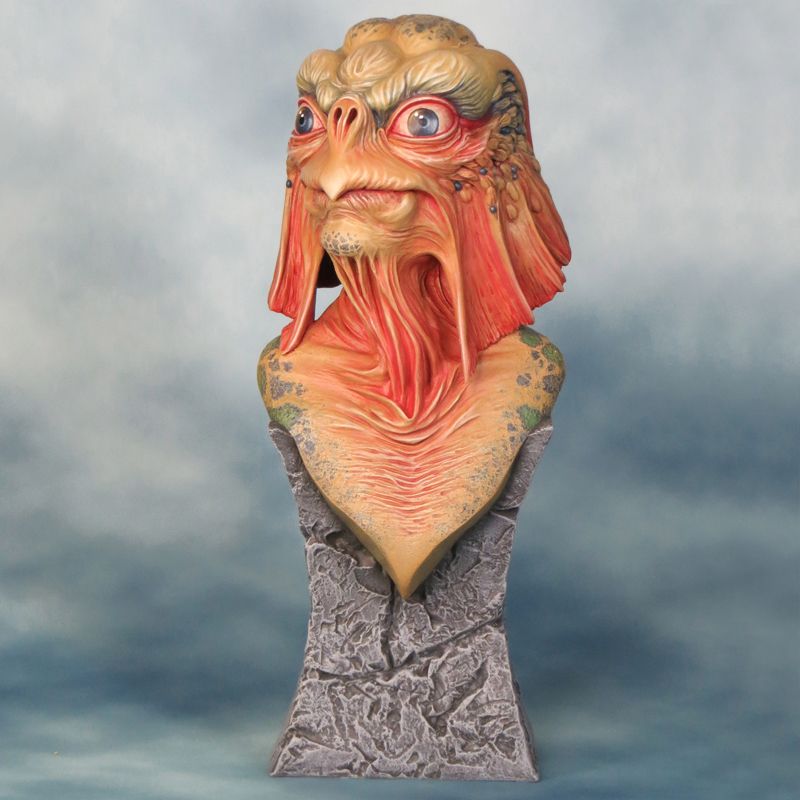
My focus when sculpting these figures was on developing my technique and trying to capture a likeness (with varying results!). I then decided to try sculpting a couple of busts and found these far more creatively rewarding. I brought an element of design to these that I’d purposefully avoided with the figures. Painting the busts was also a more rewarding experience. I began to call once more on my mini painting experience in an attempt to create something more fully realised than the paint jobs on the action figure sculpts. Both of the busts I produced are my own re-imagined designs of classic Dr Who monsters.


Scratch built Silurian bust
Scratch built Sea Devil bust

It was just after finishing the Sea Devil bust that a fellow member on a Dr Who fan forum made me aware of the then newly released mini of the 11th Doctor sculpted by Steve Buddle. You can see where that led me by going to the start of this blog - my hobby interests had come full circle.