Showing posts with label Dr Who. Show all posts

Thursday, 13 June 2013

Shiny & New!

I'm usually very good at resisting the urge to buy lots of new minis. I've learn't the hard way that my attention and enthusiasm will most likely have moved on by the time I'm ready to start a new project.
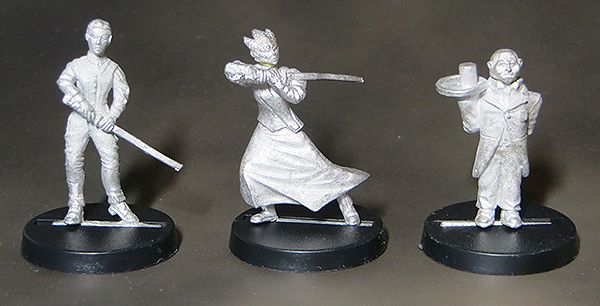
However now and again something come out that I just can't say no to and this time I've been tempted by the latest release from crooked dice.

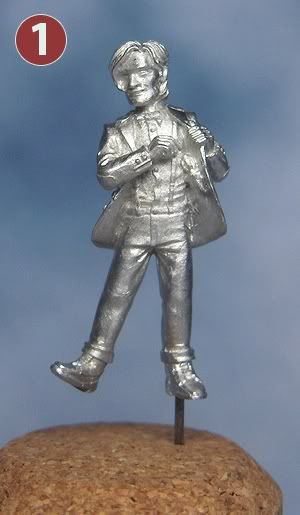
I can feel a new Dr Who themed diorama coming on!


I like the slightly simplified cartoony feel of these minis. It suits my painting style well and provides the opportunity to add painted detail.

Coming soon... finished Scourge wings!

Sunday, 21 April 2013

Salute 2013 Painting Competition

I travelled up to London yesterday for Salute and entered my first painting comp in 23 years!
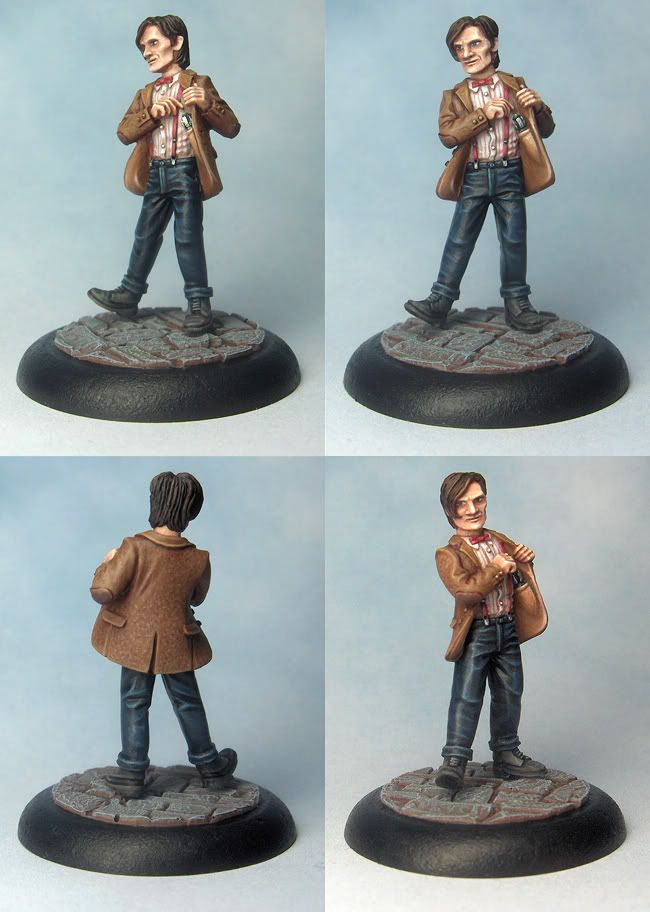
I came first in the Miscellaneous category with my Dr Who Diorama and first in the Fantasy Single Figure category with my Tomb King. The Tomb King was also awarded second best in the show!


It was especially good to get to meet lots of mini painting folks 'in the flesh' and to see their work for real. I've been out of contact for far too long and seeing all those beautiful painted minis has given me a real boost and some much needed inspiration. I was just starting to come down with another dose of Scourge fatigue.

Salute also gave me the chance to buy myself some rather lovely minis that I've been drooling over so I'm going to be kept busy painting for a very (very) long time.

Sunday, 30 September 2012

A blast from the past - Sculpting my own models


I’ve previously mentioned a period when I wasn’t painting minis but in truth there’s rarely been a time when my hobby activity wasn’t related to mini painting in one way or another. I want to showcase some of the work I produced in this period as although it was produced during a time when I moved away from mini painting it ultimately led me back to the hobby with a renewed enthusiasm. 

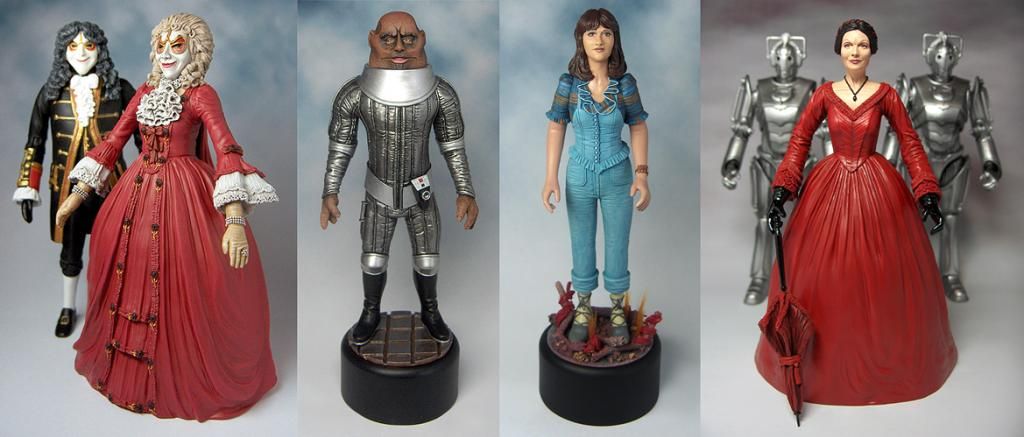
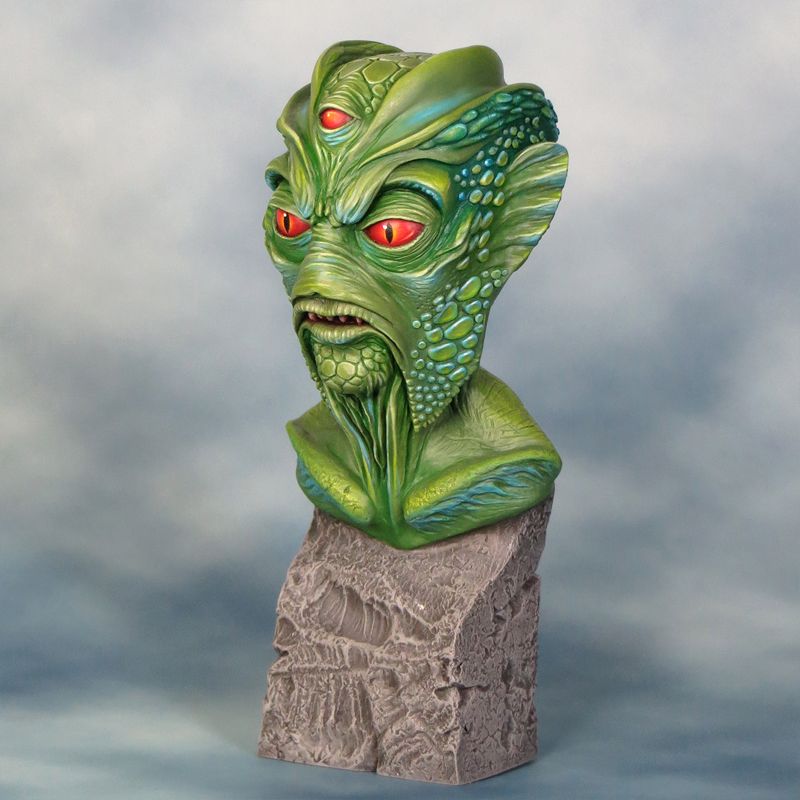
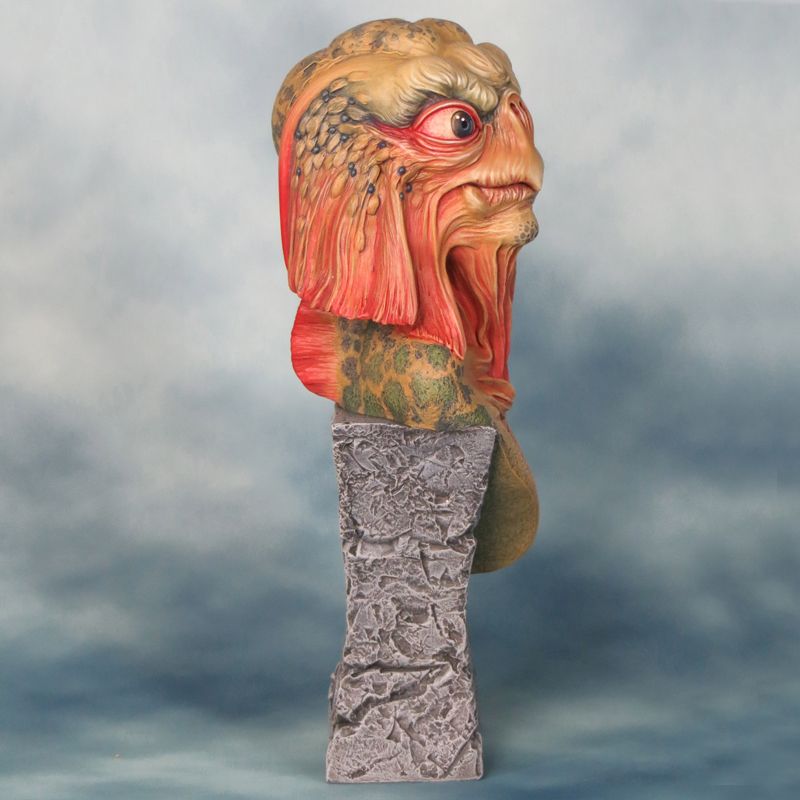
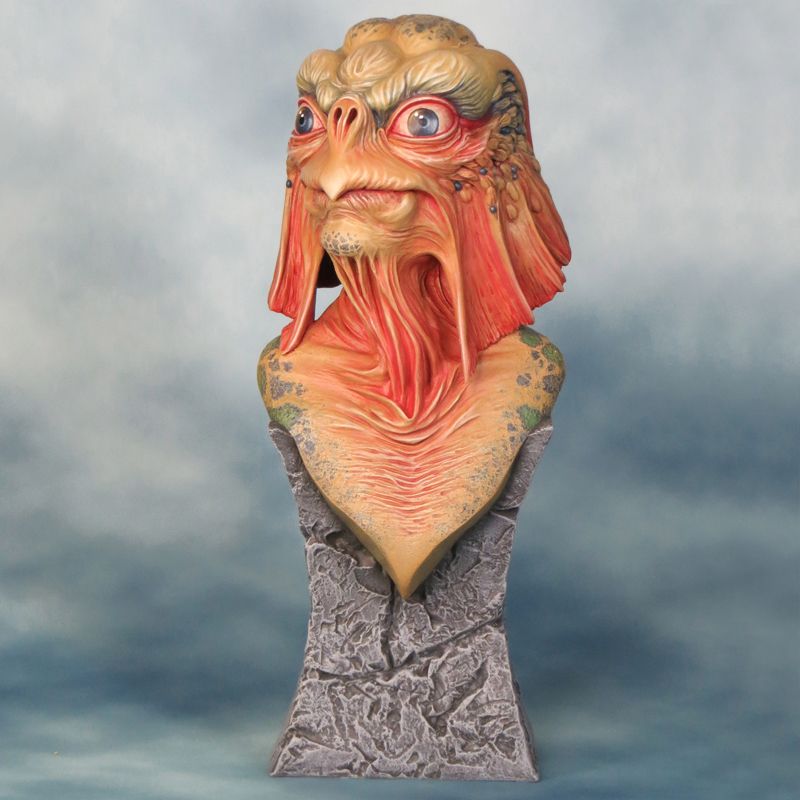
Most relevant to this blog was the time I spent making Dr Who action figure customs. This was something that my mini painting experience equipped me for particularly well and it didn’t take too long for me to shift from customising to sculpting from scratch. It’s through sculpting that I became aware of the many online hobby communities and blogs that are out there. As a direct result I reconnected with the wider on-line mini painting community and started this very blog.

My sculpts were very much made as action figures hence the neutral poses and rather basic paint jobs. I started sculpting with green stuff as it was familiar to me it and It’s the only epoxy putty I’m not highly allergic to! Once I began trying to sculpt an entire figure from scratch I made the shift to Super Sculpey Firm and found myself on a very steep learning curve. 


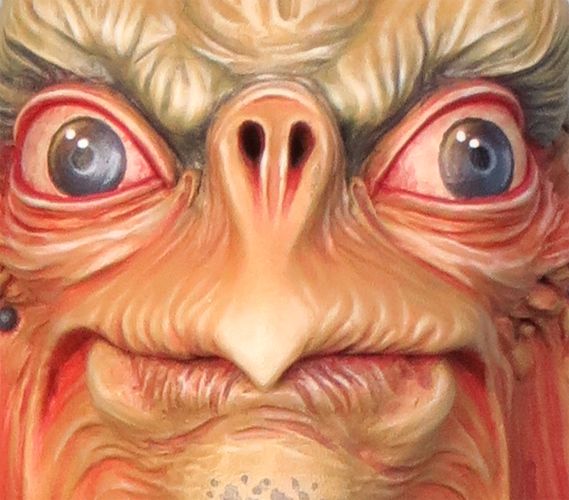
Scratch built Dr Who action figure sculpts


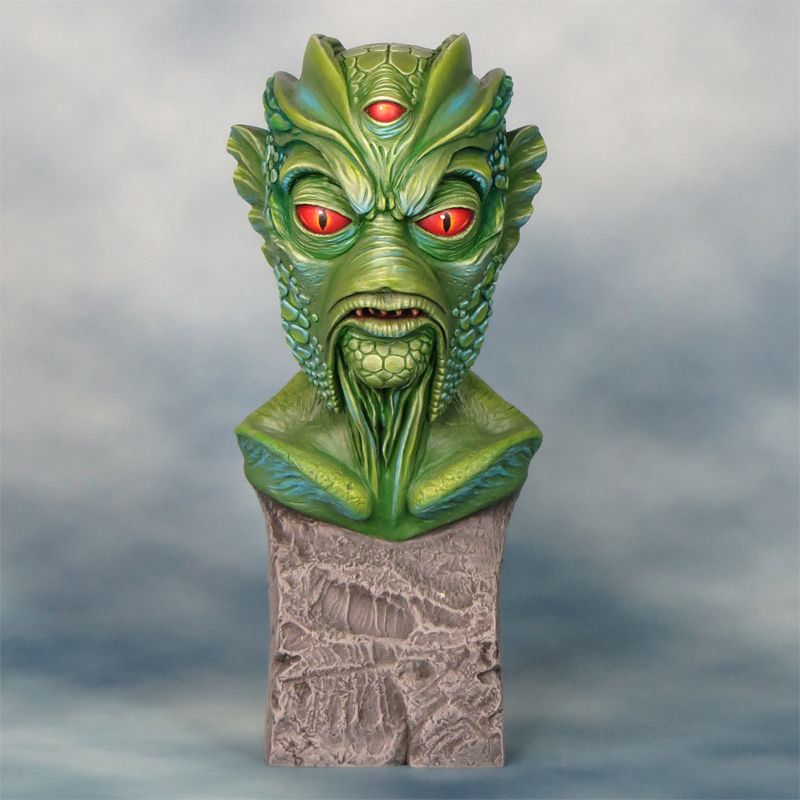
My focus when sculpting these figures was on developing my technique and trying to capture a likeness (with varying results!). I then decided to try sculpting a couple of busts and found these far more creatively rewarding. I brought an element of design to these that I’d purposefully avoided with the figures. Painting the busts was also a more rewarding experience. I began to call once more on my mini painting experience in an attempt to create something more fully realised than the paint jobs on the action figure sculpts. Both of the busts I produced are my own re-imagined designs of classic Dr Who monsters.


Scratch built Silurian bust
Scratch built Sea Devil bust

It was just after finishing the Sea Devil bust that a fellow member on a Dr Who fan forum made me aware of the then newly released mini of the 11th Doctor sculpted by Steve Buddle. You can see where that led me by going to the start of this blog - my hobby interests had come full circle.

Saturday, 2 July 2011

Into The Woods part 7

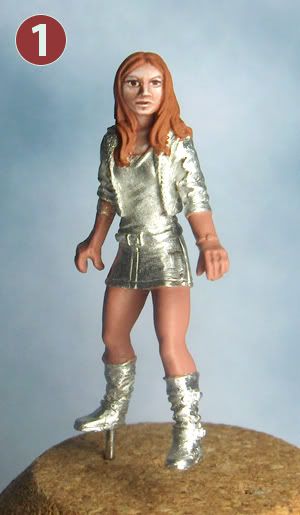
Here is the finished Emily Lake mini.


Into The Woods part 6

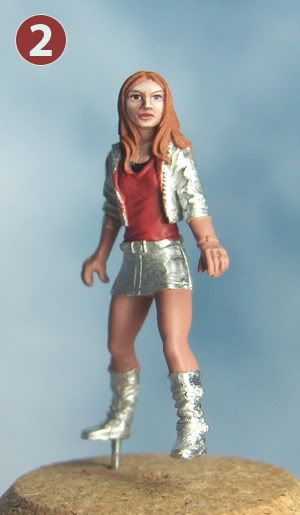
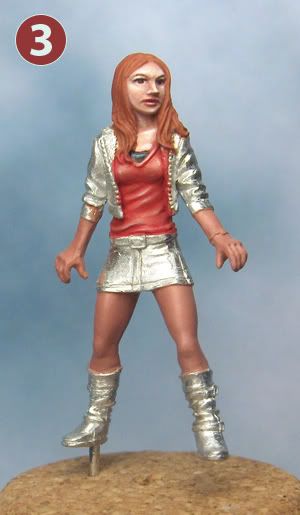
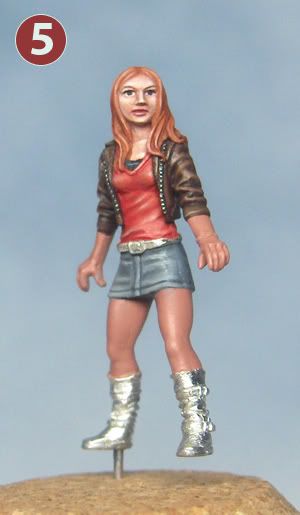
Heresy released Emily Lake a companion figure for the Nerdlord just before I finished painting him. At the same time Crooked Dice have been releasing their own range of 'Dr Whoish' miniatures including a set of Scary Statues. I could  feel a diorama coming on!

Here are my step by step picture of the Emily Lake mini.


Thursday, 30 June 2011

Into The Woods part 5

The Nerdlord is Finished!
I've put him onto a temporary base untill such time as I have all the other elements for his senic base ready.


Into The Woods part 4

STEP 6
I've adusted the colour of the shirt and I think it looks a lot better in a warmer tone (more screen accurate too!). I need to tidy it up and sharpen up the details in general but that is just a matter of spending more time & effort on it.

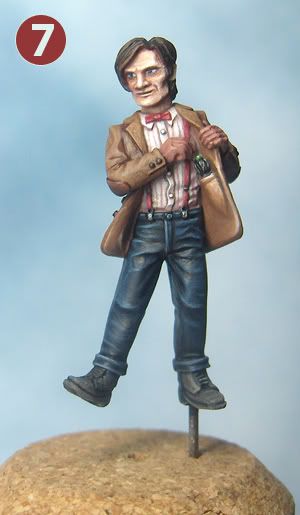
STEP 7
I've worked some lighter browns into the hair so it is less of a solid colour.
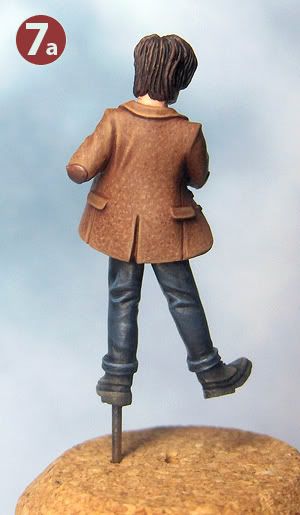
I've highlighted the trousers using blue/grey tones to contrast with the warmer grey tones used on the boots. The trick here is to use increasingly fine highlights. The final highlights are very small & precise and pull the whole thing together helping to sharpen up the definition of the paint job. I work with diluted paint building up layers of translucent colour - this helps to make the colour graduation subtler. Back in the day when I was competing in the Golden Demon contest I used to work with a lot more layers and tonal variations. It takes a lot more time that way but the effect is worth it.
I have worked in a similar way on the jacket but I've overlaid that with some fine stippling (painting with dots of colour) in three tones of brown. Hopefully this gives a tweedy texture to the paint job.
Not too much left to do now. It is mainly a matter of getting really obsessive over the tiny details and refining them until I'm happy (or go totally cross eyed).

 

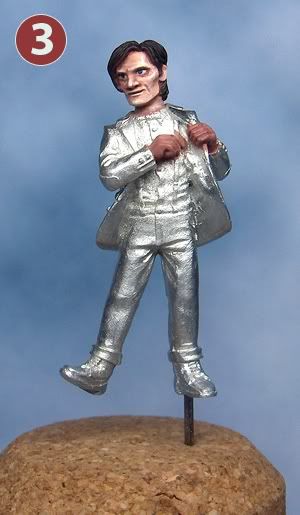
Into The Woods part 3

STEP 4
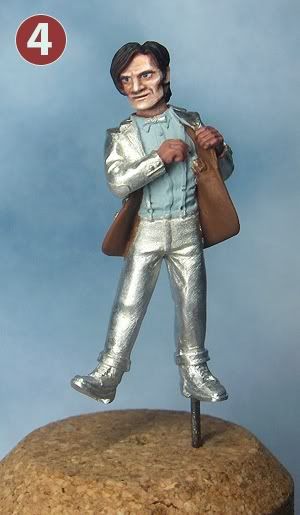
A little more tweaking of the face. Next I basecoat the shirt and the inside of the jacket. I may well work on the face a little more at a later stage but for the moment it’s OK.


STEP 5
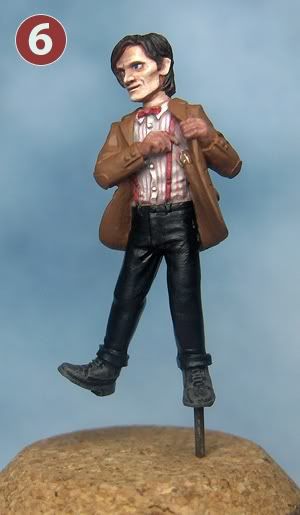
I have shaded & highlighted the shirt. Then painted in the braces, bow tie & stripes on the shirt. I then base coated the trousers & boots and gave the boots a dry brush of a black/brown mix. That sounds very straightforward but it involves lots of going back over adjusting and retouching things.
I treat miniature painting as a process of gradual refinement and just keep on going until I’m happy with the level of finish.
Now I thought I was going to be clever and play around with adjacent areas of warm & cool tones to give some contrast and interest to the finished model. So much for that! It is now blatantly obvious that the base colour of the shirt is far too cool and in fact it looks blue. I will have to warm up the colour of the shirt with some subtle washes and probably retouch the highlights after that.


Into The Woods part 2

STEP 2
I tend to work in distinct mid-tone/shading/ highlighting stages in only the most general way. It is a good way to get started but I usually just keep tweaking away at the paint job until I’m happy. I usually work on an area at a time for example the face, the shirt or the trouser. I will work each area up to a finished state before moving on to the next one. I almost always start with the face. It sets the whole tone and character of the model.
I don’t use an overall undercoat of any sort. That would just add another layer of paint to clog up the detail.
I have base coated the face in a dark flesh tone (a mix of dwarf flesh & scorched brown). Next I paint the eyes and this is the most fiddly/frustrating bit. I then start to build up the mid-tones and highlights to give some definition to the features. This usually involves lots of going back over and adjusting things to get a defined face.

 
STEP 3
I've further refined the face and built up finer sharper highlights. The final highlights really pull things together and help define the features. I work in lots of stages building up thin layers of diluted colour. The more stages the subtler the result. It is important to thin down the paint as acrylics can build up a rough grainy surface over successive layers and at such a small scale this gives a very crude appearance and clogs up the detail.
I have also blocked in the hair with scorched brown and then given it a wash of diluted black. I will probably highlight the hair later but I want to get an impression of the overall tonal/colour balance before I do that.  


Starting a new project - Into the Woods.


During the later half of last year I began a miniature painting project that started out as a single painted miniature but rapidly grew into something more ambitious. The minis are based upon characters from the BBC TV show Dr Who and I chronicled my progress on the Galifrey Base Forums (the posts are written with a non mini painting audience in mind).
Recording a step by step progress has proven to be a really interesting experience. It focused me on how I go about painting a miniature. To put it very simply I’d have to say that I pretty much make it up as I go along and the stages below are fairly arbitrary.
It was during this project that I really felt that I got back into the zone for mini painting so I have decided to recreate my posts here to illustrate how I approach painting a mini.
Here is my take on the Nerdlord II figure by Heresy Miniatures.
 
STEP 1 Preparation
This is the most boring bit but it’s important not to cut corners at this stage. Clean up the casting by removing any flash or mould lines. I usually do this with a combination of a scalpel (scrape rather than cut) and very fine emery paper. Once I’m happy I give the model a scrub with a little washing up liquid using an old toothbrush to remove any dirt or grease before painting.

As I intend to mount the finished model onto a scenic base rather than a standard slotta base I have removed the tab from between the feet. I then drilled (VERY carefully) up into one of the legs & superglue a Wire pin in place. Once painted I will use the pin to attach the model to it’s base.
I then pop the pinned model onto a cork so I have something to hold onto when I’m painting.